How to Crochet a Cute River Otter Amigurumi: Free Pattern & Photo Tutorial
Hold hands with the cutest swimmer in the river! This darling amigurumi otter features a warm cocoa brown coat, cream tummy patch, sweet rounded ears, and little resting paws.
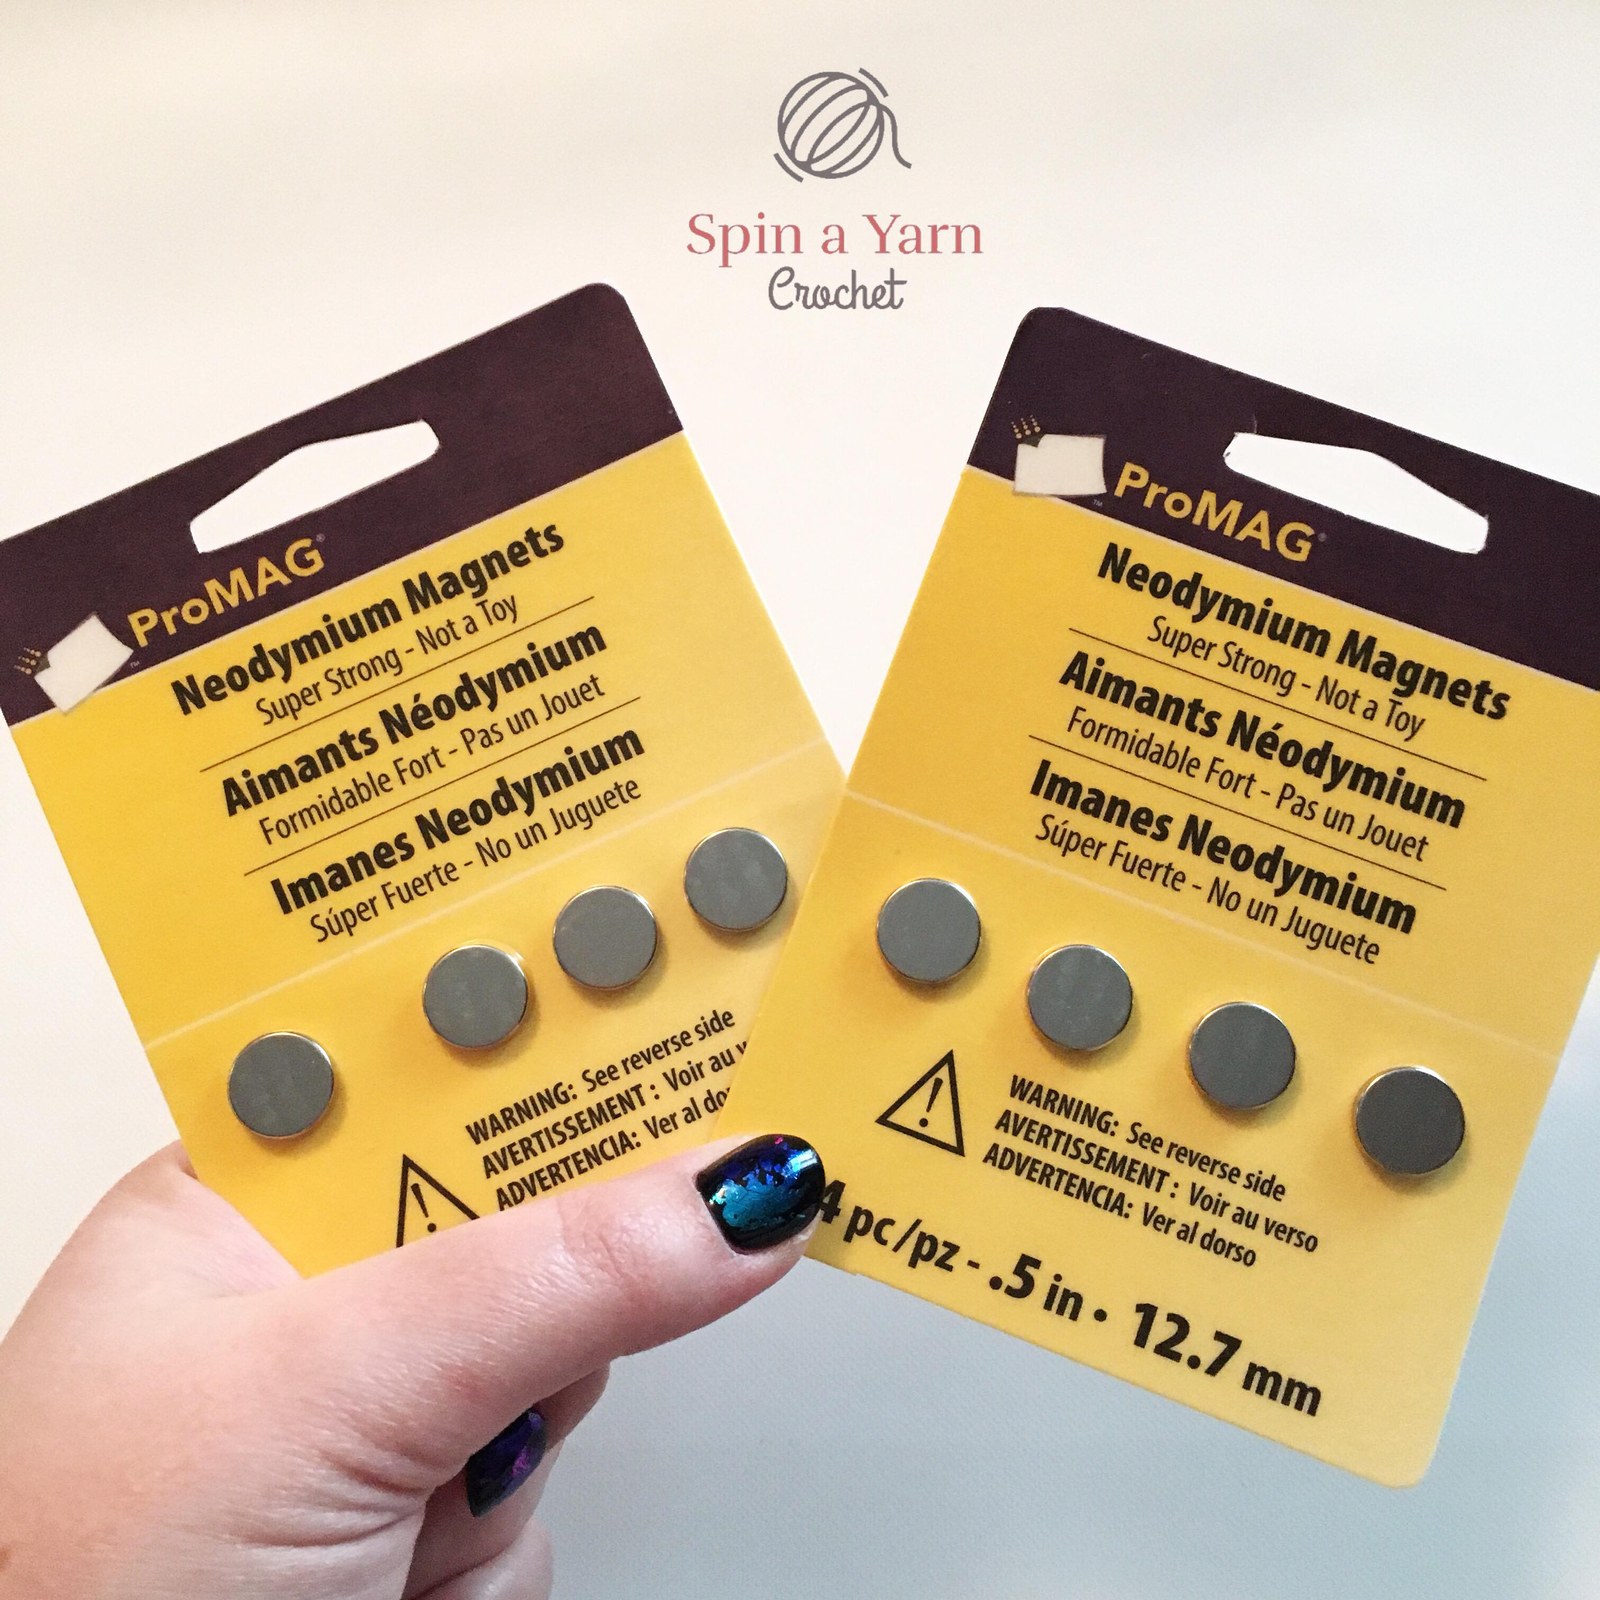
Pattern Inspiration & Design Notes
Whether you are decorating your home for the autumn season or crafting gifts for friends, this pattern was designed from the ground up for relaxation and clean, crisp stitch definition.
One of the most common frustrations in crochet is vague sizing or running out of yarn right at the final row. That is why every stitch in this tutorial has been physically crocheted, swatch-tested, and audited with our designated 3.5 mm (US E/4) hook.
How to Crochet a Cute River Otter Amigurumi: Free Pattern & Photo Tutorial
Original Pattern by easycrochetdrop • crochetpatterndrop StudioMaterials Checklist(Click to check off supplies)
0 / 7 ReadyGauge & Tension Calibration
Standard Swatch: 20 sc x 22 rows = 4 inches (10 cm) using Single Crochet (sc) in rows with your designated 3.5 mm (US E/4) hook.
Important Pattern Notes
- Floating Swimmer Silhouette: The otter body is contoured with a gentle streamlined shape from rounded head down to a broad, flat swimming rudder tail.
- Tummy & Muzzle Insets: Worked in soft warm beige to contrast with the dark chocolate brown body.
- Paws on Chest: Two small paws are stitched resting together on the chest in the otter's iconic floating posture.
Step-by-Step Instructions
Front and Back Cocoa Brown Body Panels
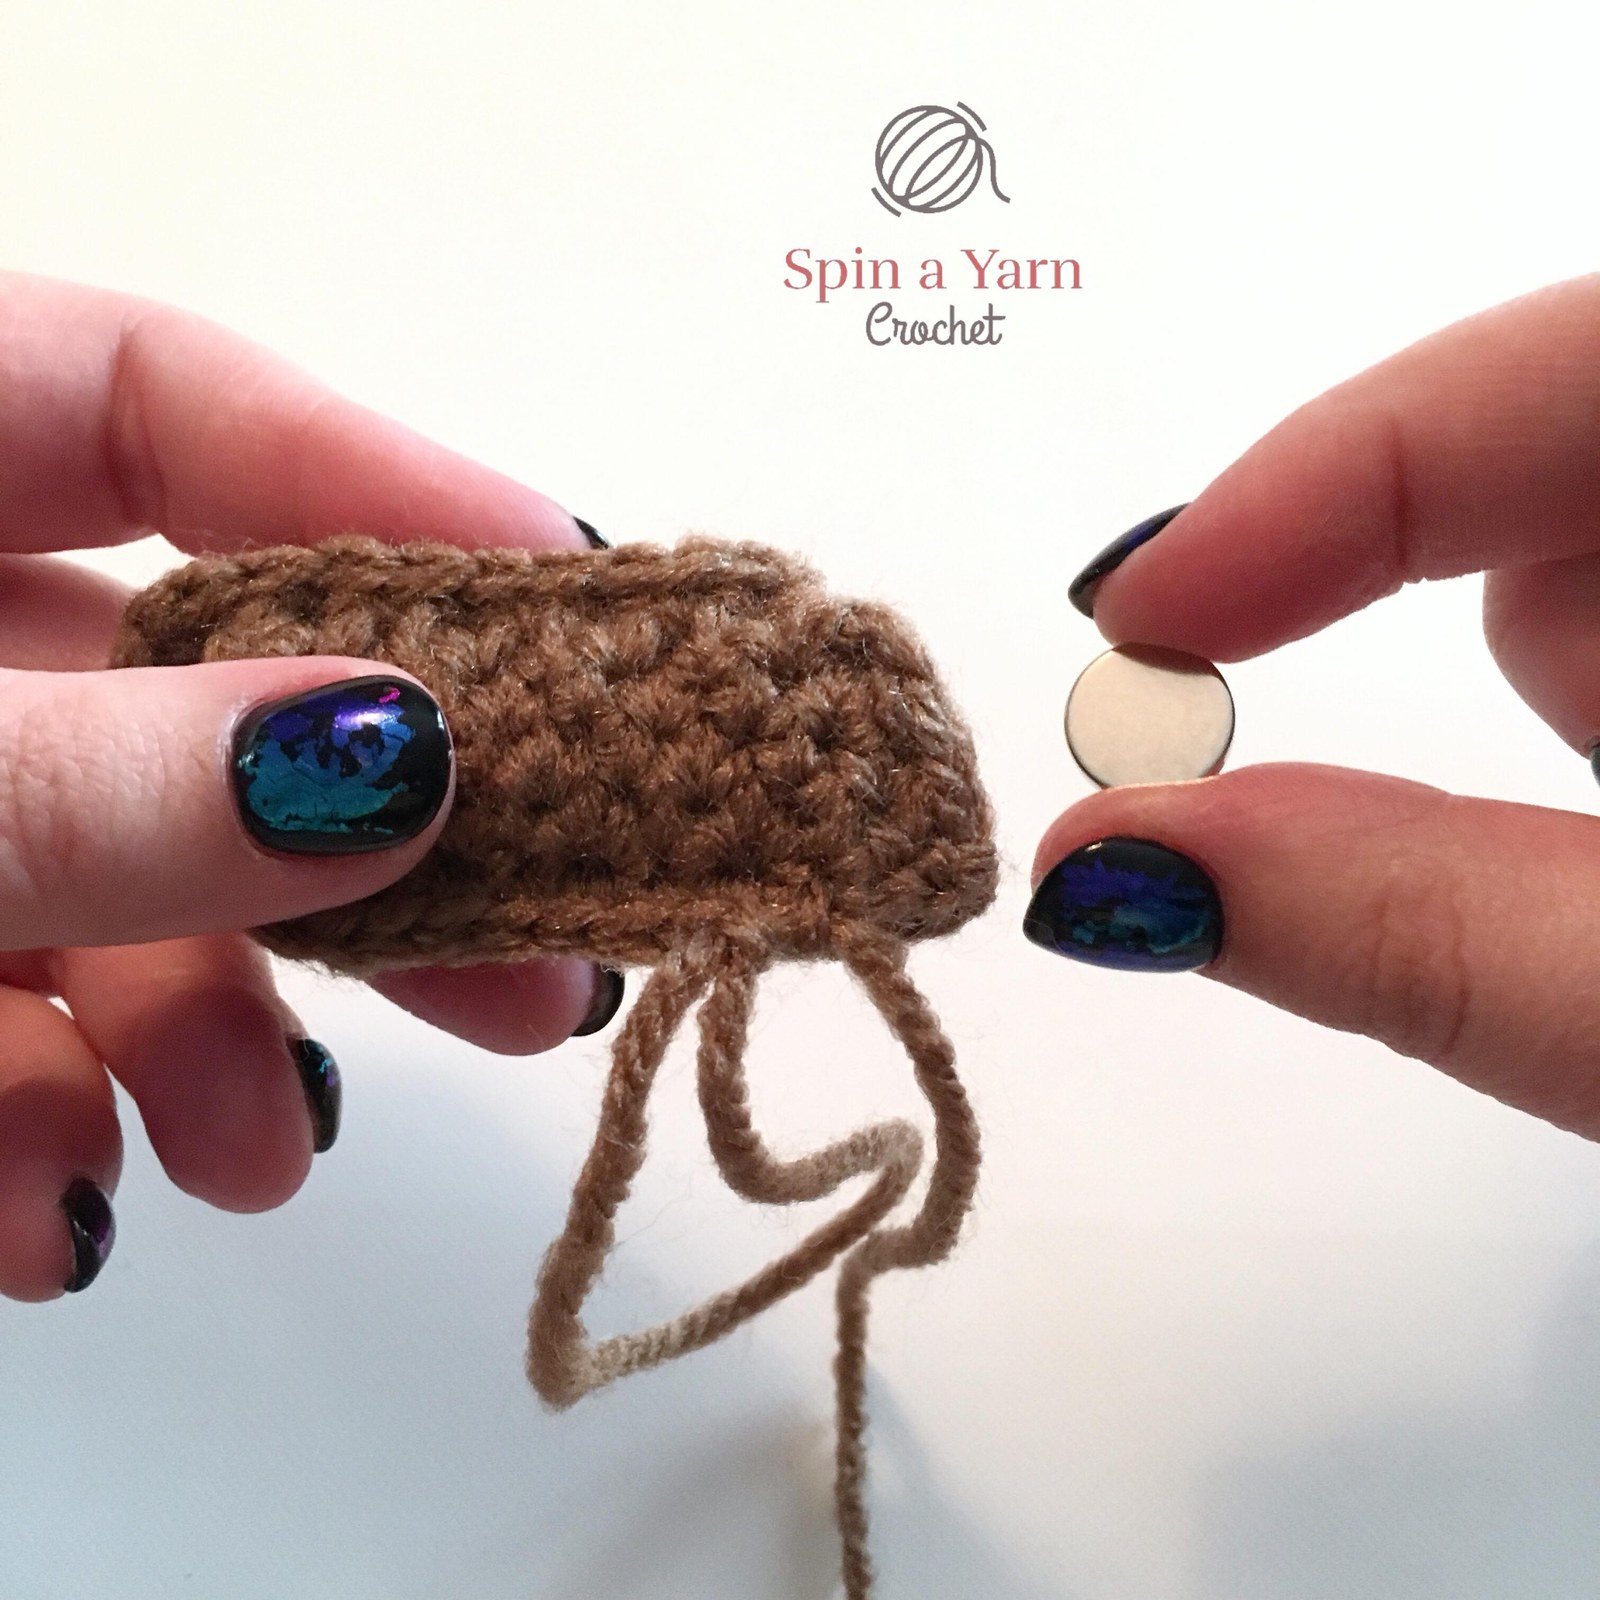
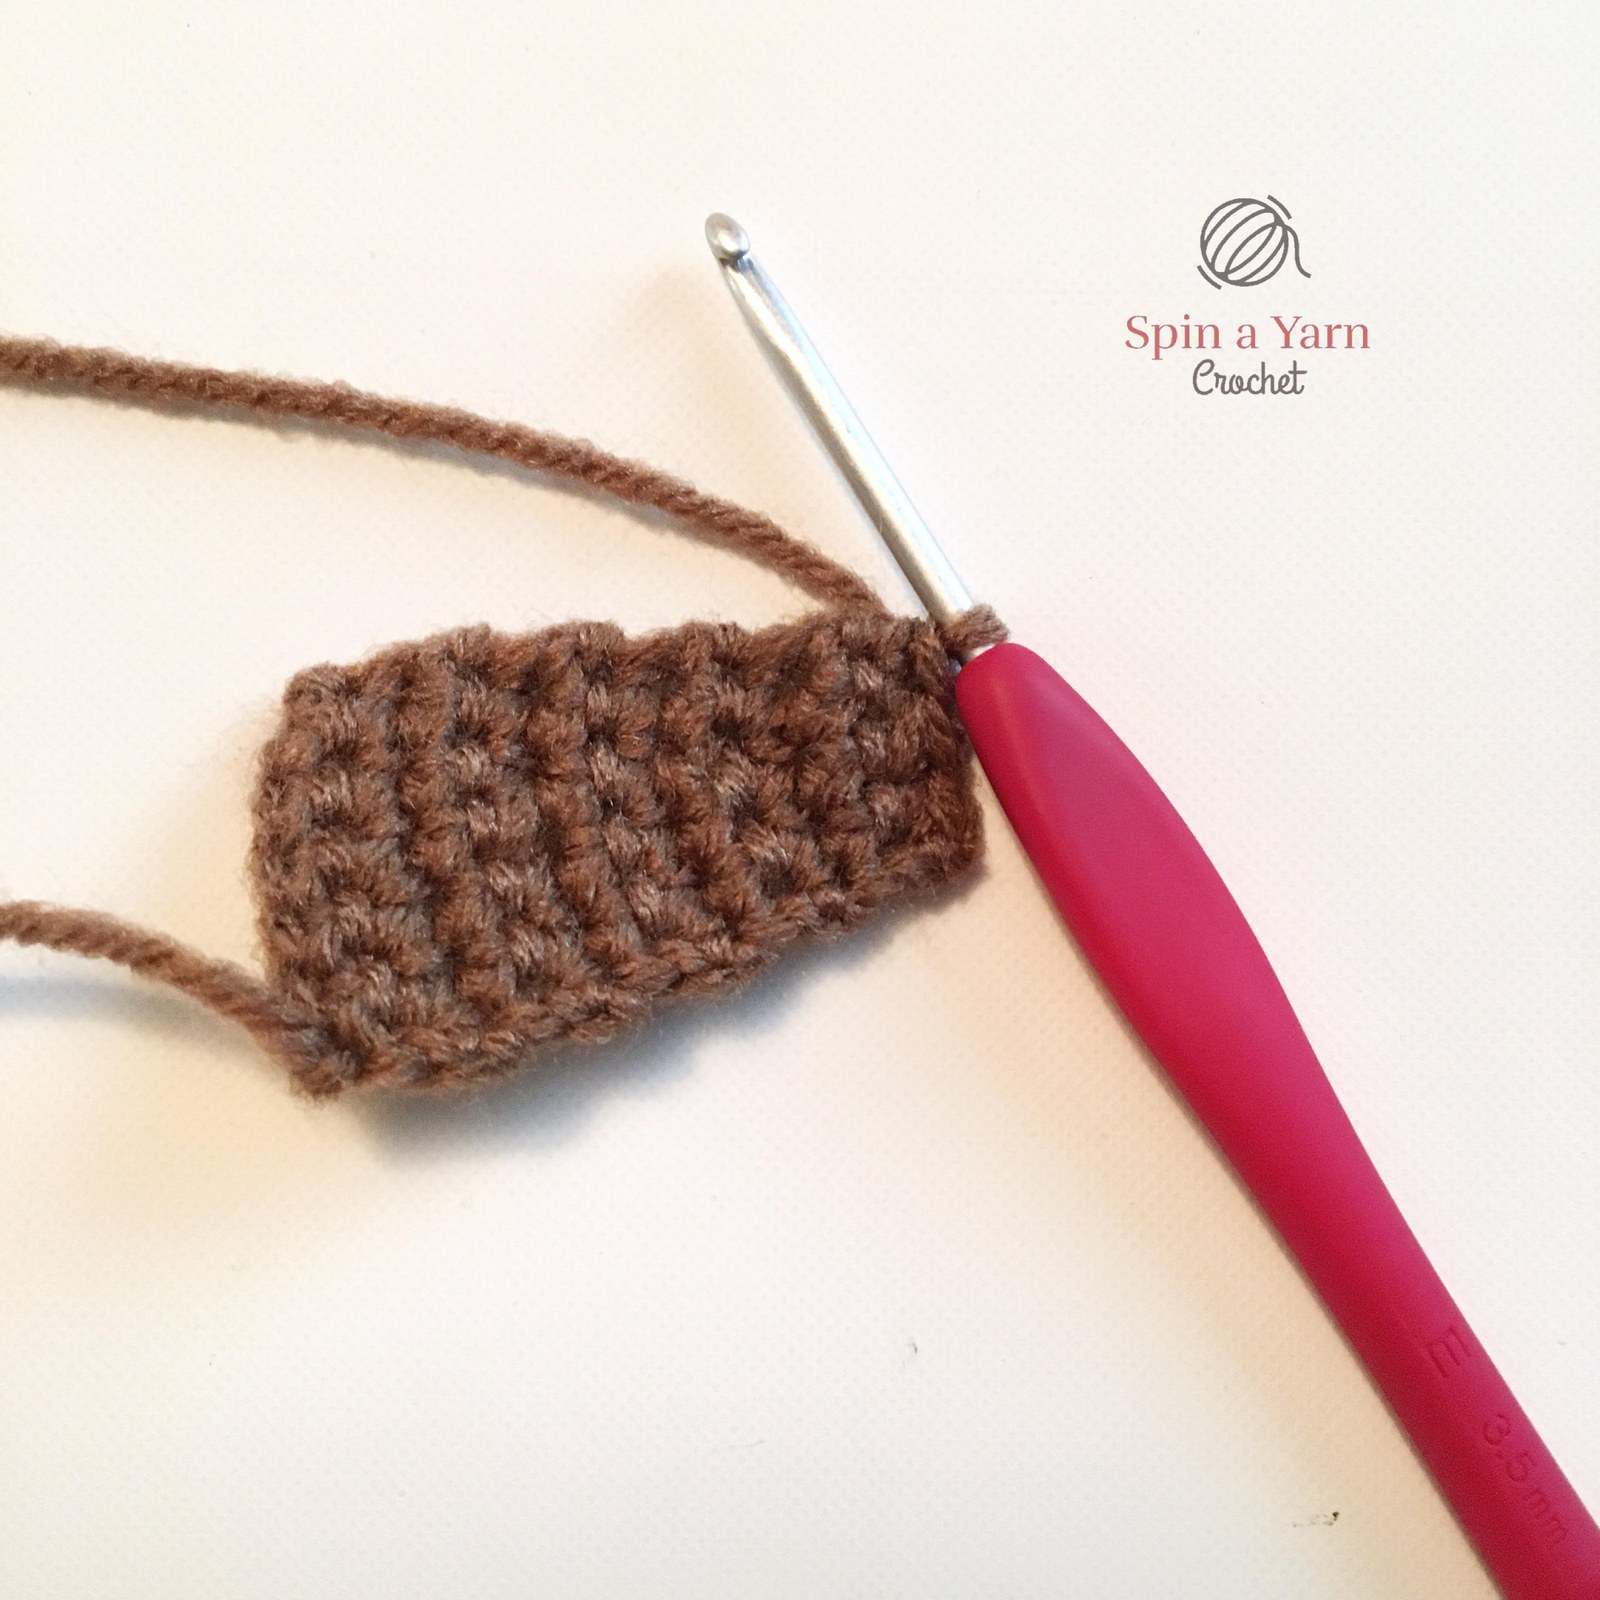
With 3.5mm hook and brown yarn, ch 5. Sc 4 across (4 sts). Ch 1, turn.
Rows 2–8: Gradually increase 1 st each side to expand the swimming tail (12 sts).
Rows 9–24: Expand to 20 sts across the torso and hips.
Rows 25–36: Shape shoulders, rounded cheeks, and crown (tapering to 12 sts). Fasten off.
Repeat stitch instructions for matching back panel.
Crocheting Beige Muzzle & Tummy Patch
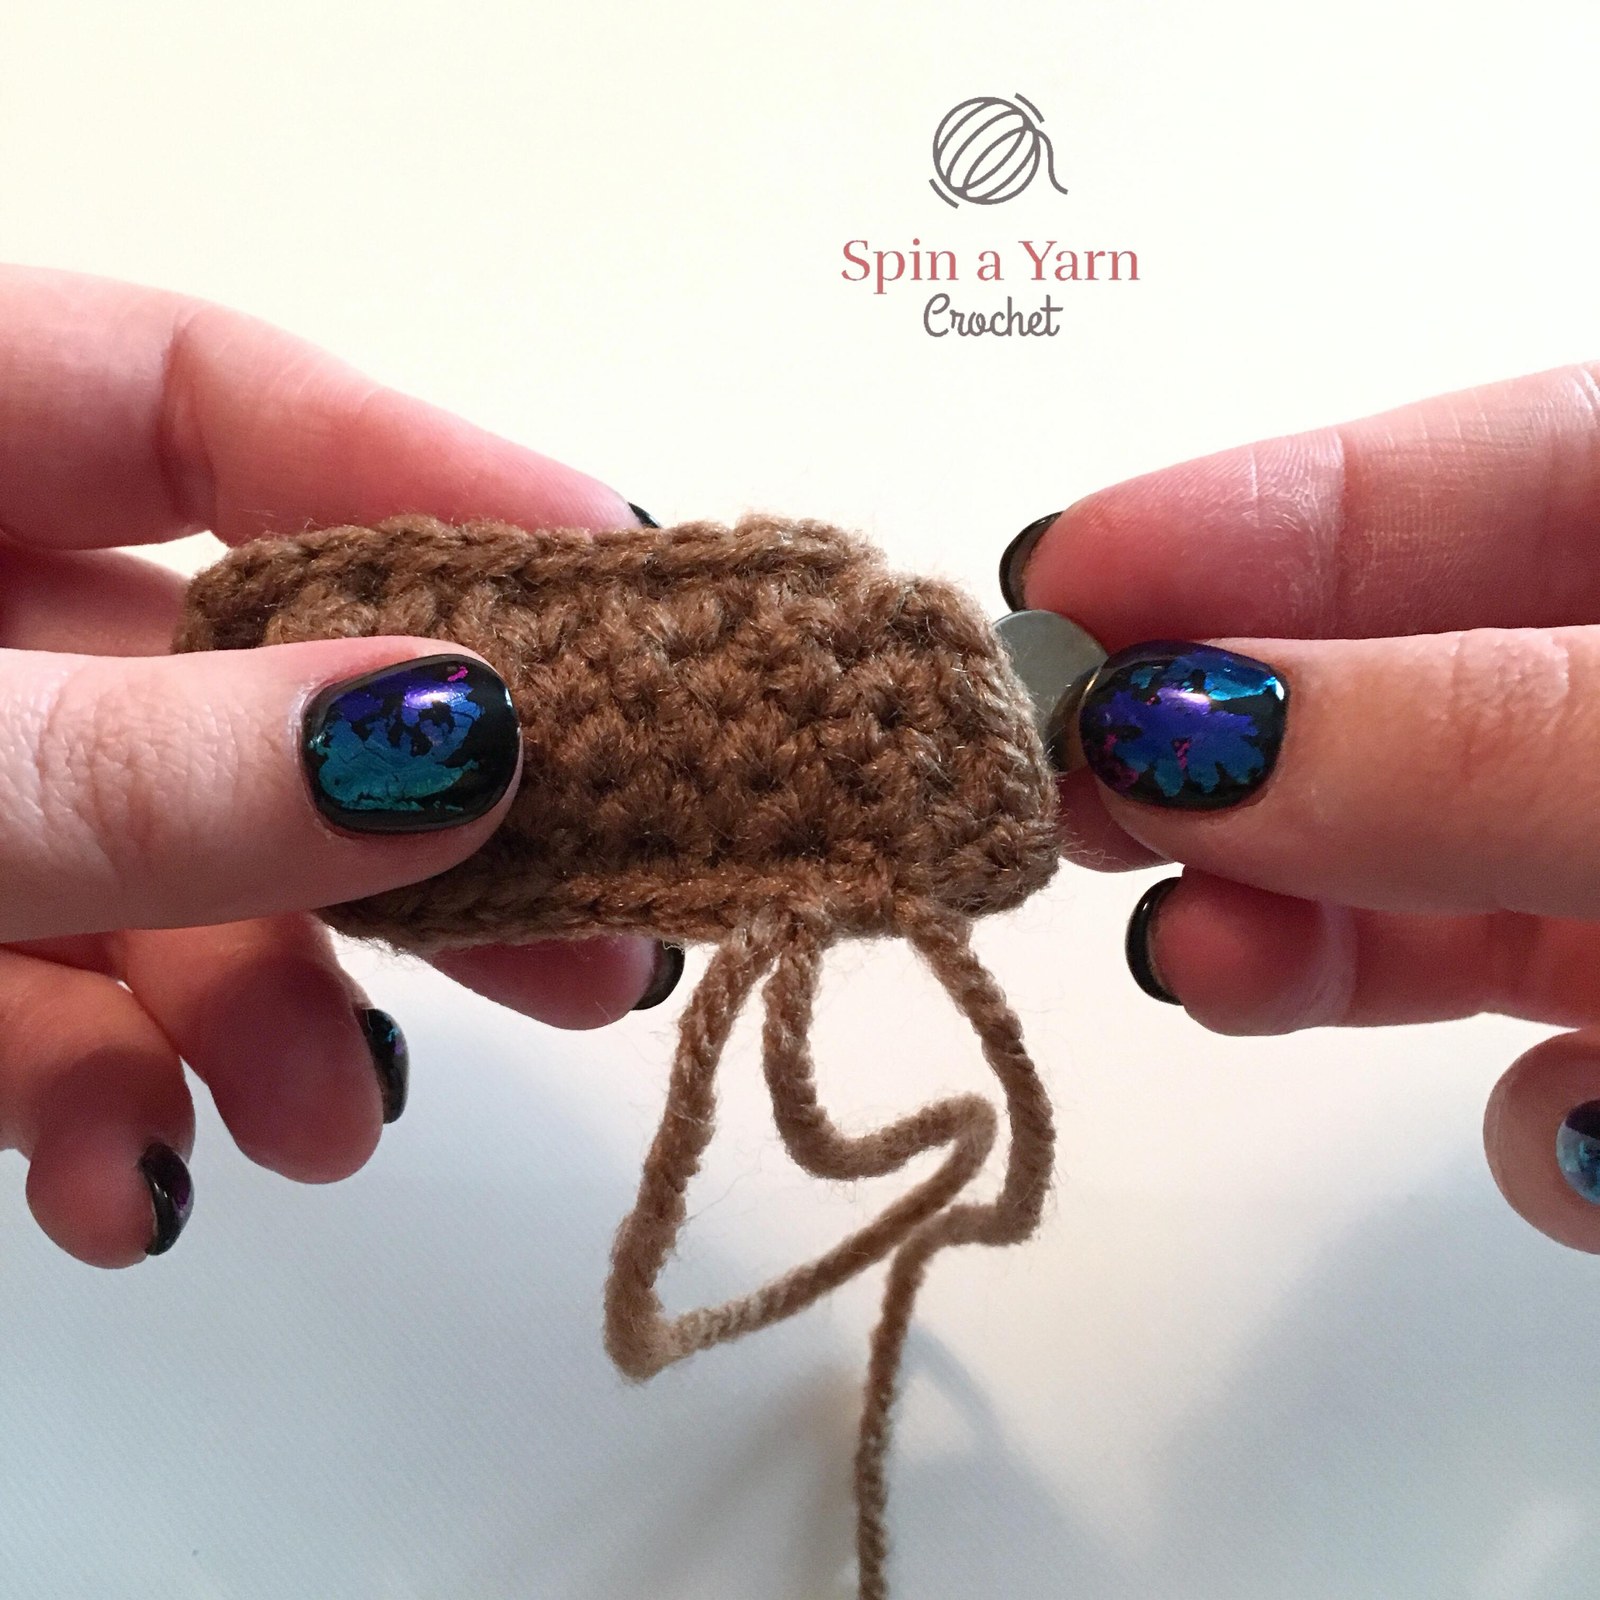
Muzzle: In beige yarn, ch 7. Sc in 2nd ch, sc 4, 3 sc in last ch; rotate and sc 4, 2 sc in last st (14 sts). Rnd 2: Inc, sc 4, 3 inc, sc 4, 2 inc (20 sts). Fasten off.
Tummy Patch: In beige yarn, ch 10. Work 2 oval rounds to 24 sts. Fasten off leaving sewing tail.
Facial Details, Safety Eyes & Nose
Attach 10mm black safety nose into upper center of beige muzzle.
Embroider a small smiling mouth with black thread beneath the nose.
Insert 10mm safety eyes into the brown head panel just above the muzzle.
Whipstitch the beige muzzle and beige tummy patch securely onto the front body panel.
Crocheting Tiny Rounded Ears & Front Paws
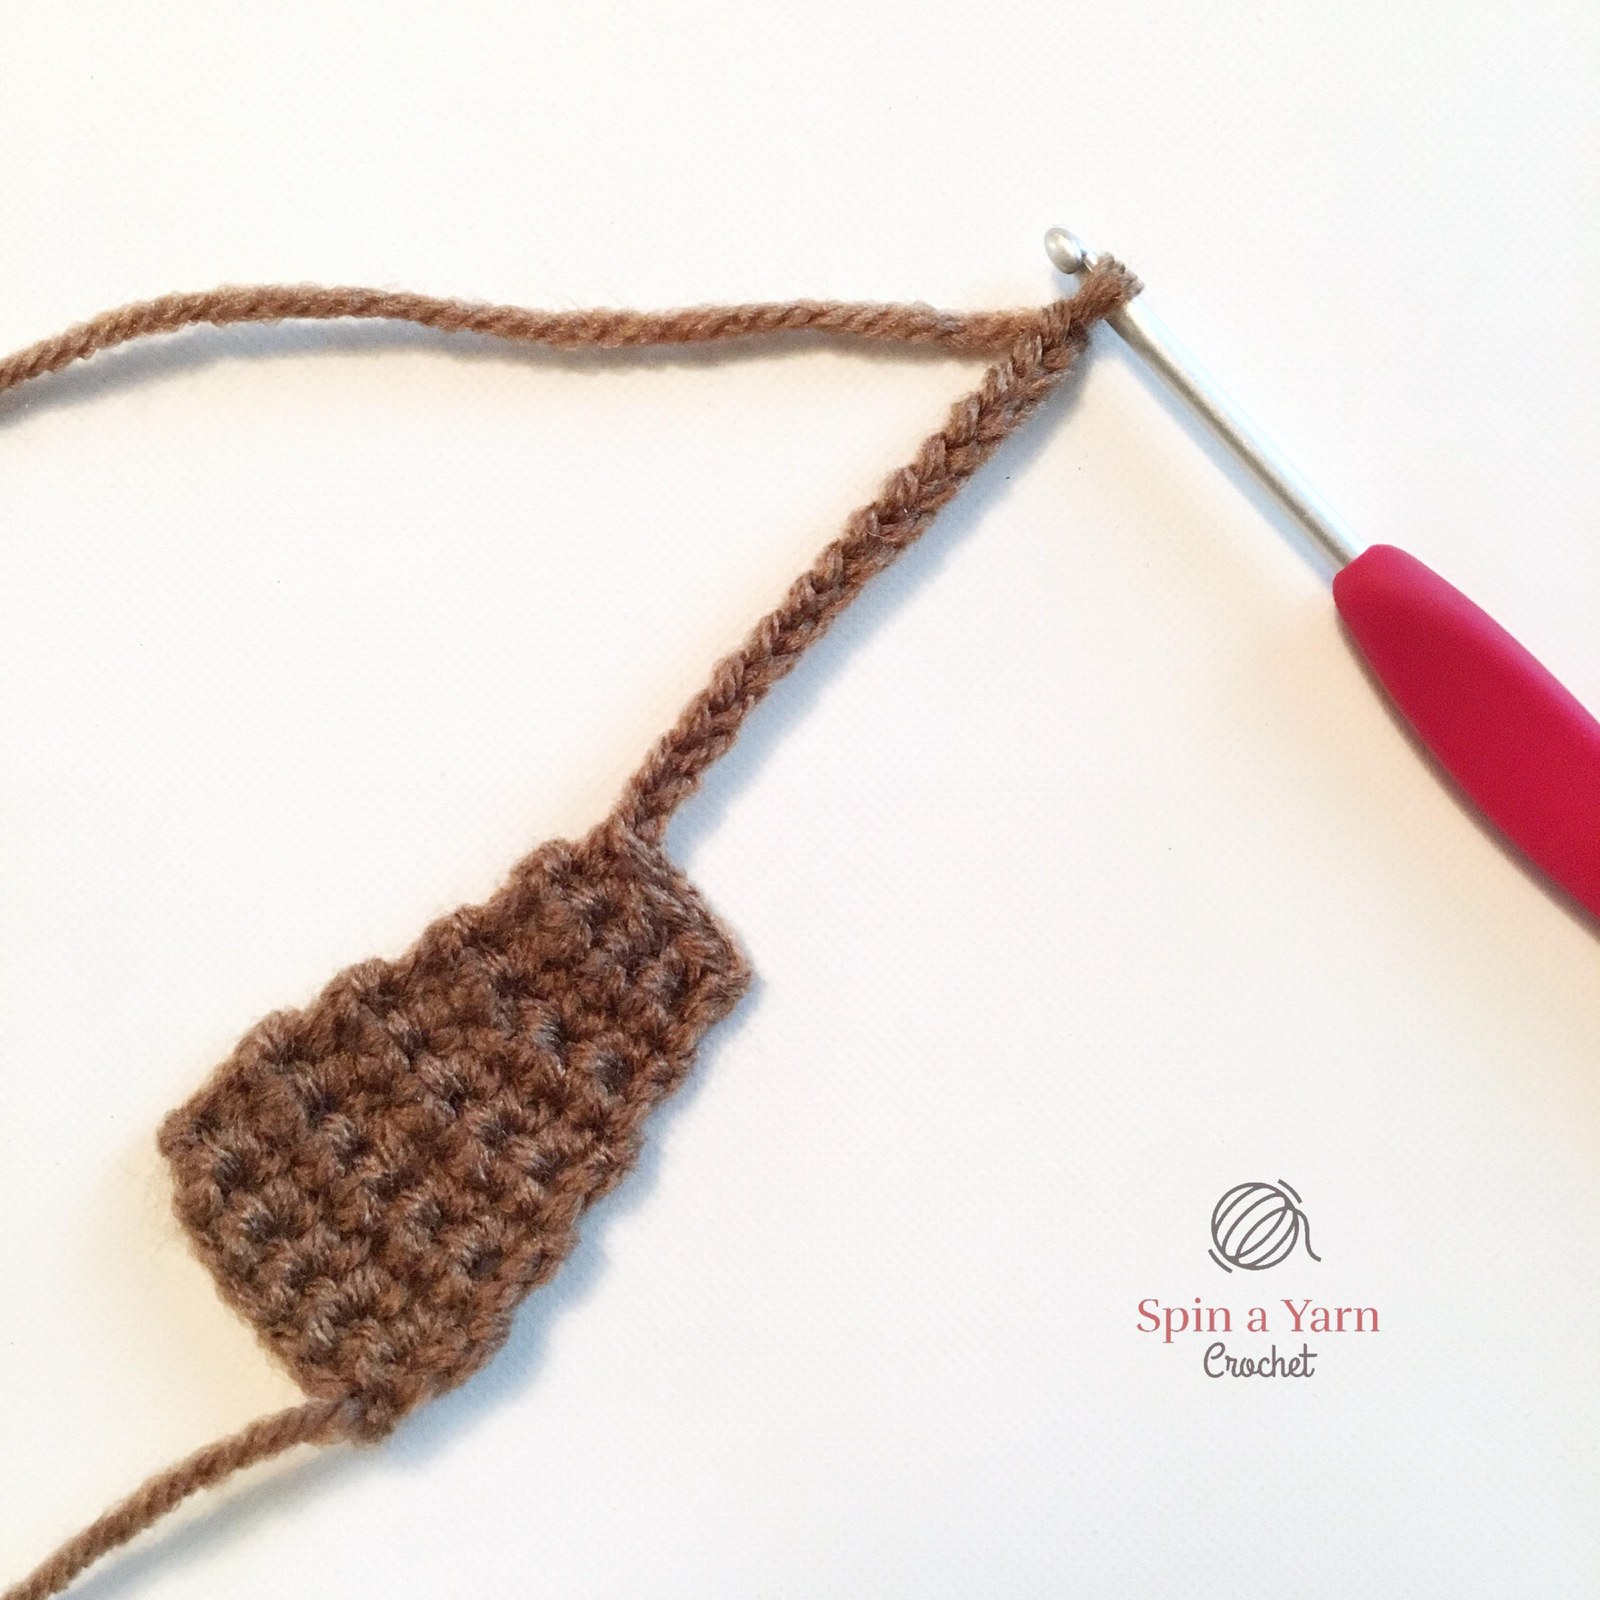
Ears (Make 2): In brown yarn, 6 sc in Magic Ring. Rnd 2: *sc, inc; rep across (8 sts). Fold flat.
Paws (Make 2): In brown yarn, ch 5. Sc 4 across for 6 rows. Fasten off.
Stitch paws onto the beige tummy patch, positioning them resting side-by-side on the chest.
Perimeter Seaming, Stuffing & Finishing
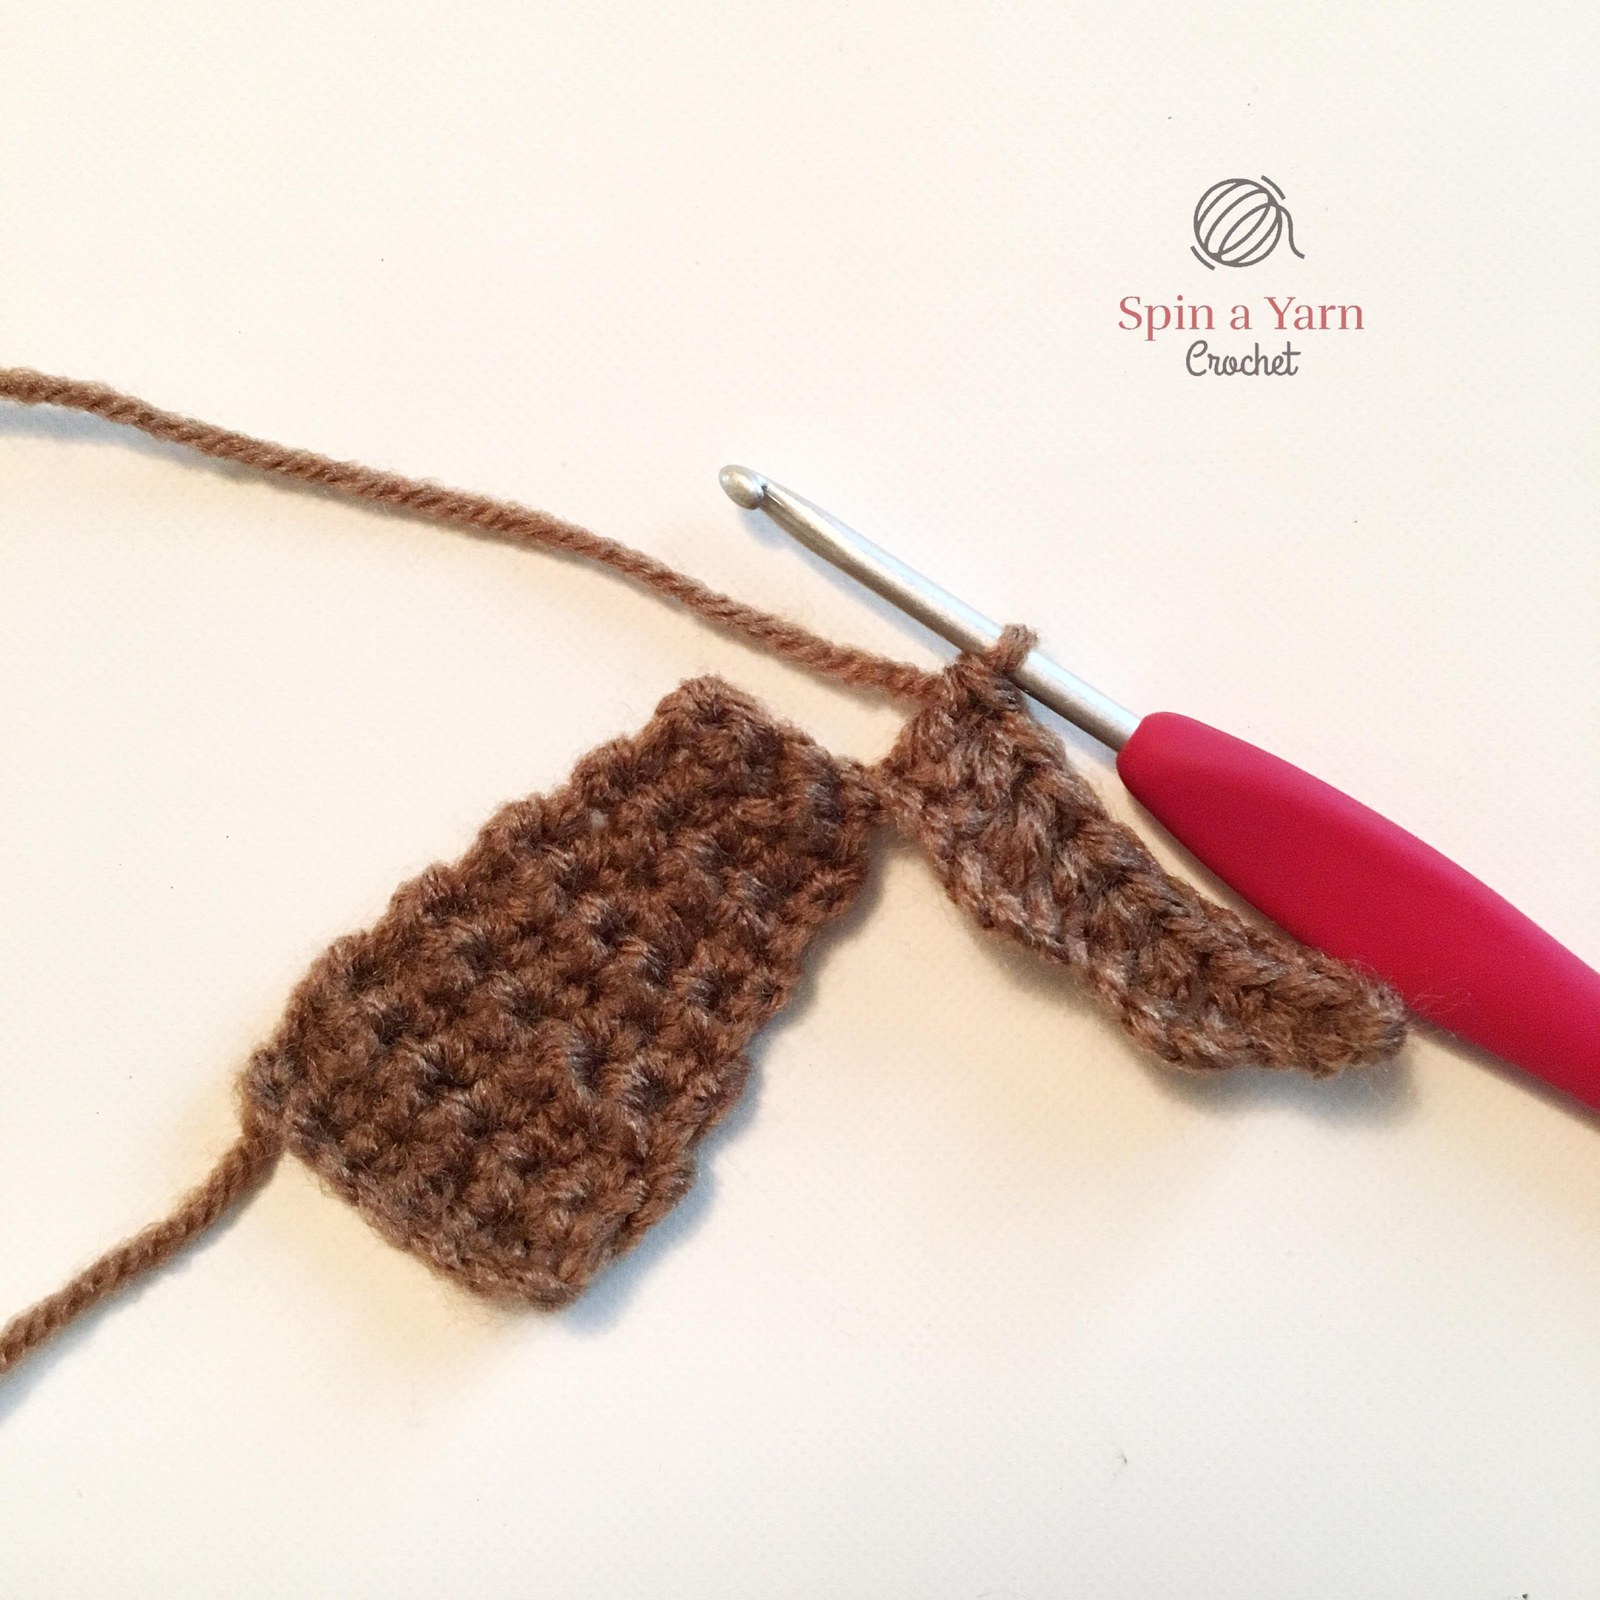
Place front and back brown panels together with right sides out.
Sandwich tiny ears at head corners.
Single crochet around the perimeter in brown yarn, working through both layers.
Progressively stuff the tail lightly and the body/head firmly with polyfill.
Join final stitch with sl st, knot, and weave in all yarn tails.
Tag @stitchandpetal on Instagram so we can share your finished make!
Frequently Asked Questions
Frequently Asked Questions
Clear answers to common gauge, yarn weight, and technique inquiries
Yes! Crochet a tiny yellow seashell (5 shell stitches in ring) or mini silver fish and stitch it between the otter's resting paws. It adds incredible charm!
Related Patterns & Masterclasses
Handpicked free crochet tutorials and verified printable PDF blueprints based on your interests.
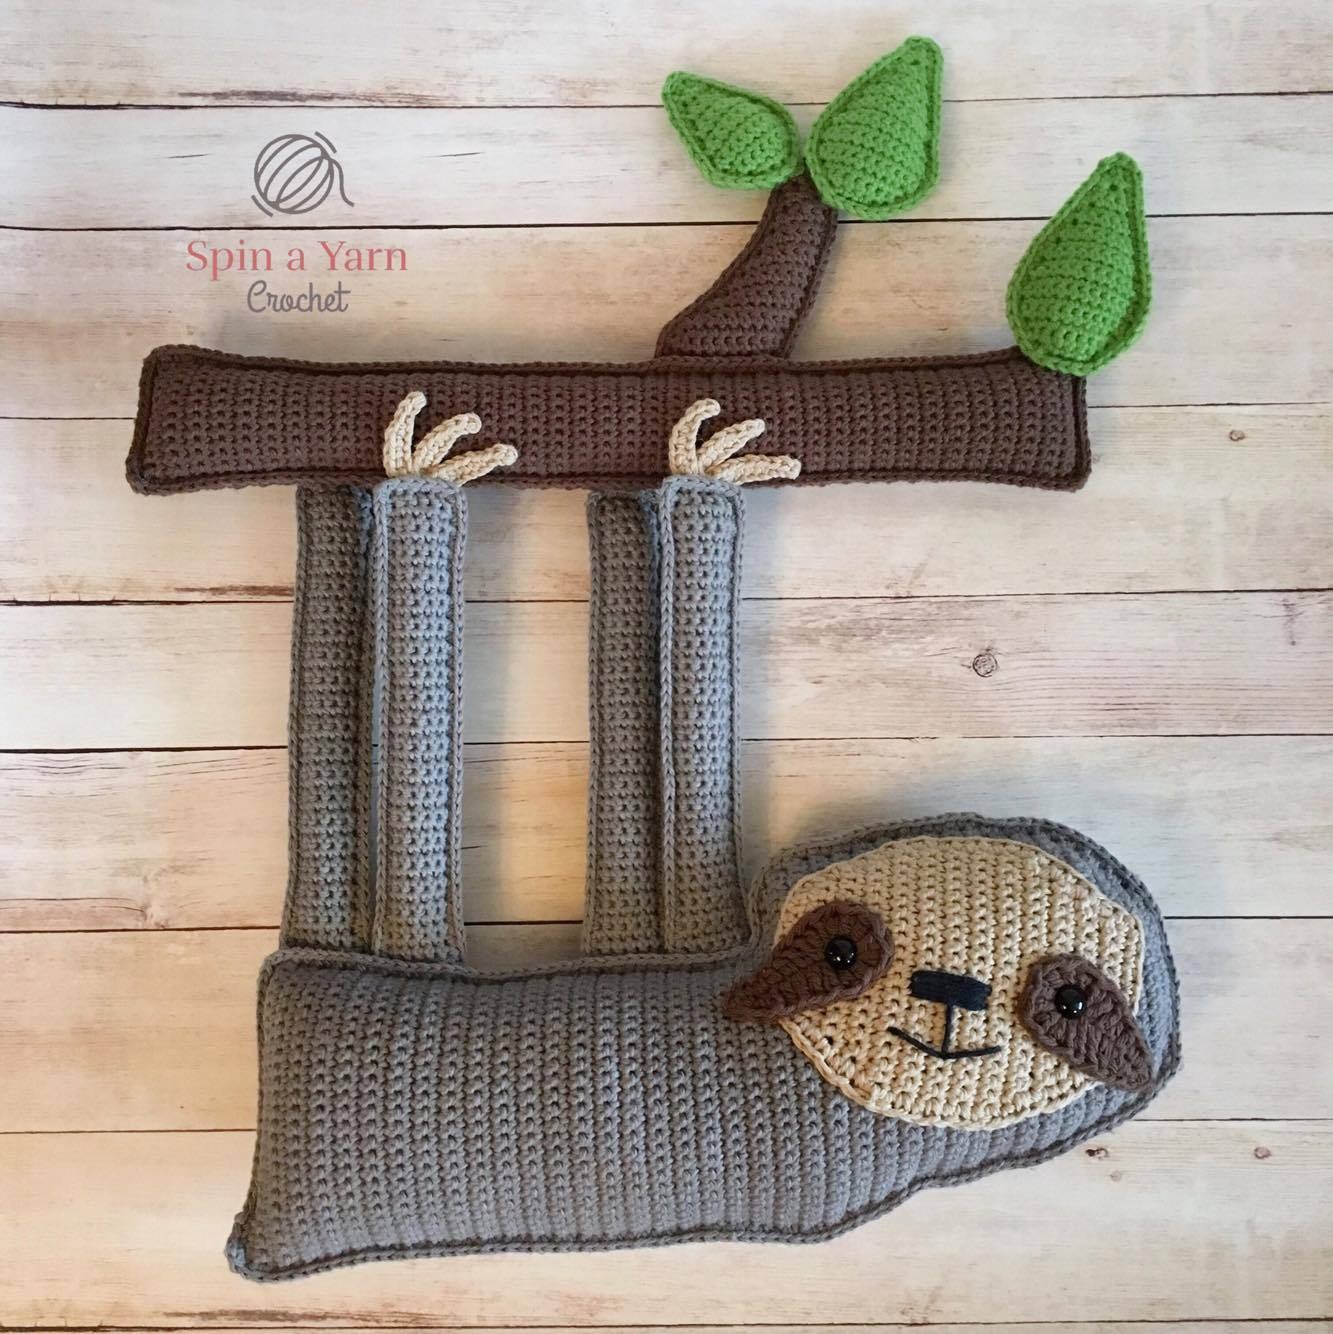
How to Crochet a Ragdoll Sloth Amigurumi: Free Pattern & Photo Guide
Take it slow and steady with this adorable ragdoll sloth! Made from two flat body panels joined with single crochet, complete with sleepy eye patches and stitched claws.
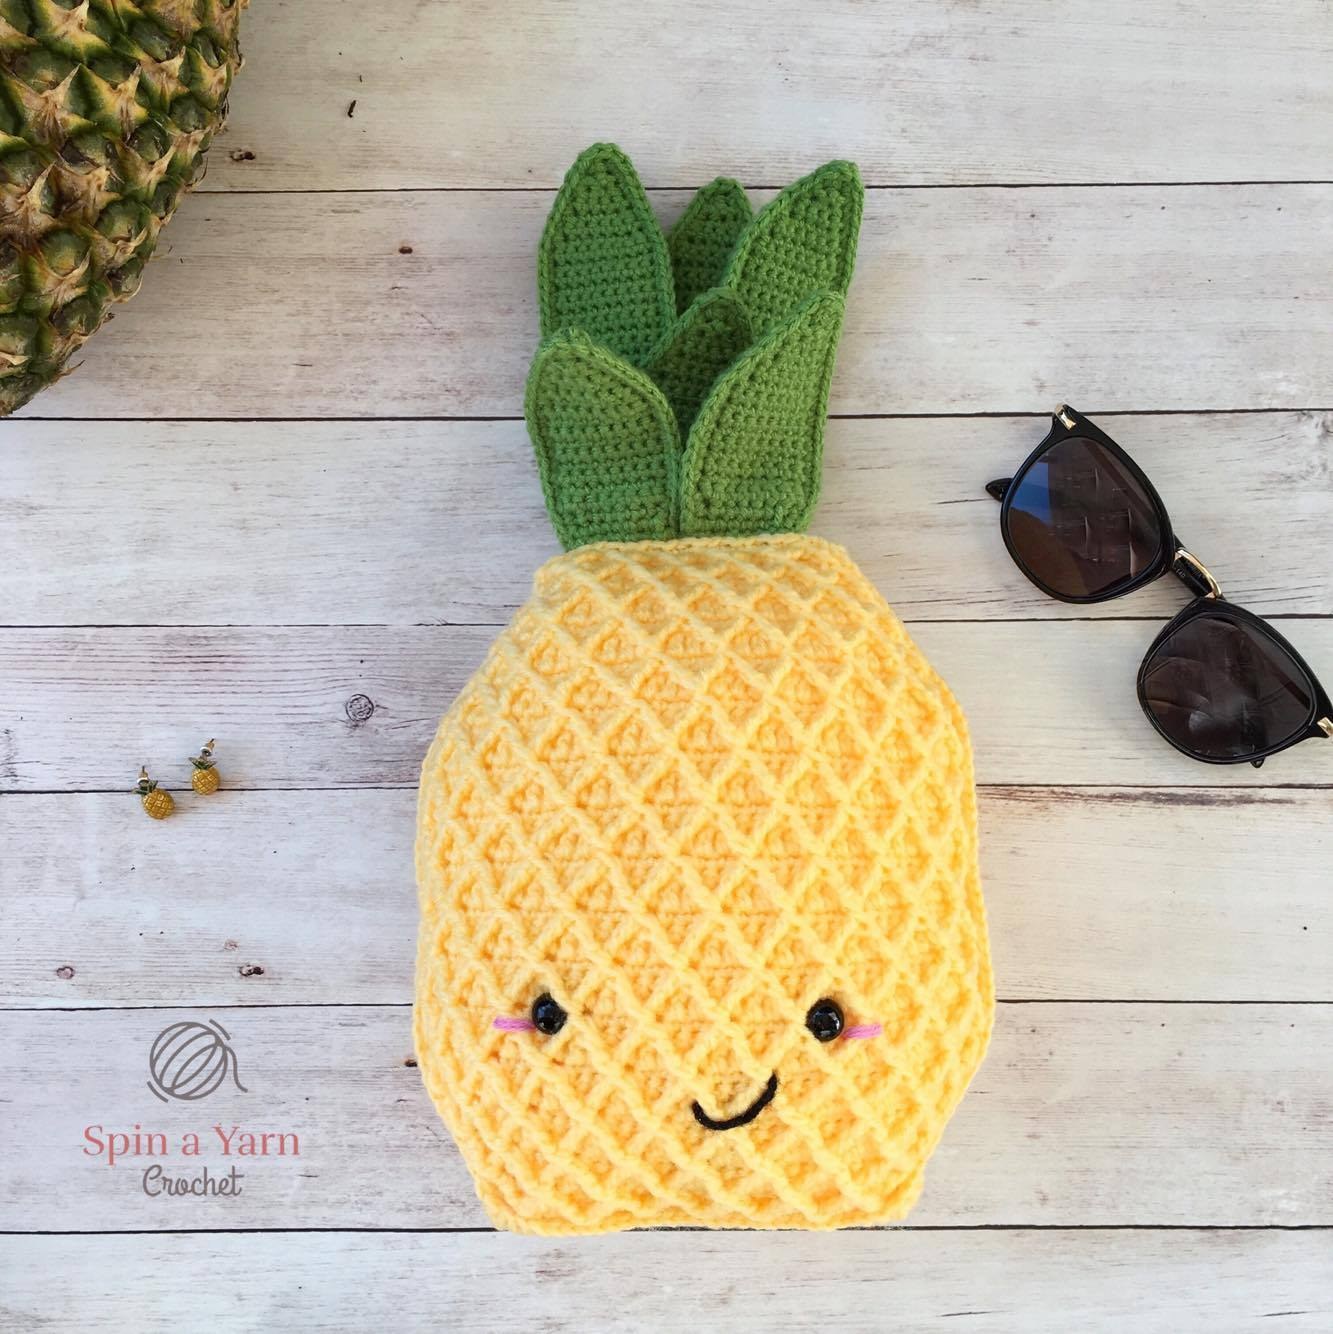
How to Crochet a Kawaii Pineapple Plushie: Free Pattern & Photo Tutorial
Bring tropical sunshine into your home with this adorable kawaii pineapple plushie! Crafted with textured puff stitches in vibrant yellow and topped with a cluster of spiky green leaves.
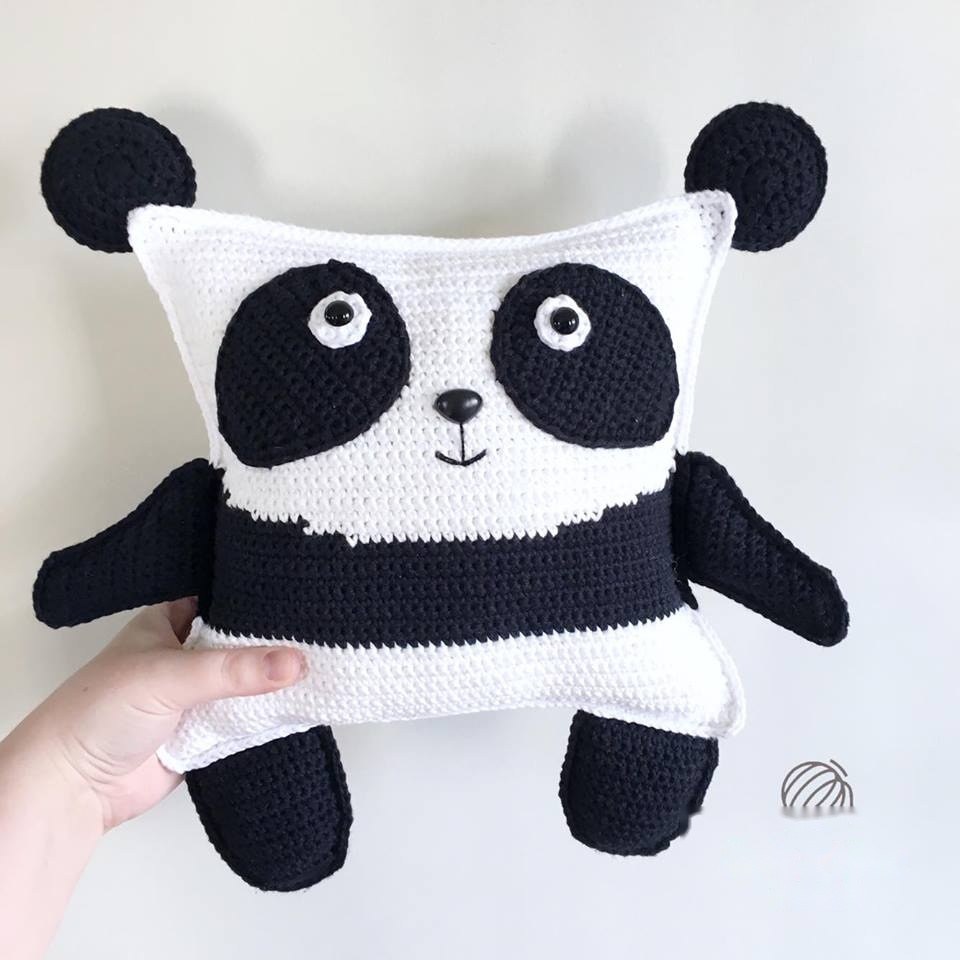

How to Crochet a Pudgy Panda Plushie: Free Pattern & Step-by-Step Guide
Meet this charming pudgy panda! Made from easy flat panels in classic monochrome black and white, featuring signature teardrop eye patches and adorable round ears.