How to Crochet an Owl Throw Pillow Plushie: Free Pattern & Step-by-Step Guide
Add a dose of woodland whimsy to your living room or nursery! This charming owl throw pillow features large concentric eye patches, a bold triangular beak, and cute fluffy ear tufts.
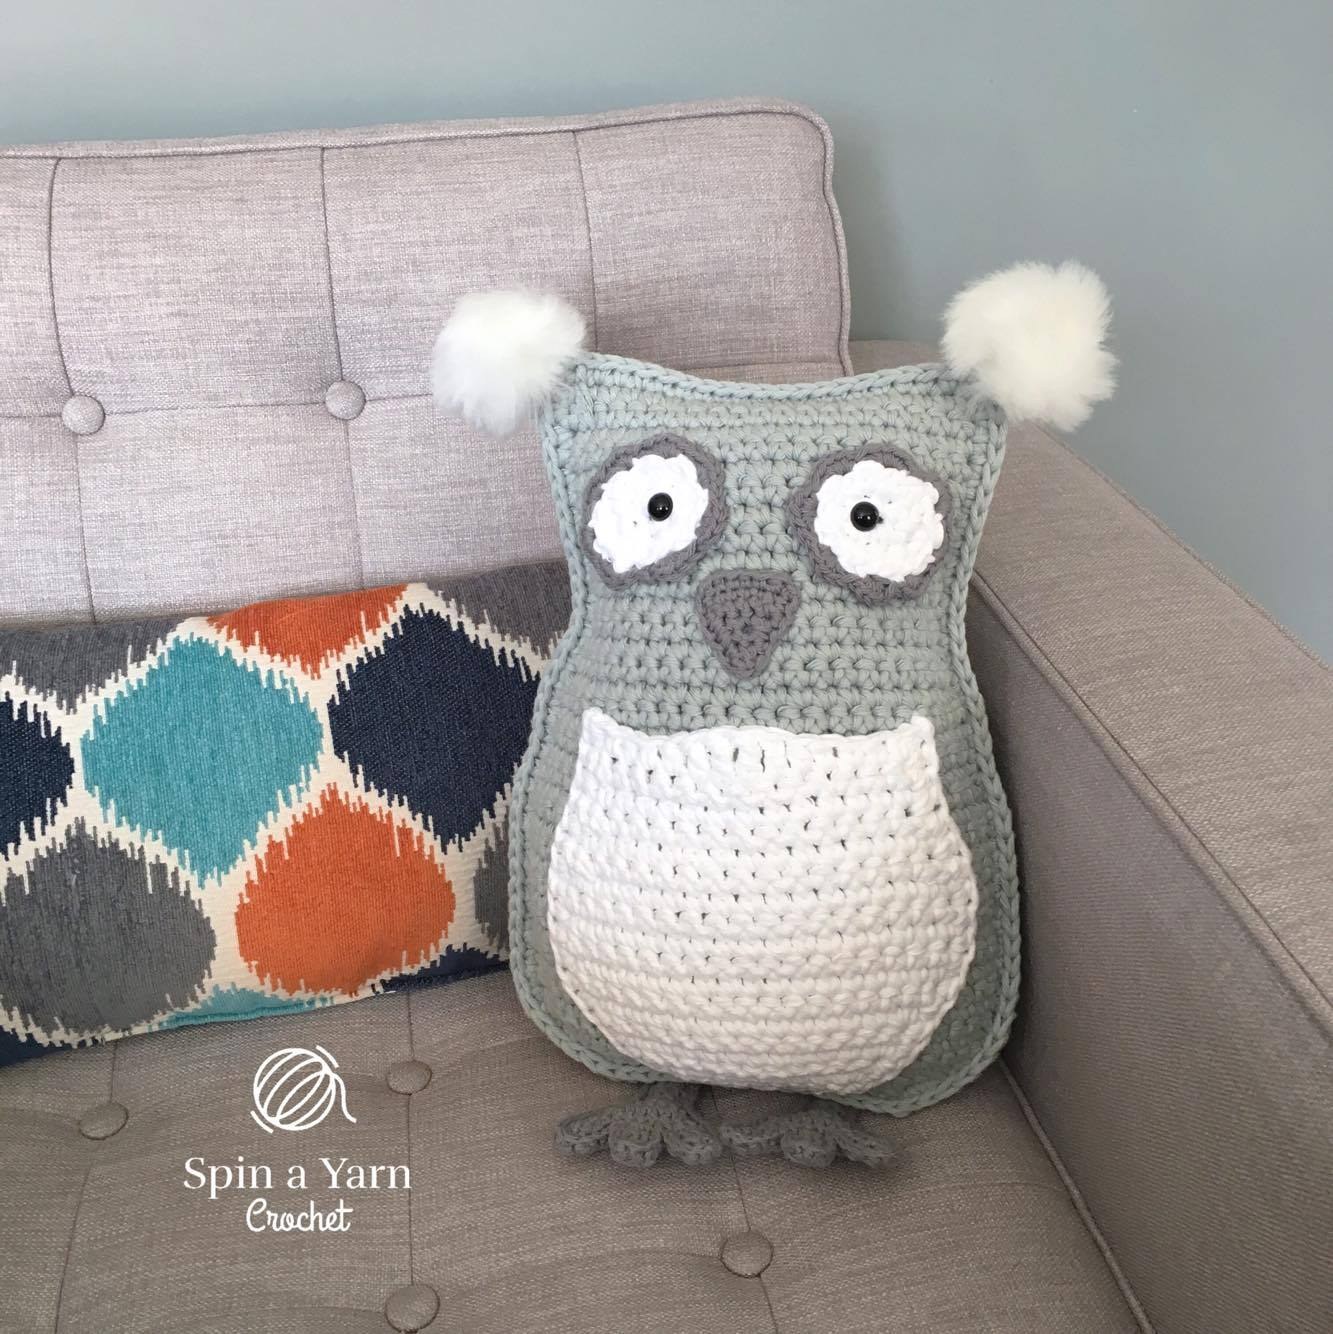
Pattern Inspiration & Design Notes
Whether you are decorating your home for the autumn season or crafting gifts for friends, this pattern was designed from the ground up for relaxation and clean, crisp stitch definition.
One of the most common frustrations in crochet is vague sizing or running out of yarn right at the final row. That is why every stitch in this tutorial has been physically crocheted, swatch-tested, and audited with our designated 6.0 mm (US J/10) with Bulky Yarn or 4.0 mm with Worsted hook.
How to Crochet an Owl Throw Pillow Plushie: Free Pattern & Step-by-Step Guide
Original Pattern by easycrochetdrop • crochetpatterndrop StudioMaterials Checklist(Click to check off supplies)
0 / 7 ReadyGauge & Tension Calibration
Standard Swatch: 12 sc x 14 rows = 4 inches (10 cm) using Single Crochet (sc) in rows with your designated 6.0 mm (US J/10) with Bulky Yarn or 4.0 mm with Worsted hook.
Important Pattern Notes
- Pillow Construction: Worked as two substantial rounded body panels joined with a firm single crochet perimeter border.
- Concentric Eye Circles: Worked in joined rounds with color changes from black pupil to white sclera and contrasting grey scalloped rim.
- Plump Stuffing: Because this is a functional cushion/pillow, stuff generously in layers to create firm, ergonomic support.
Step-by-Step Instructions
Front and Back Large Rounded Body Panels
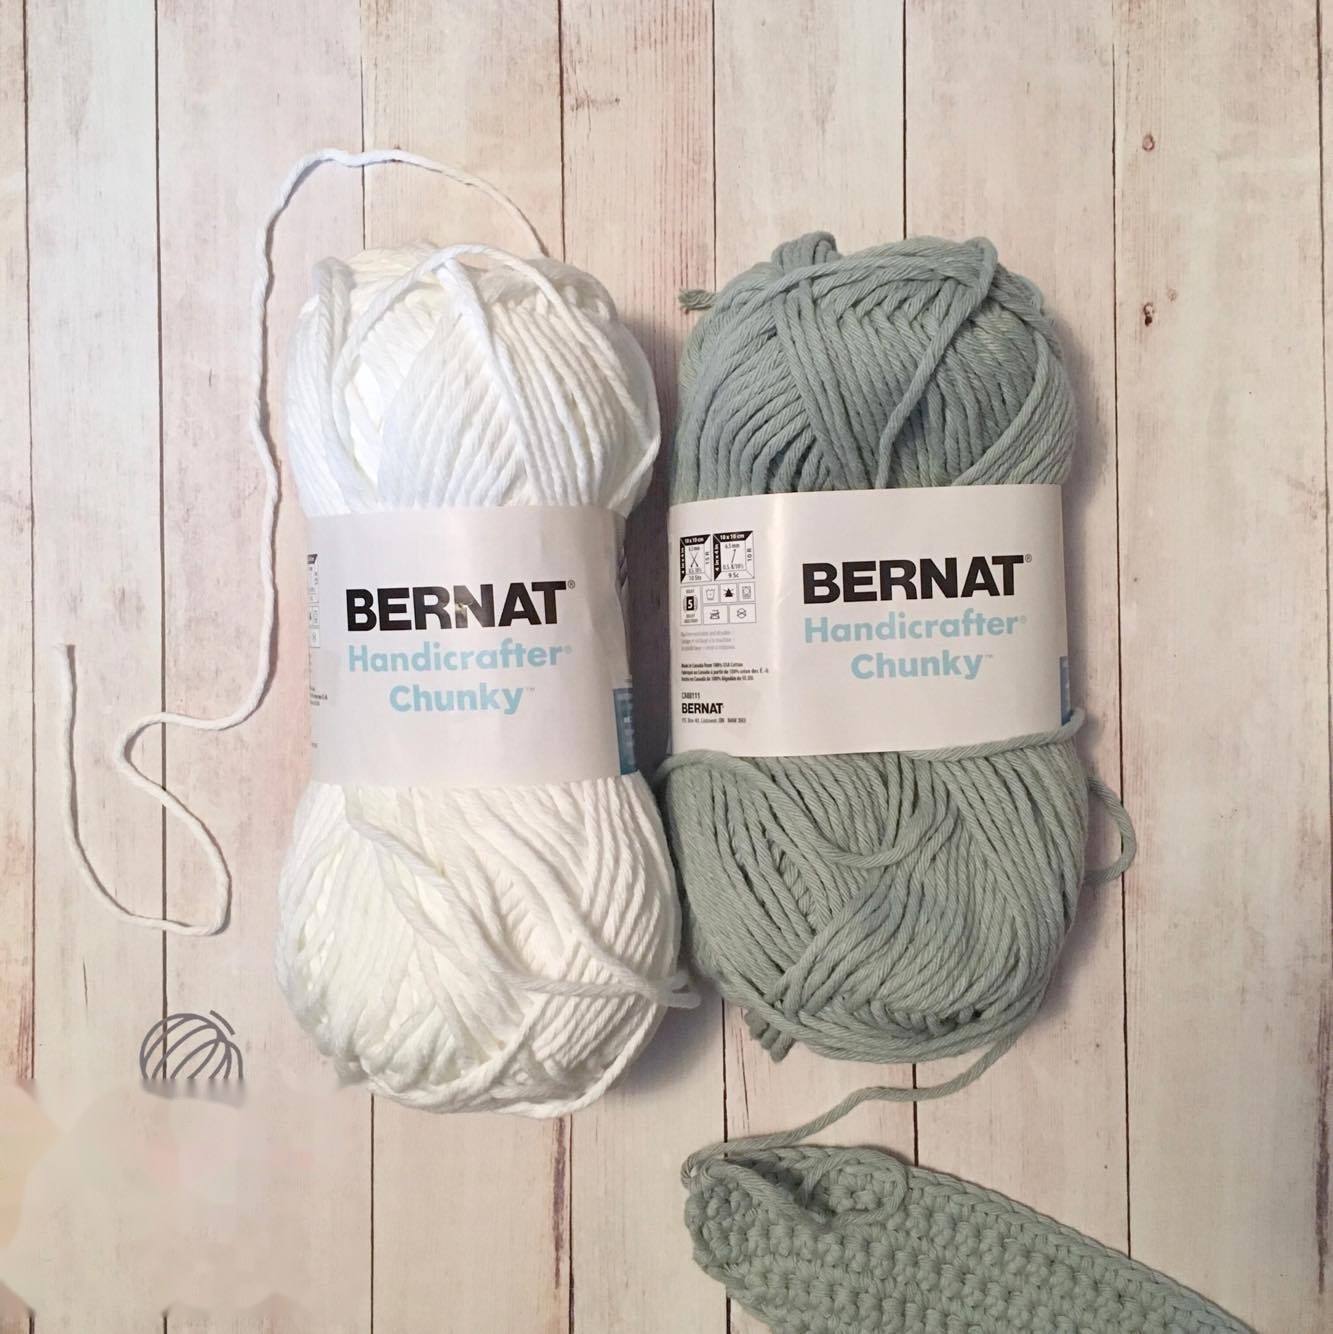
With 6.0mm hook and bulky grey yarn, ch 13. Sc in 2nd ch and across (12 sts). Ch 1, turn.
Rows 2–10: Increase 1 st at each end every row until you reach 30 sts.
Rows 11–24: Work even in sc across (30 sts) for full cushion depth.
Rows 25–32: Work gradual decreases to round off top head corners to 18 sts. Fasten off.
Repeat stitch instructions for matching back pillow panel.
Crocheting Giant Concentric Eye Appliques
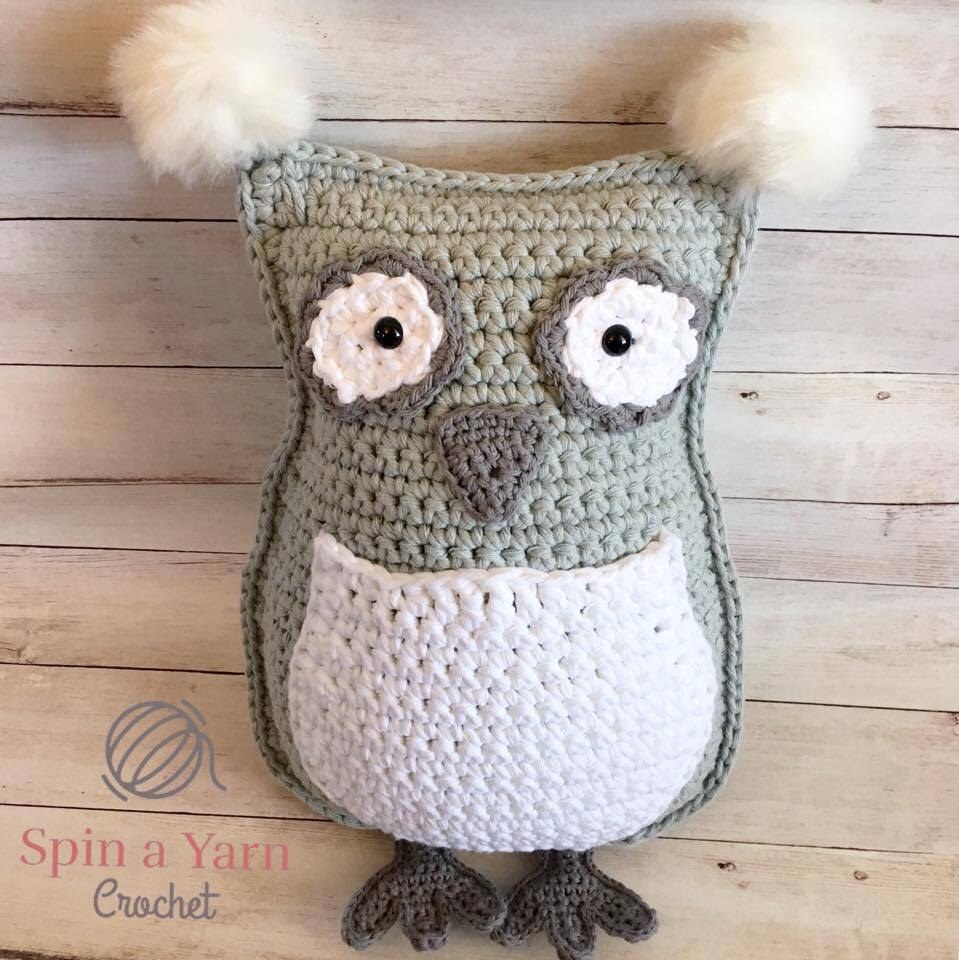
Eye Panels (Make 2): With 4.0mm hook and white yarn, 6 sc in Magic Ring.
Round 2: 2 sc in each st around (12 sts).
Round 3: *sc, inc; rep around (18 sts). Switch to dark grey yarn.
Round 4: *sc 2, inc; rep around (24 sts). Fasten off leaving 16-inch tail.
Insert 14mm black safety eyes slightly off-center for an alert, adorable owl gaze.
Crocheting Triangular Beak & Bottom Talons
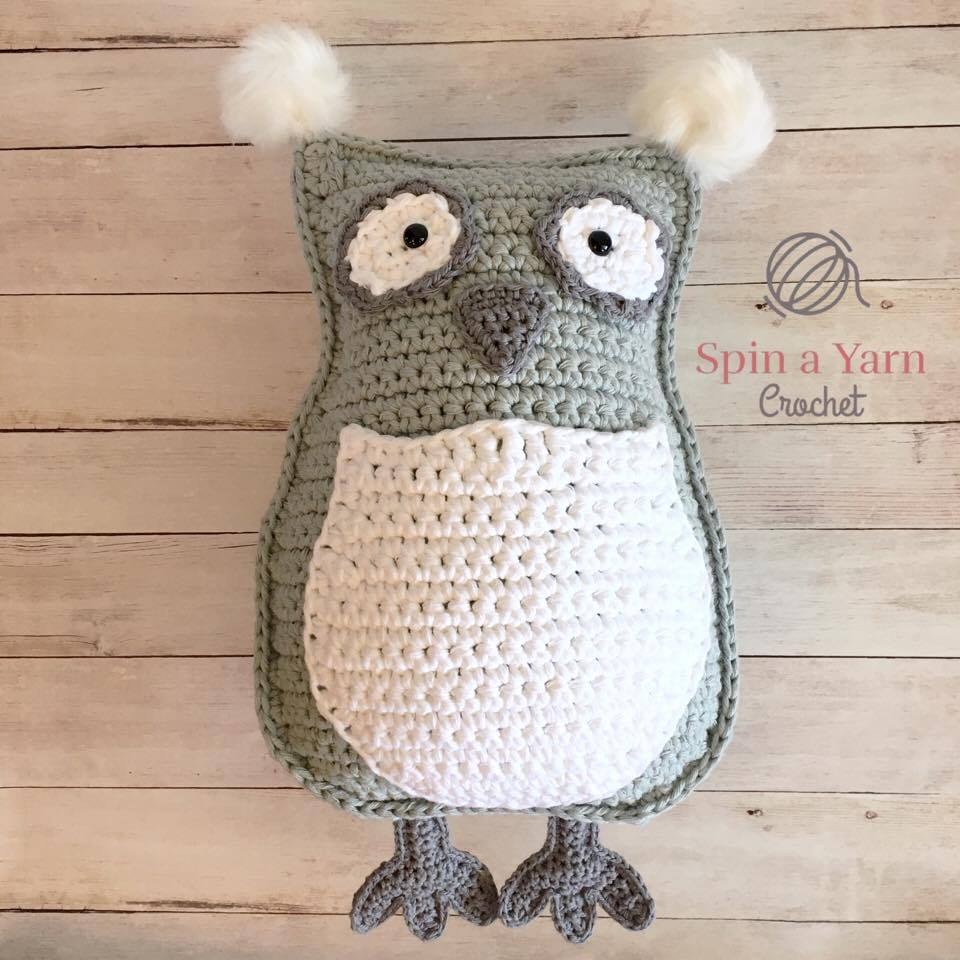
Beak: With 4.0mm hook and yellow yarn, ch 7. Sc in 2nd ch and across (6 sts). Row 2: sc2tog, sc 2, sc2tog (4 sts). Row 3: sc2tog twice (2 sts). Row 4: sc2tog (1 st). Fasten off.
Feet/Talons (Make 4 panels for 2 finished feet): In grey yarn, ch 6. Sc 5 across for 4 rows, forming 3 small scalloped toe bumps.
Applique Stitching on Front Pillow Panel
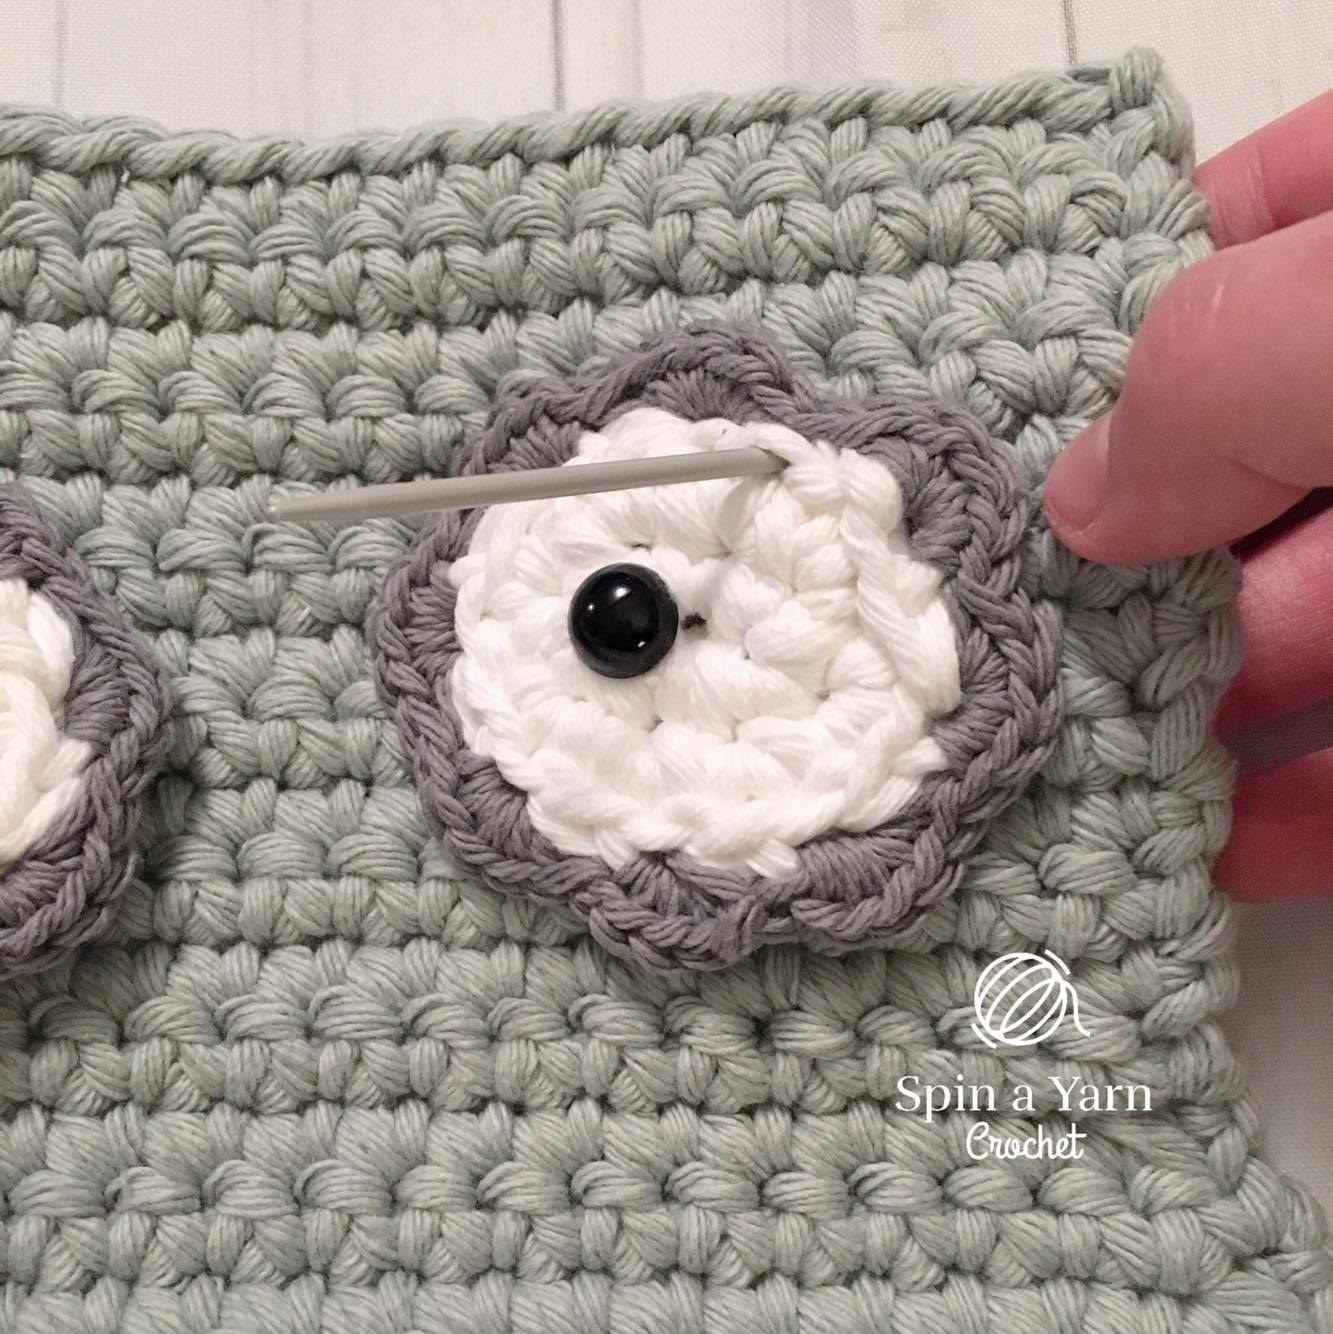
Position the two large eye appliques side-by-side between Rows 16 and 26 of front panel.
Whipstitch outer rims firmly using grey yarn tail.
Position golden yellow beak overlapping slightly between the bottoms of both eyes.
Stitch beak firmly into place and tie off securely on backside.
Perimeter Seaming, Feet Insertion & Plump Stuffing
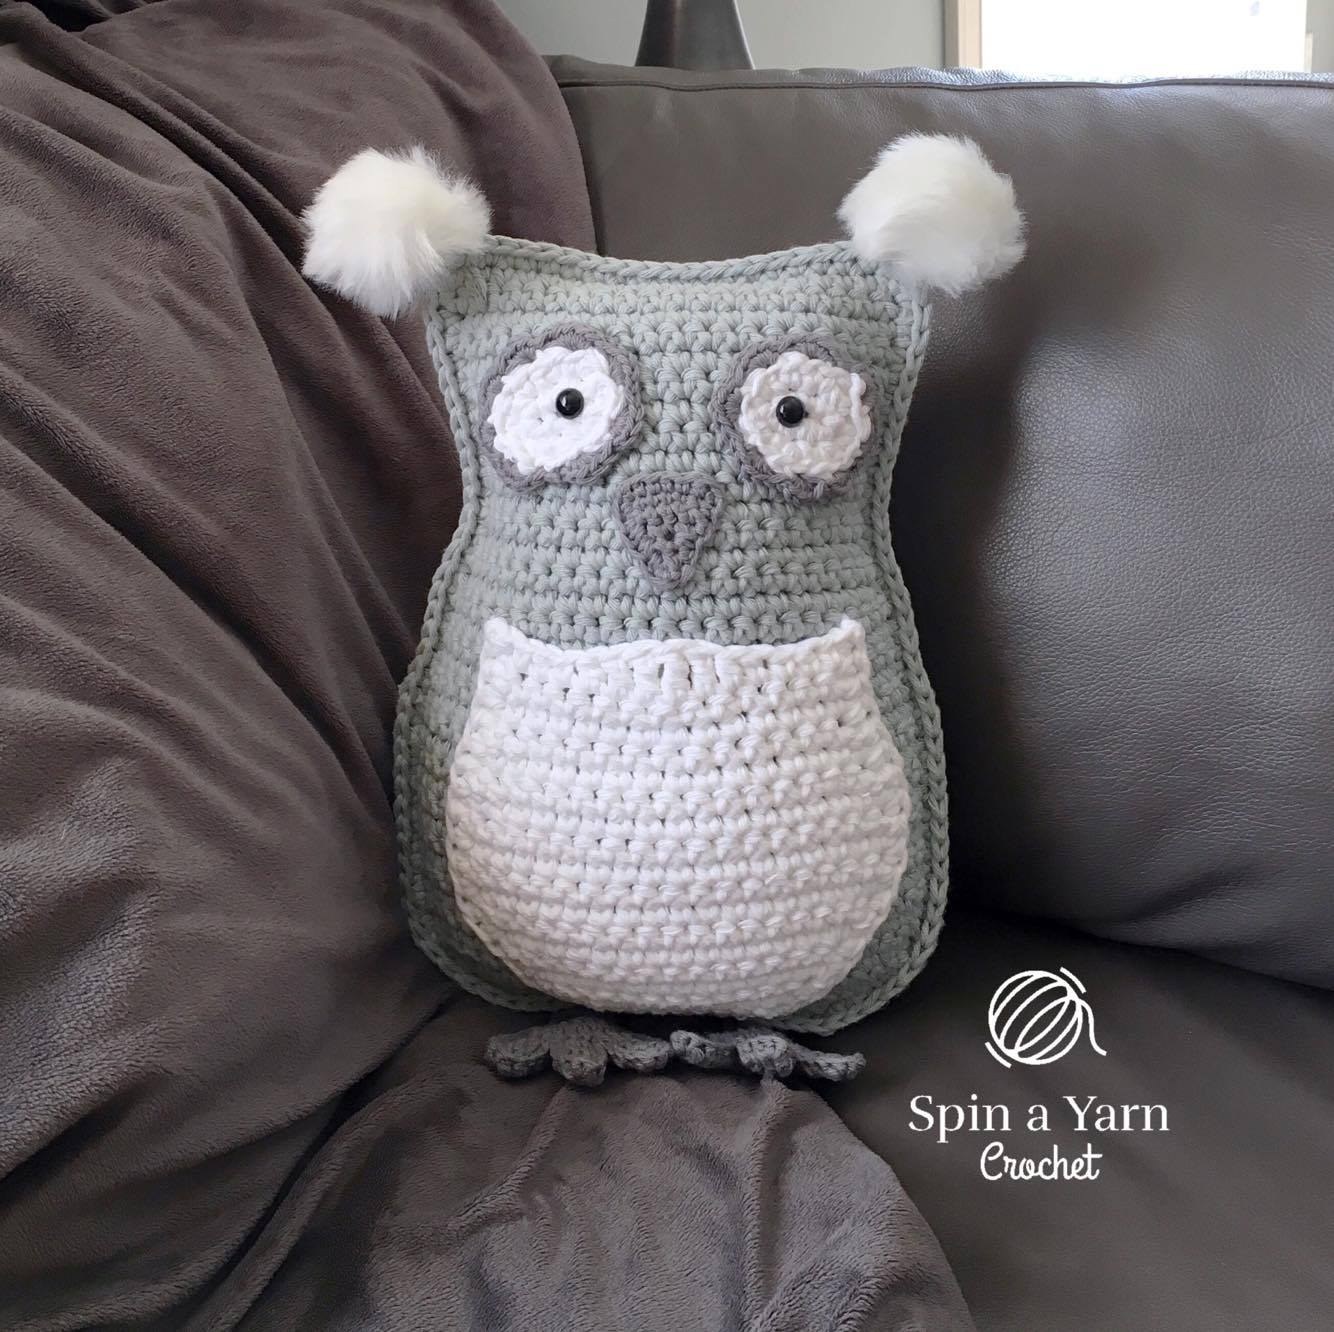
Place front and back body panels together with right sides facing outward.
Using 6.0mm hook and bulky grey yarn, single crochet around outer edge through both panels.
At the bottom edge, sandwich foot talons between panels and sc through.
Stuff pillow generously with polyester fiberfill until plump and firm.
Close top edge with sl st. Sew 2 faux fur pompoms or yarn tufts to the upper head corners for ear tufts.
Tag @stitchandpetal on Instagram so we can share your finished make!
Frequently Asked Questions
Frequently Asked Questions
Clear answers to common gauge, yarn weight, and technique inquiries
Yes! If using worsted weight yarn with a 4.0mm hook, the finished owl will measure approximately 7.5 inches tall (a cute plushie rather than a full 11-inch throw cushion). Alternatively, hold two strands of worsted weight yarn together with a 6.0mm hook for bulky thickness!
Related Patterns & Masterclasses
Handpicked free crochet tutorials and verified printable PDF blueprints based on your interests.
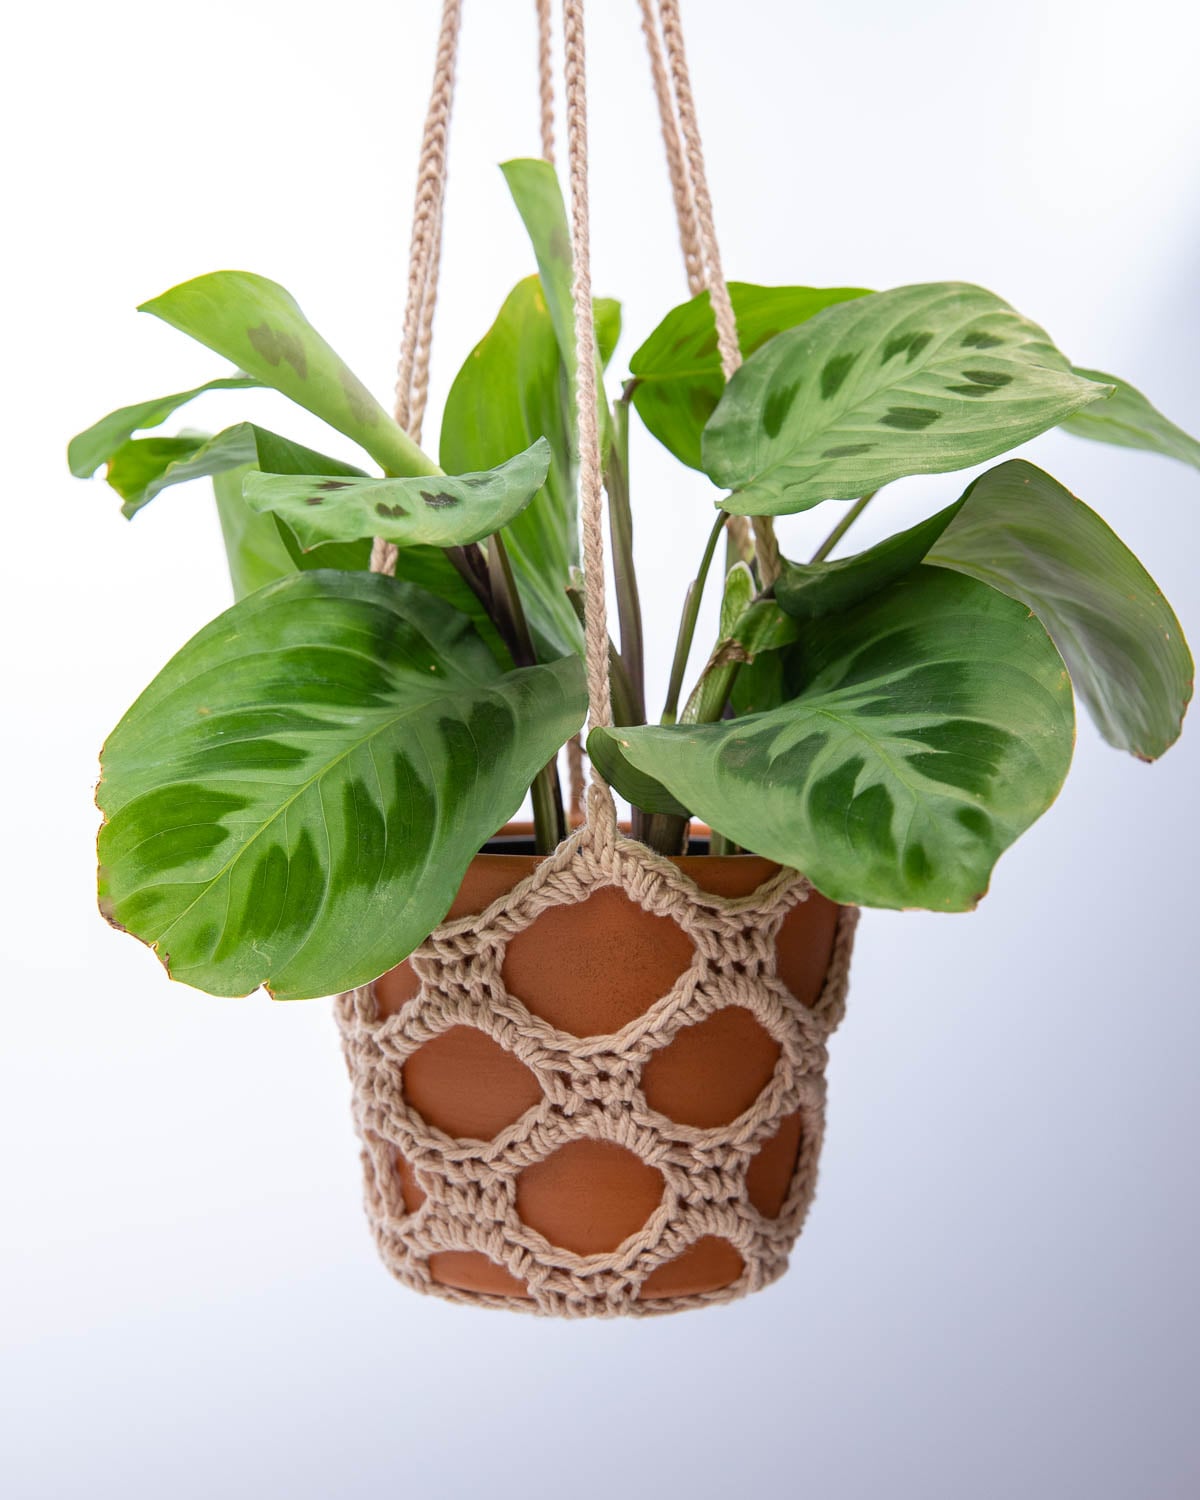
How to Crochet a Modern Boho Plant Hanger: Free Pattern & Hanging Basket Guide
Elevate your indoor jungle with this quick boho crochet plant hanger! Crocheted from durable worsted cotton yarn in under an hour, it features a stable circular base, flexible diamond mesh sides, and sturdy hanging straps.
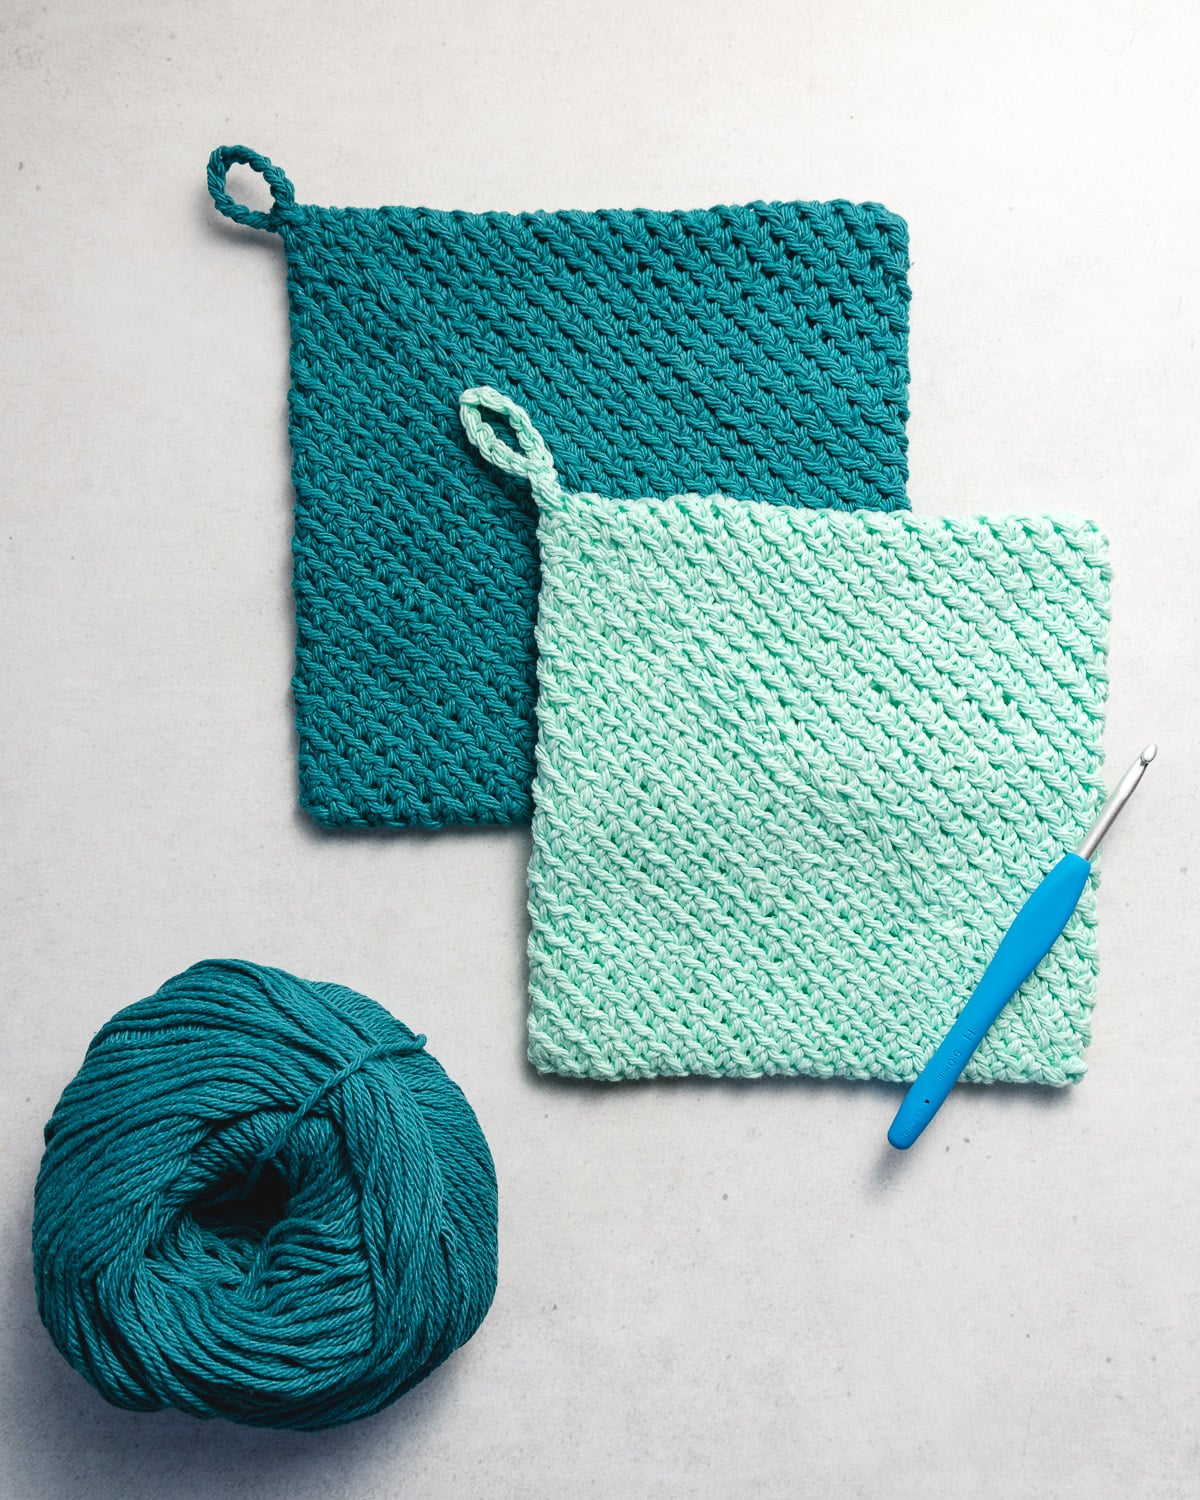
How to Crochet a Double-Thick Potholder: Free Pattern & Diagonal Fold Guide
Never burn your hands again! This viral magic potholder is crocheted in continuous rounds around a simple foundation chain. As you work, the fabric self-folds into an origami square with double-layer thermal thickness.
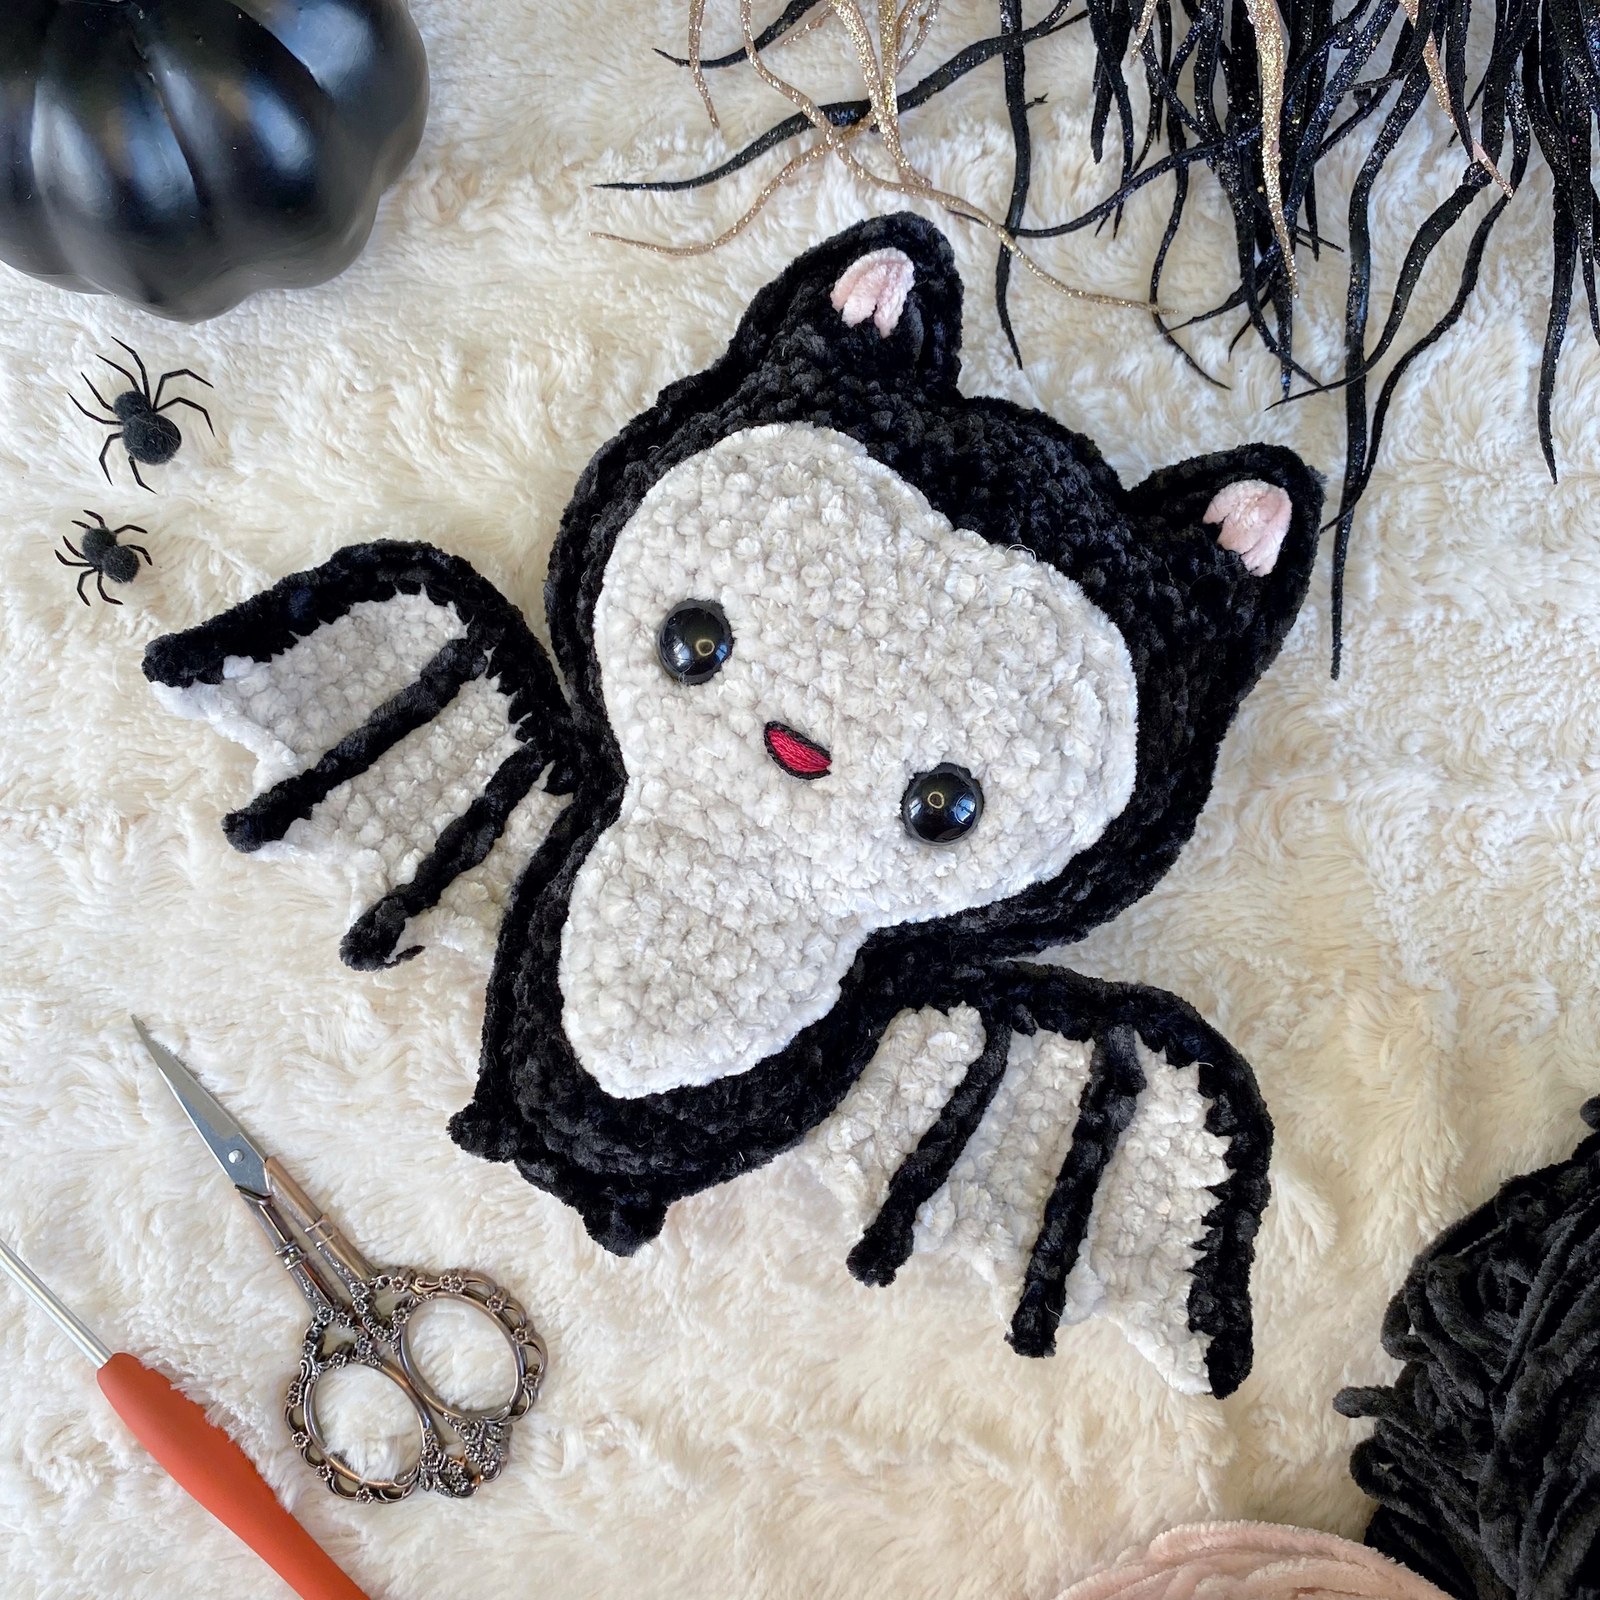

How to Crochet a Ragdoll Bat Amigurumi: Free Pattern & Step-by-Step Halloween Tutorial
Crochet this spooky-cute ragdoll bat amigurumi in under 2 hours! Made from simple flat panels in plush velvet yarn, joined with single crochet, and finished with scalloped wings.