How to Crochet a Ragdoll Sloth Amigurumi: Free Pattern & Photo Guide
Take it slow and steady with this adorable ragdoll sloth! Made from two flat body panels joined with single crochet, complete with sleepy eye patches and stitched claws.
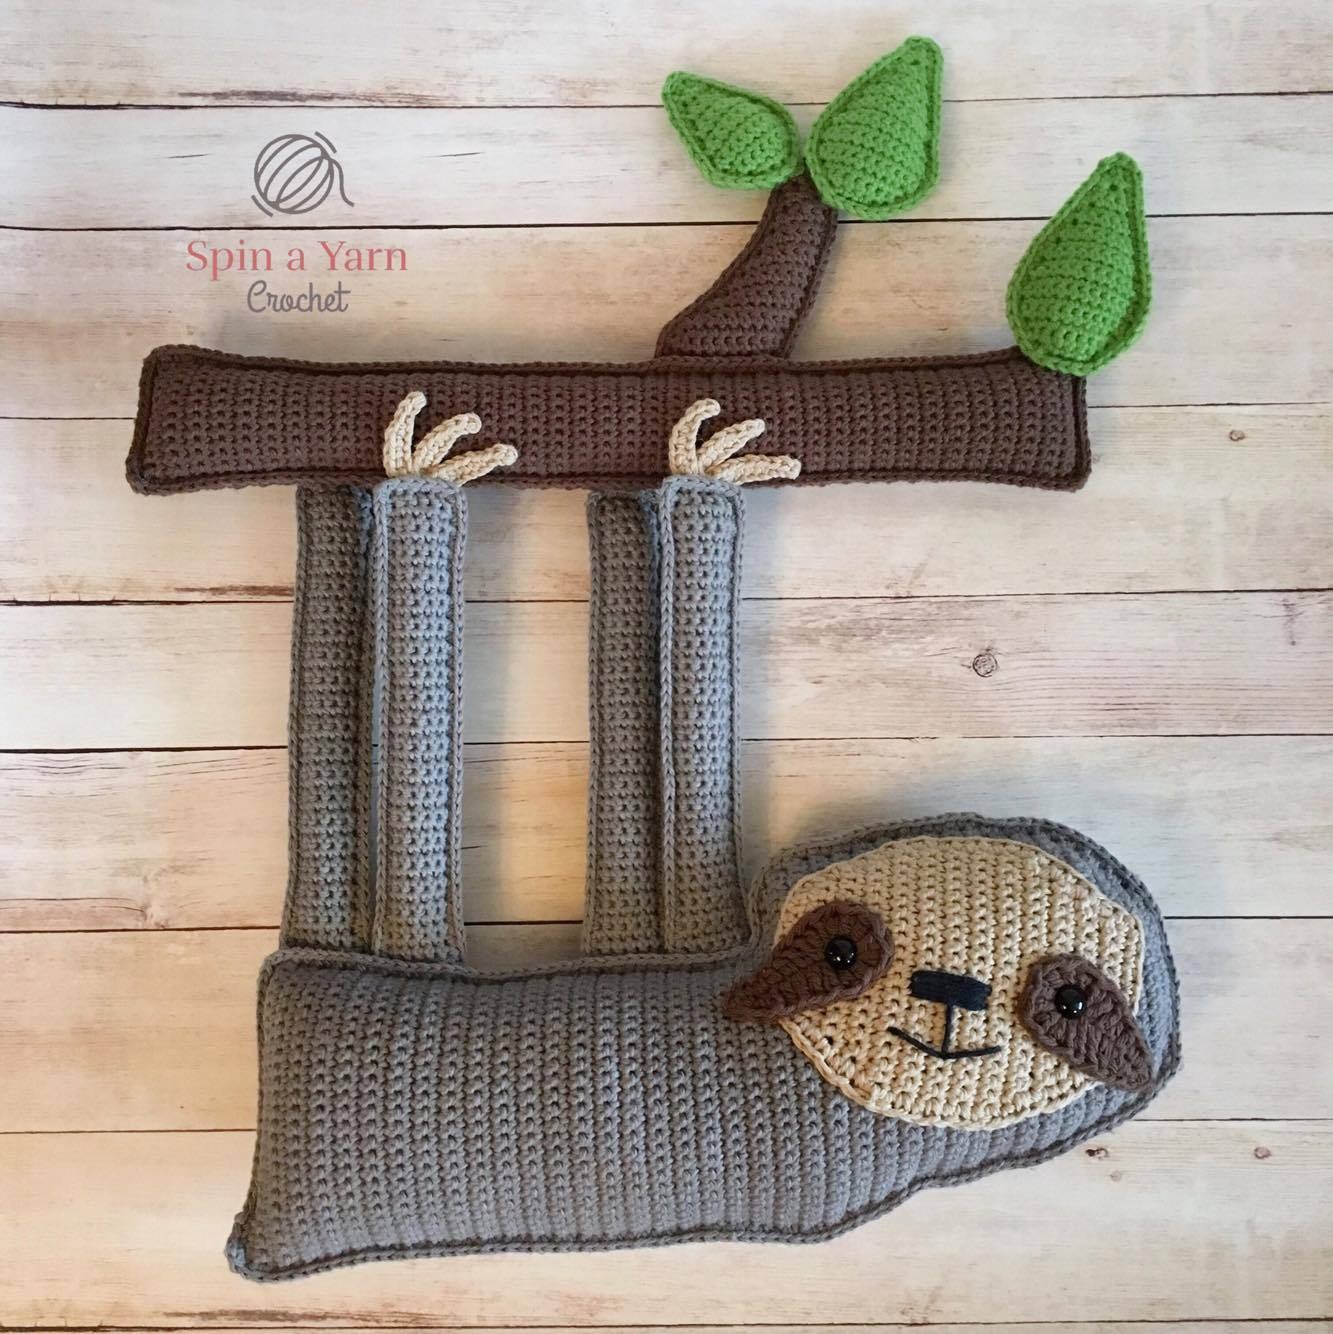
Pattern Inspiration & Design Notes
Whether you are decorating your home for the autumn season or crafting gifts for friends, this pattern was designed from the ground up for relaxation and clean, crisp stitch definition.
One of the most common frustrations in crochet is vague sizing or running out of yarn right at the final row. That is why every stitch in this tutorial has been physically crocheted, swatch-tested, and audited with our designated 3.5 mm (US E/4) hook.
How to Crochet a Ragdoll Sloth Amigurumi: Free Pattern & Photo Guide
Original Pattern by easycrochetdrop • crochetpatterndrop StudioMaterials Checklist(Click to check off supplies)
0 / 7 ReadyGauge & Tension Calibration
Standard Swatch: 20 sc x 22 rows = 4 inches (10 cm) using Single Crochet (sc) in rows with your designated 3.5 mm (US E/4) hook.
Important Pattern Notes
- Ragdoll Construction: Worked as separate 2D front and back body panels, which are aligned and single-crocheted together around the perimeter.
- Turning Chains: Ch 1 at the end of each row does not count as a stitch. Begin Row 1 in the 2nd chain from hook.
- Applique Order: Always sew the cream face mask, dark brown eye patches, and snout onto the front body panel before seaming panels together.
- Gentle Stuffing: Stuff lightly as you crochet around the perimeter. Overstuffing causes 2D ragdolls to warp outward.
Step-by-Step Instructions
Front and Back Body Panels (Rows 1–32)
With 3.5mm hook and tan yarn, ch 9. Starting in 2nd ch from hook, sc 8 (8 sts). Ch 1, turn.
Row 2: Inc, sc 6, inc (10 sts). Ch 1, turn.
Row 3: Inc, sc 8, inc (12 sts). Ch 1, turn.
Row 4: Inc, sc 10, inc (14 sts). Ch 1, turn.
Rows 5–18: Work even in sc across (26 sts).
Rows 19–32: Work decrease rows to shape shoulders and top of head, finishing at Row 32 with 14 sts.
Tie off first panel. Repeat Rows 1–32 for second body panel and set aside.
Crocheting the Cream Face Mask & Snout
Face Mask: In cream yarn, ch 10. Work 8 sc along chain, 3 sc in last ch; rotate and work 7 sc along underside, 2 sc in last st (20 sts).
Round 2: Work increase round in hdc and sc to form wide sloth cheek contours. Fasten off leaving a 14-inch tail.
Snout: In dark brown yarn, ch 6. Work 4 sc, 3 sc in last ch, 3 sc along underside, 2 sc in last ch (12 sts). Fasten off leaving tail.
Eye Patches & Facial Assembly
Eye Patches (Make 2): In dark brown yarn, ch 7. Sc across for 3 rows with slight taper. Fasten off.
Insert 10mm safety eyes through eye patches, then through cream face mask.
Using black embroidery floss or dark brown yarn, backstitch a small horizontal nose and sleepy smiling mouth on the snout.
Whipstitch the snout centered between the eye patches onto the cream face mask.
Attaching Face Applique to Front Body Panel
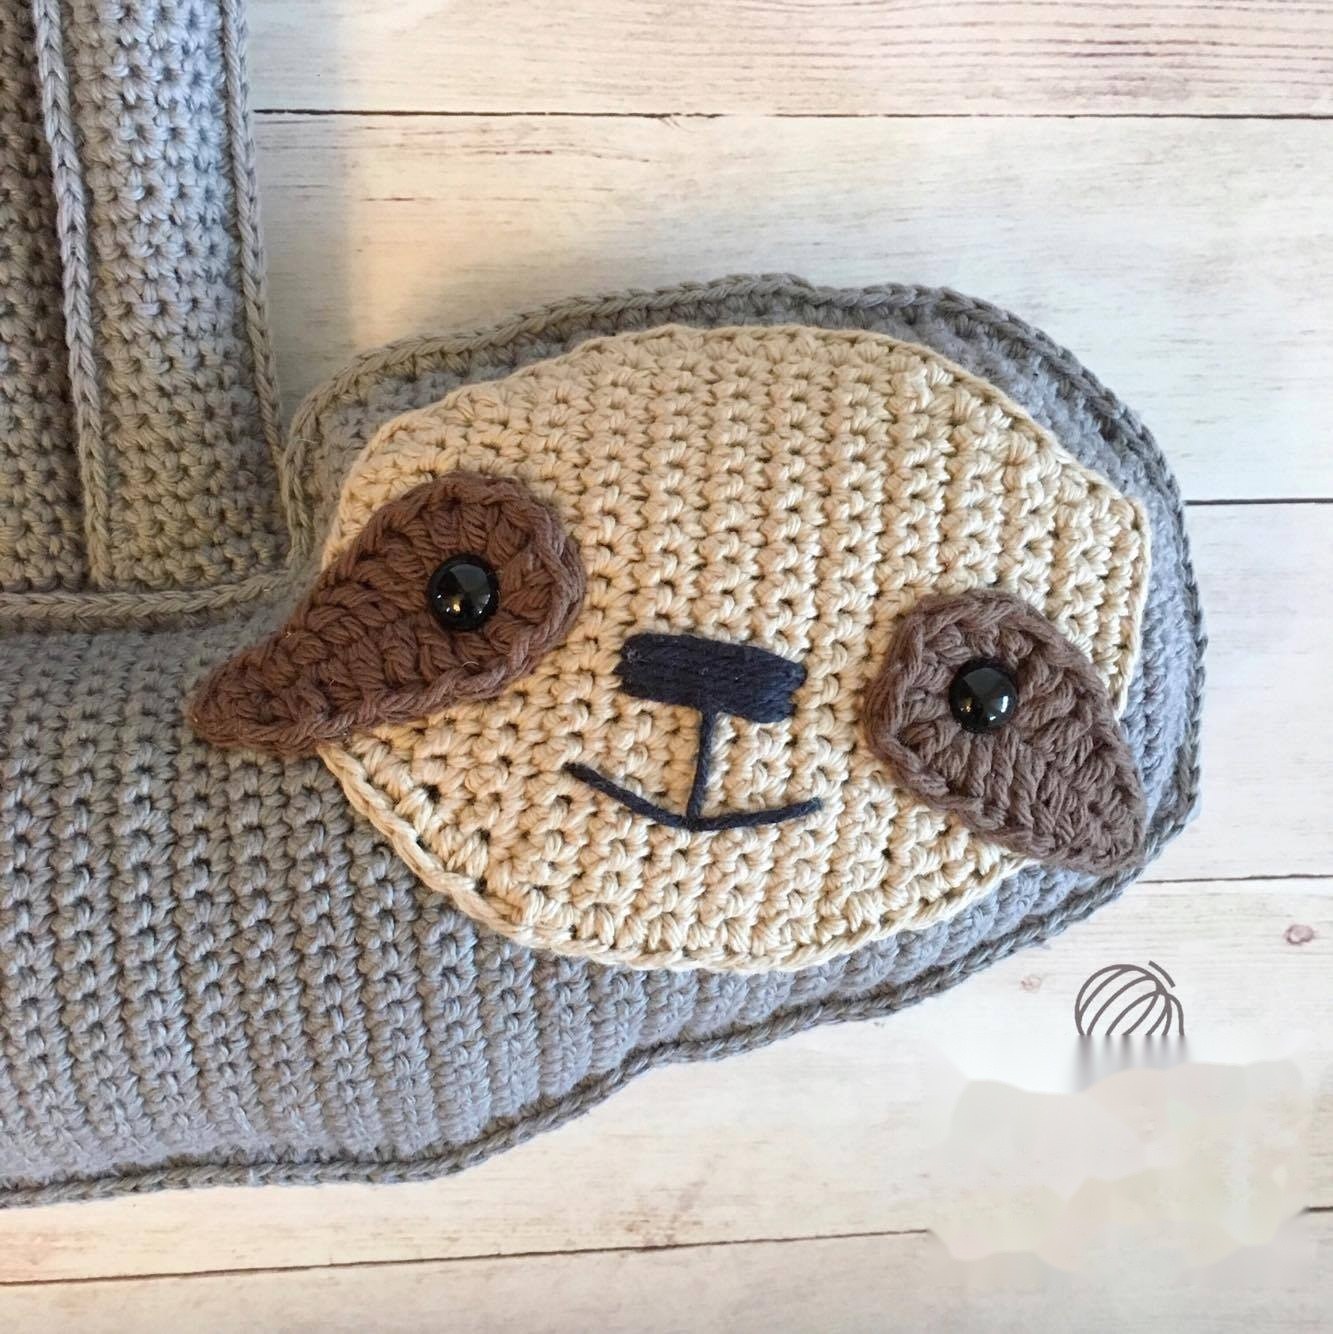
Position assembled face mask between Rows 16 and 28 of the front tan body panel.
Using cream yarn tail and tapestry needle, whipstitch through the outer loops of the face mask into the front body panel.
Ensure stitches are firm and knot securely on the backside (which will be hidden inside the stuffed plushie).
Crocheting Arms, Legs & Claws
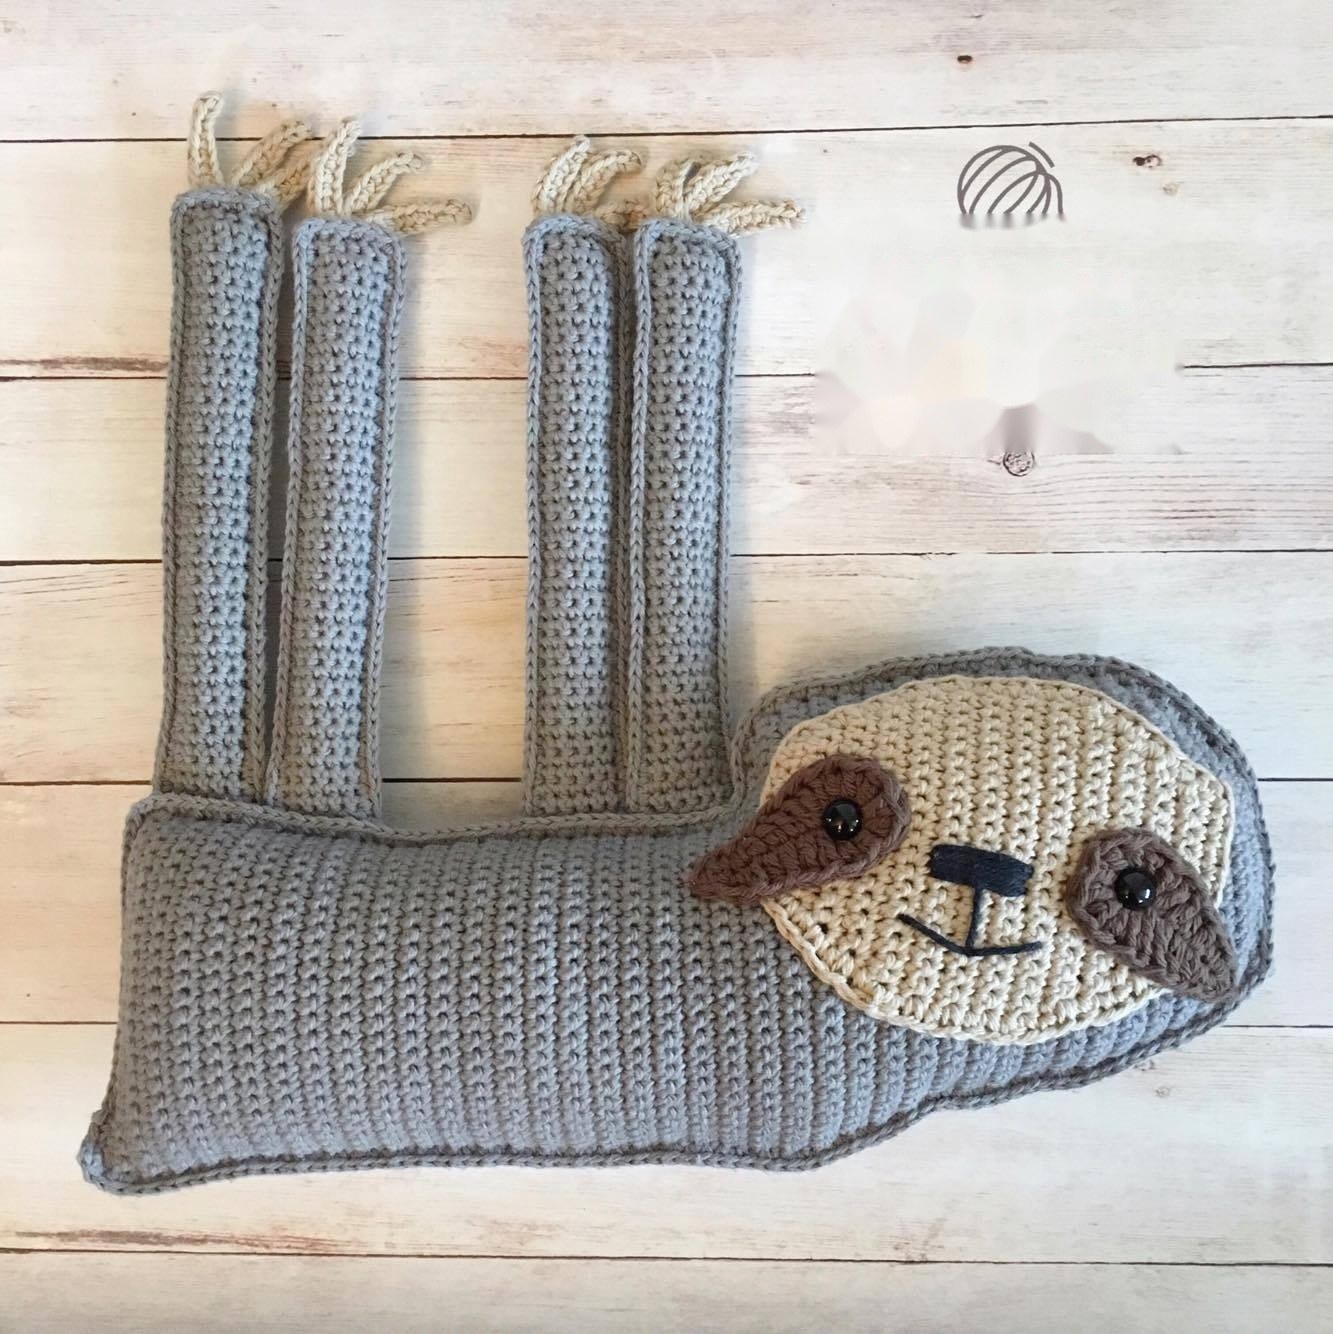
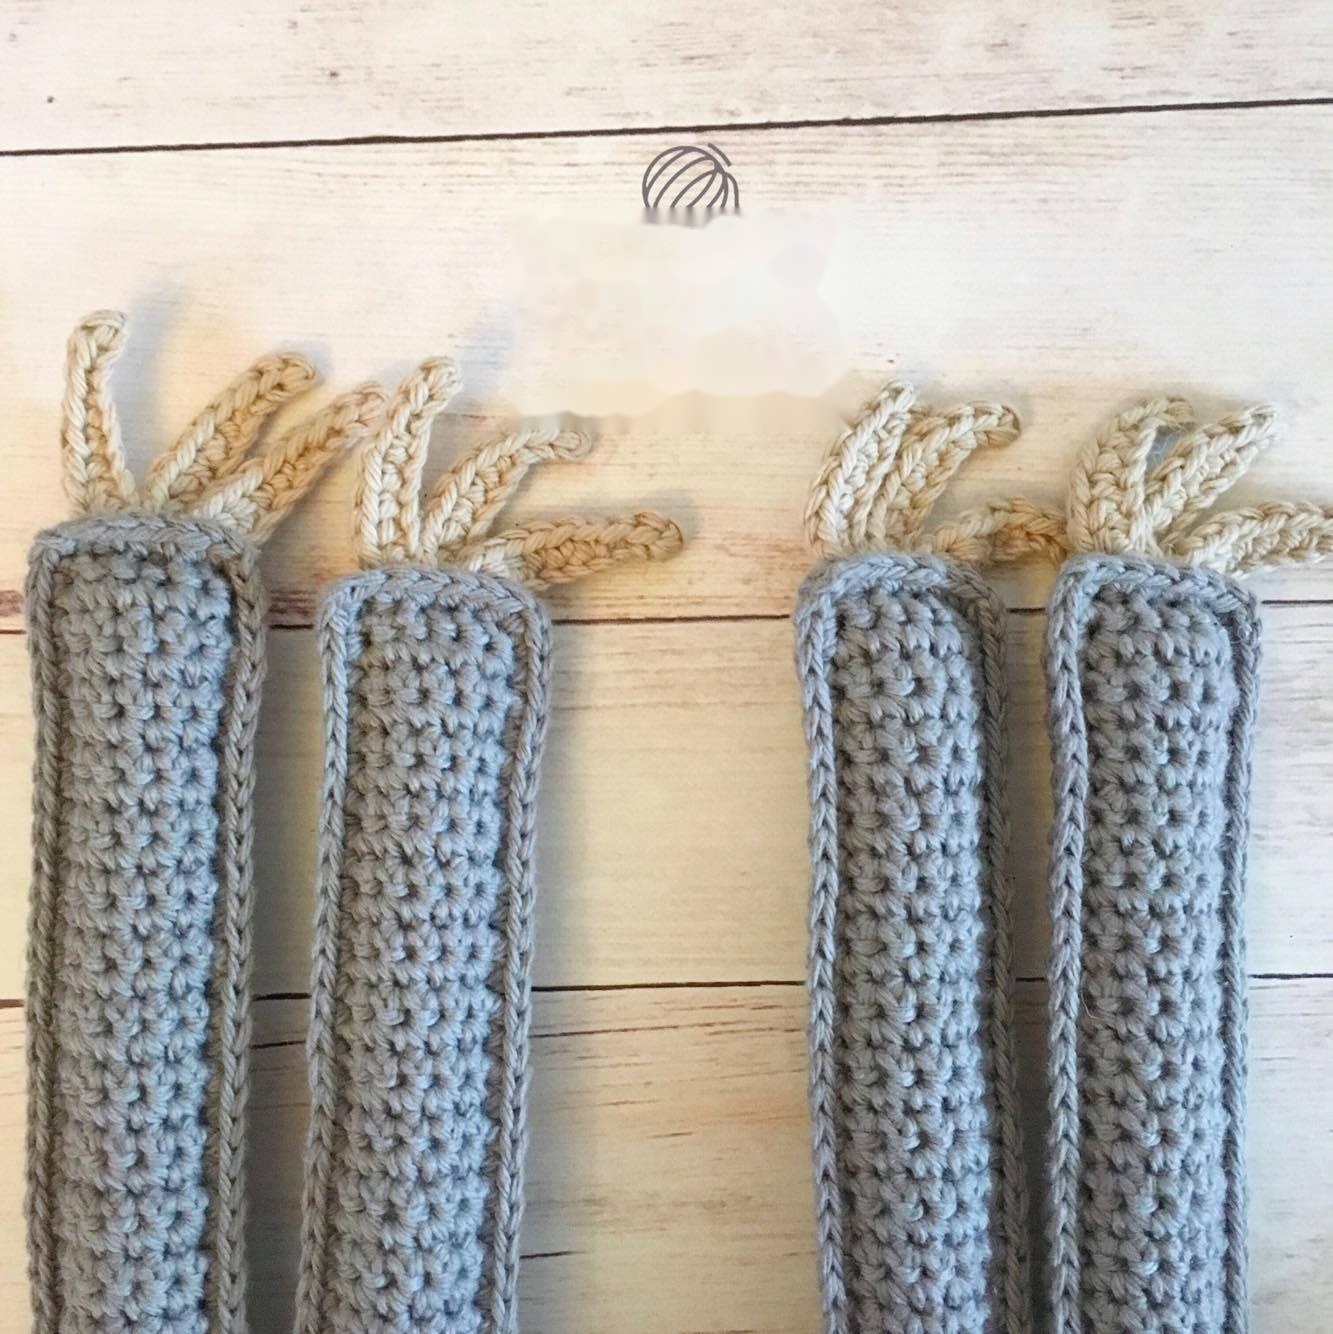
Limbs (Make 8 panels for 4 finished limbs): In tan yarn, ch 6. Sc 5 across for 10 rows. Fasten off.
Pair panels together and single crochet around outer edges, stuffing lightly.
Thread dark brown yarn onto tapestry needle and embroider 3 distinct claws at each paw tip.
Position paws between front and back body panels at shoulder and hip heights.
Perimeter Seaming, Stuffing & Finishing
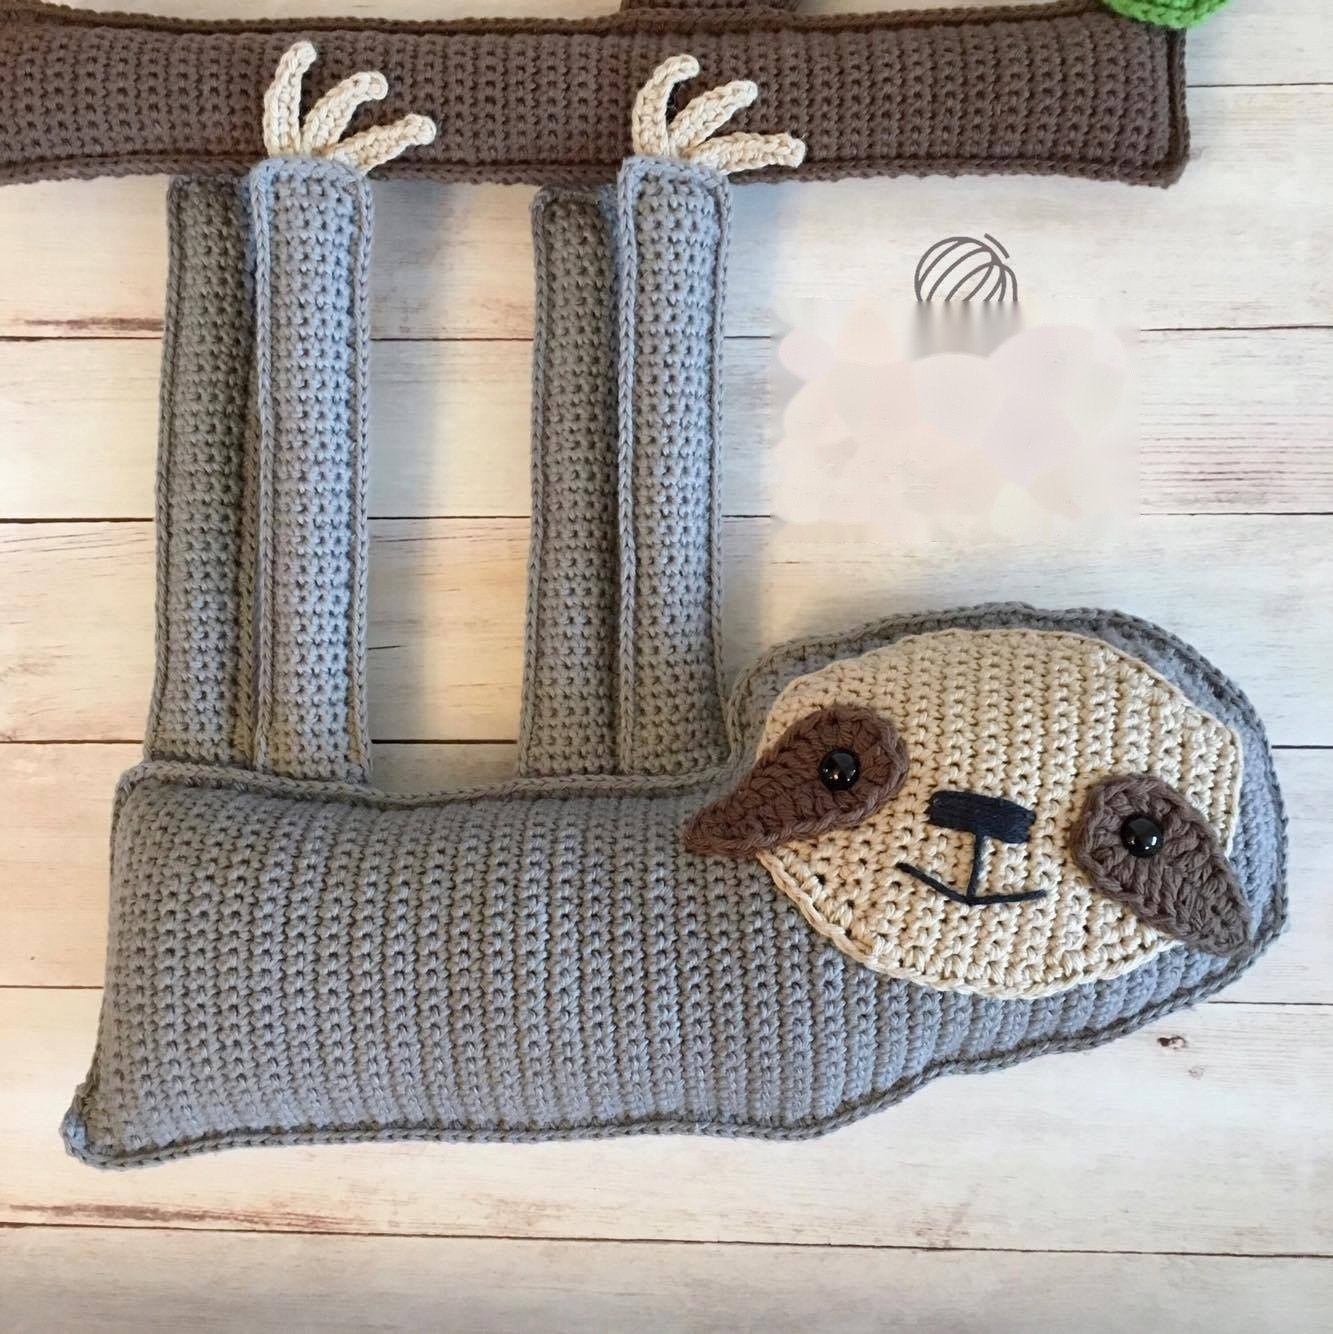
Place front and back body panels with right sides facing out.
Join tan yarn at bottom corner with sl st. Working through BOTH panels simultaneously, sc evenly around the edge.
Trap limb tabs between panels and sc through all 3 layers to anchor arms and legs firmly.
Stop at the top head curve, pack body with polyfill stuffing, then complete border and join with sl st to first st. Weave in all yarn tails.
Tag @stitchandpetal on Instagram so we can share your finished make!
Frequently Asked Questions
Frequently Asked Questions
Clear answers to common gauge, yarn weight, and technique inquiries
Worsted weight acrylic or cotton blends (Category 4) in heather oatmeal or light tan give the most authentic woodland texture. Acrylic yields a soft, cuddly feel, while cotton provides crisp stitch definition.
Related Patterns & Masterclasses
Handpicked free crochet tutorials and verified printable PDF blueprints based on your interests.
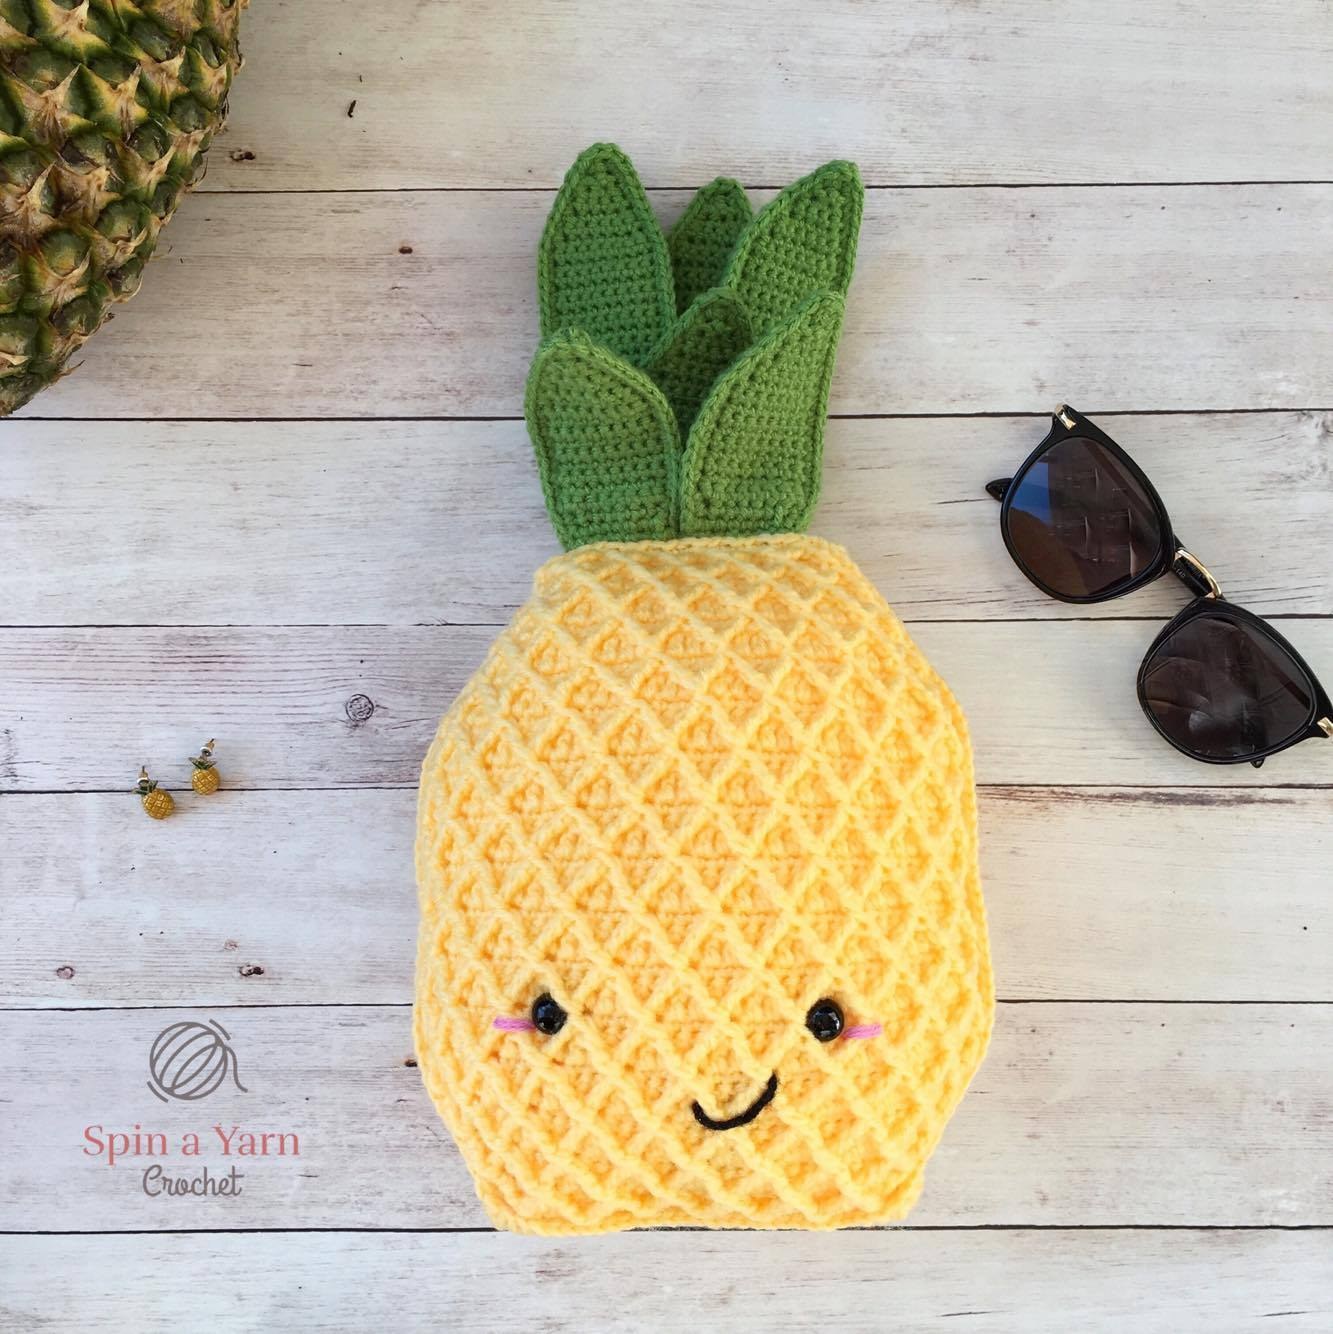
How to Crochet a Kawaii Pineapple Plushie: Free Pattern & Photo Tutorial
Bring tropical sunshine into your home with this adorable kawaii pineapple plushie! Crafted with textured puff stitches in vibrant yellow and topped with a cluster of spiky green leaves.
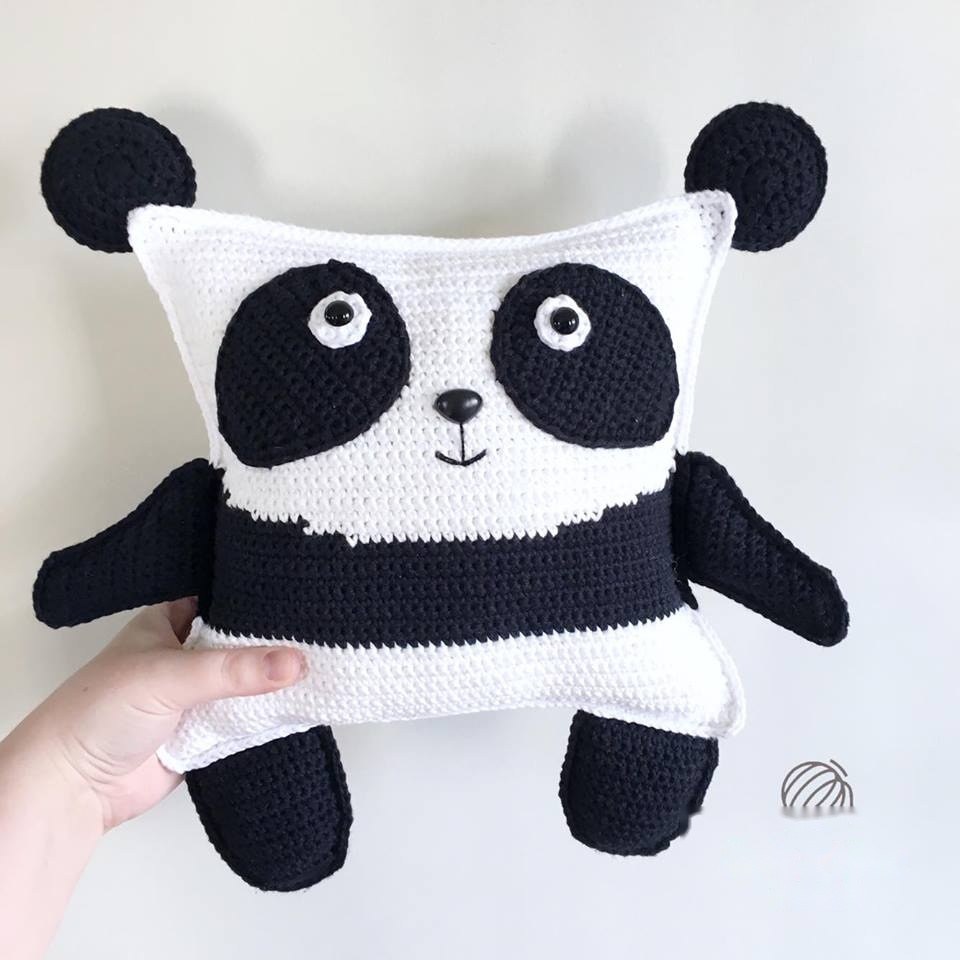
How to Crochet a Pudgy Panda Plushie: Free Pattern & Step-by-Step Guide
Meet this charming pudgy panda! Made from easy flat panels in classic monochrome black and white, featuring signature teardrop eye patches and adorable round ears.
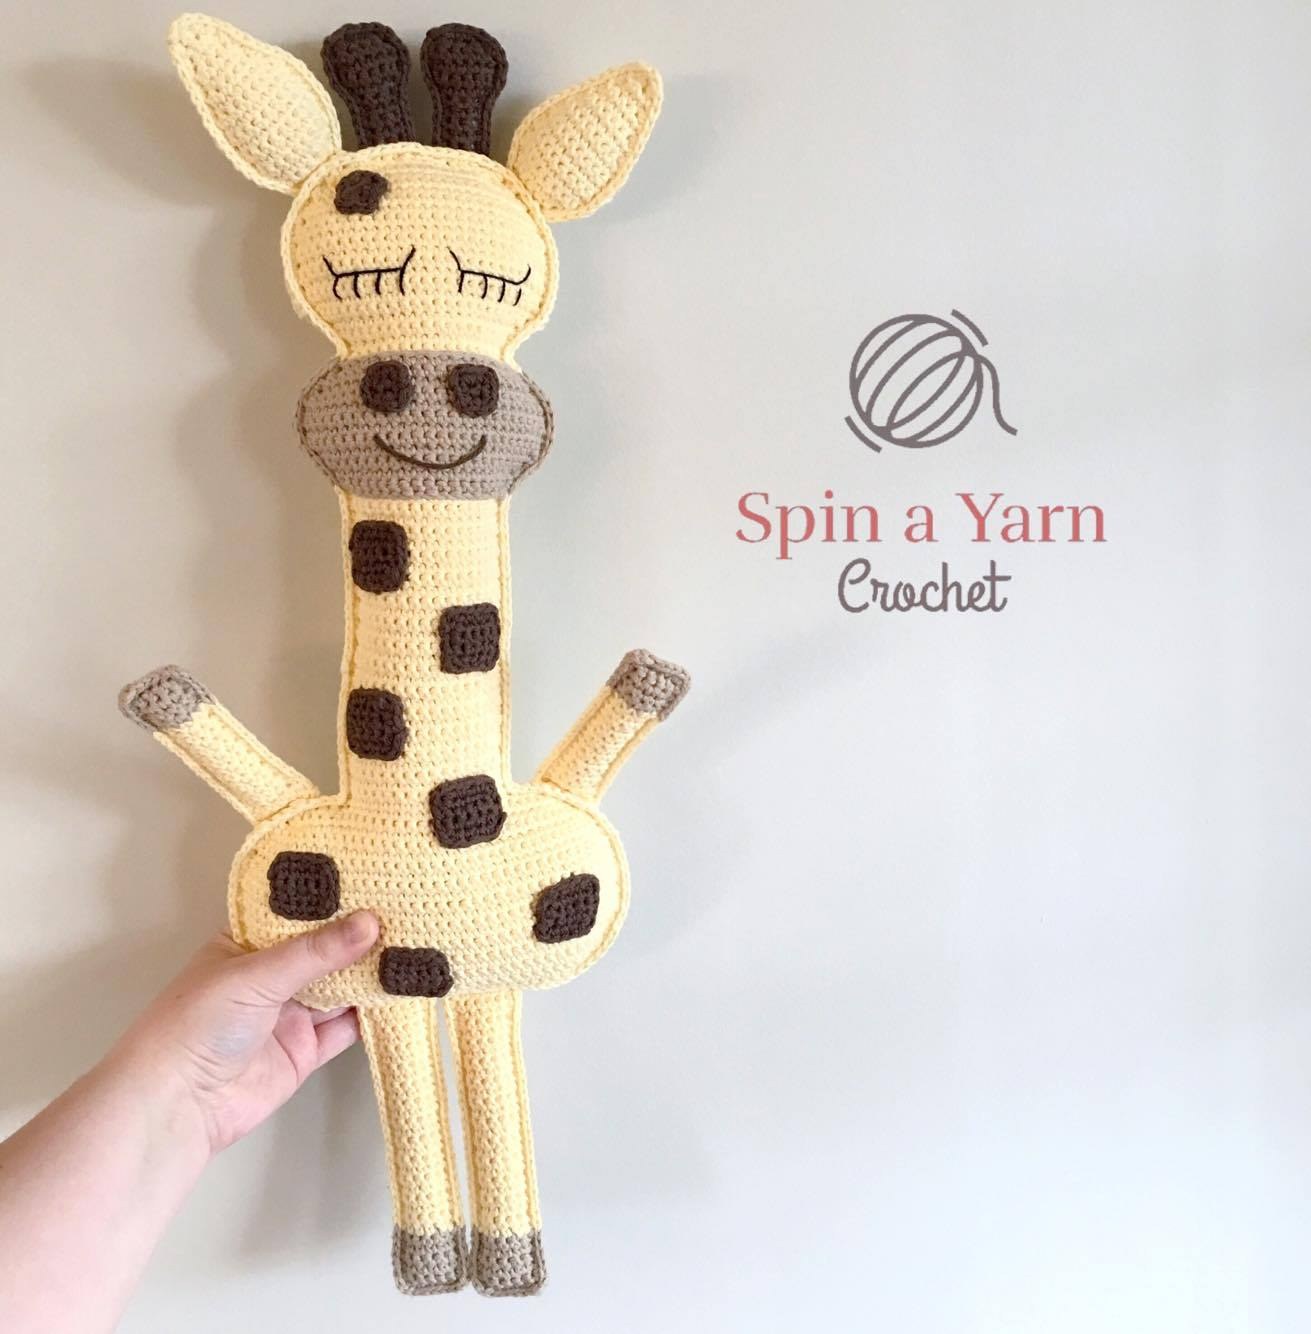

How to Crochet a Ragdoll Giraffe: Free Pattern & Step-by-Step Tutorial
Reach new crafting heights with this adorable ragdoll giraffe! With its iconic long neck, cute little horns (ossicones), and spotted patches, this safari friend is a nursery favorite.