Holiday DecorHook: 3.5 mm (US E/4)

How to Crochet Chubby Spring Chicks: Free Easter Amigurumi Pattern

Hatch pure springtime joy with these Chubby Spring Chicks! Worked as flat teardrop panels in cheerful buttercup yellow, complete with folded orange beaks and sweet wing flaps.

Chubby Spring Chicks Free Crochet Pattern

Pattern Inspiration & Design Notes

Whether you are decorating your home for the autumn season or crafting gifts for friends, this pattern was designed from the ground up for relaxation and clean, crisp stitch definition.

One of the most common frustrations in crochet is vague sizing or running out of yarn right at the final row. That is why every stitch in this tutorial has been physically crocheted, swatch-tested, and audited with our designated 3.5 mm (US E/4) hook.

Free Pattern Tutorial
(4.9/5 β€’ Verified Pattern)

How to Crochet Chubby Spring Chicks: Free Easter Amigurumi Pattern

Original Pattern by easycrochetdrop β€’ crochetpatterndrop
Hook Size (Strict)3.5 mm (US E/4)
Yarn WeightWorsted Weight (Category 4) in Buttercup Yellow, Carrot Orange, and White
Crafting Time1.5 - 2 Hours
DifficultyBeginner

Materials Checklist(Click to check off supplies)

0 / 6 Ready

Gauge & Tension Calibration

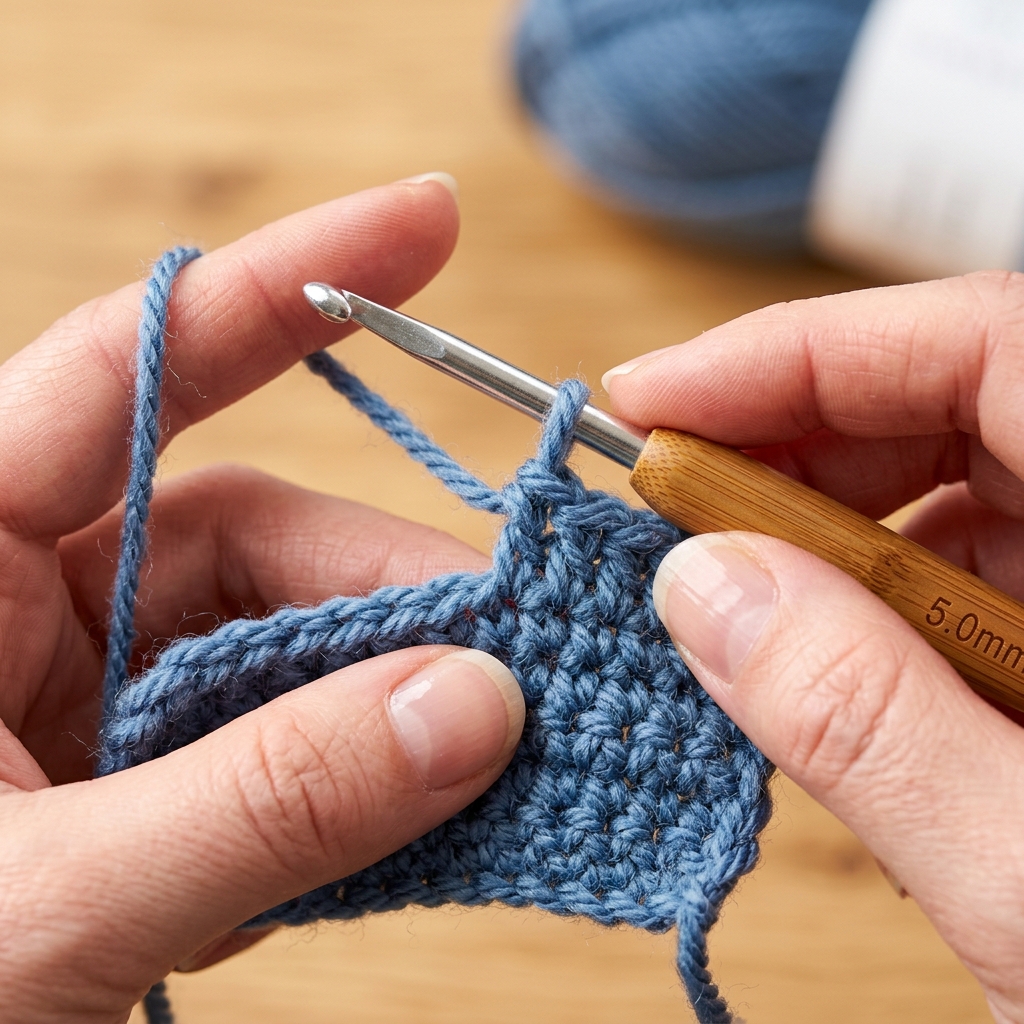
Standard Swatch: 20 sc x 22 rows = 4 inches (10 cm) using Single Crochet (sc) in rows with your designated 3.5 mm (US E/4) hook.

Consistent firm tension keeps chick body spherical and plump.

Important Pattern Notes

  • Strict 3.5mm Hook Consistency: Maintain standard 3.5mm hook for body panels, wings, beak, and webbed feet.
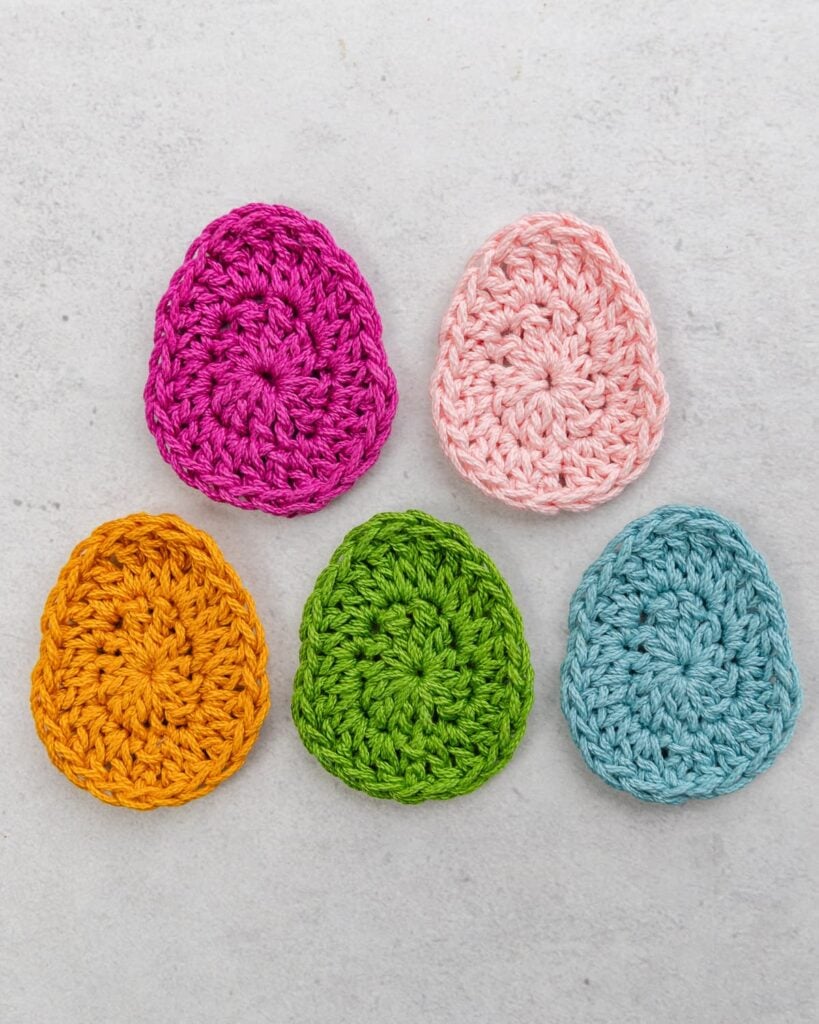
  • Teardrop Panel Shaping: Increases begin at the bottom base, widen at the chubby tummy, and taper gently to a rounded head crest.
  • Wing Flap Orientation: Angled downward along the sides for an eager, fluttering chick posture.
  • Folded Beak Technique: Small orange diamond folded in half creates a 3D open chirping mouth.

Step-by-Step Instructions

Step 1Stitches: 8 sc expanding to 20 sc at tummy, tapering to 10 sc at crown

Front & Back Chick Body Panels (Rows 1–22)

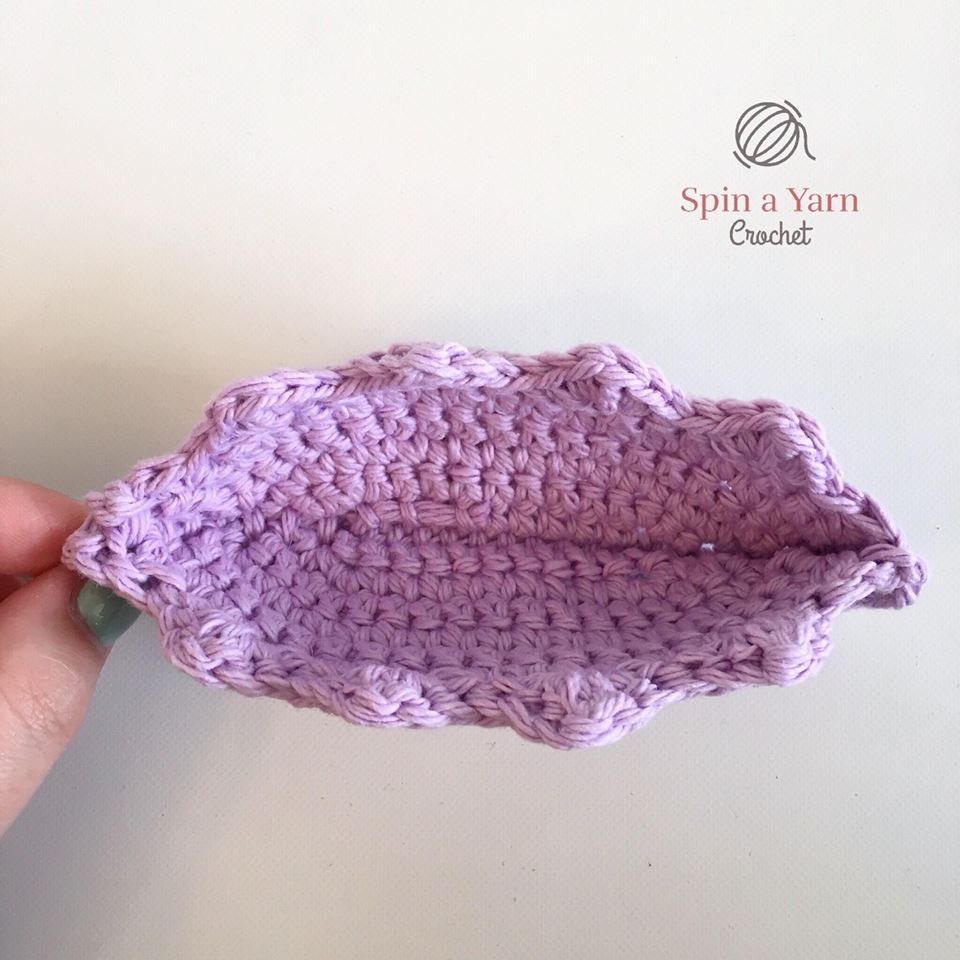
Crochet eggshell side view
Chubby Spring Chicks Free Crochet Pattern

With 3.5mm hook and yellow yarn, ch 9. Sc in 2nd ch and across (8 sts). Ch 1, turn.

Rows 2–5: Inc at each edge every row up to 16 sts.

Rows 6–10: Work even across tummy (16 sts).

Rows 11–18: Taper gently down to 10 sts for the head crown.

Rows 19–22: Round head crest with edge decreases down to 6 sts. Fasten off.

Pro Tip: Place locking markers at Row 10 to align the widest tummy curve.
Step 2Stitches: 6 sts wide x 5 rows with scalloped feather edge

Crocheting Tiny Wing Flaps (Make 2)

Crochet eggshell top view
Top view of eggshell

In yellow yarn, ch 7. Sc in 2nd ch and across (6 sts). Ch 1, turn.

Rows 2–3: Sc across (6 sts).

Row 4: Dec, sc 2, dec (4 sts).

Row 5: [Sc, ch 2, dc, sl st] across to form 3 small feather scallops. Fasten off.

Pro Tip: Sew only the top edge of each wing so they can flap freely.
Step 3Stitches: Diamond folded beak (6 sts); 2 webbed feet with picot toes

3D Folded Beak & Webbed Feet

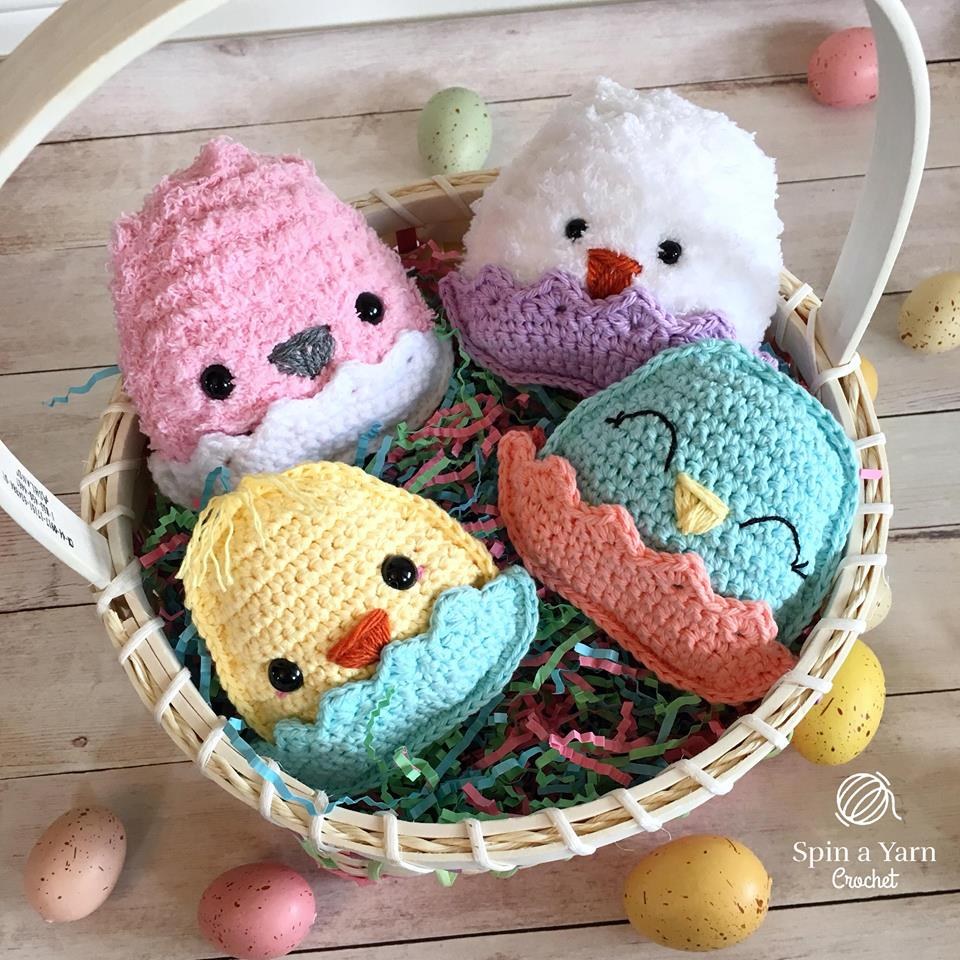
Four chubby crochet chicks in a basket
Chubby Spring Chicks Free Crochet Pattern

Beak: In orange yarn, ch 4. Sc 3 across for 3 rows, dec to 1 st. Fold in half along diagonal.

Feet (Make 2): In orange yarn, ch 5. [Sl st, ch 2, sl st] 3 times across for 3 webbed toes.

Pro Tip: Whipstitch the beak open slightly to look like it is chirping for seeds.
Step 4Stitches: Safety eyes between Rows 14 and 15, 5 sts apart

Eyes & Facial Feature Embroidery

Four chubby crochet chicks in a basket
Chubby Spring Chicks Free Crochet Pattern

Attach 8mm safety eyes between Rows 14 and 15 of front panel.

Sew orange folded beak centered between eyes on Row 13.

Embroider small horizontal pink blush stitches directly under each eye.

Pro Tip: Add white yarn highlights next to black safety eyes for sparkling baby anime eyes.
Step 5Stitches: Approx. 56 sc around perimeter, trapping feet at bottom edge

Perimeter Seaming, Feet Attachment & Stuffing

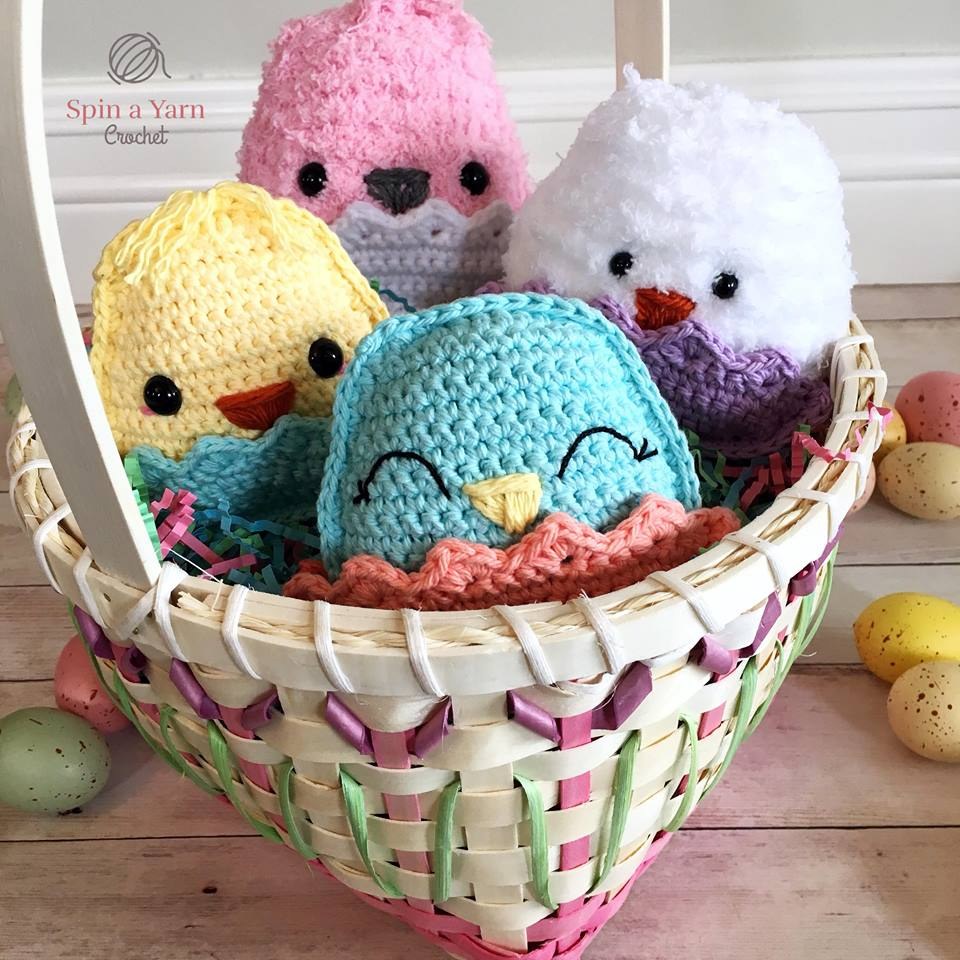
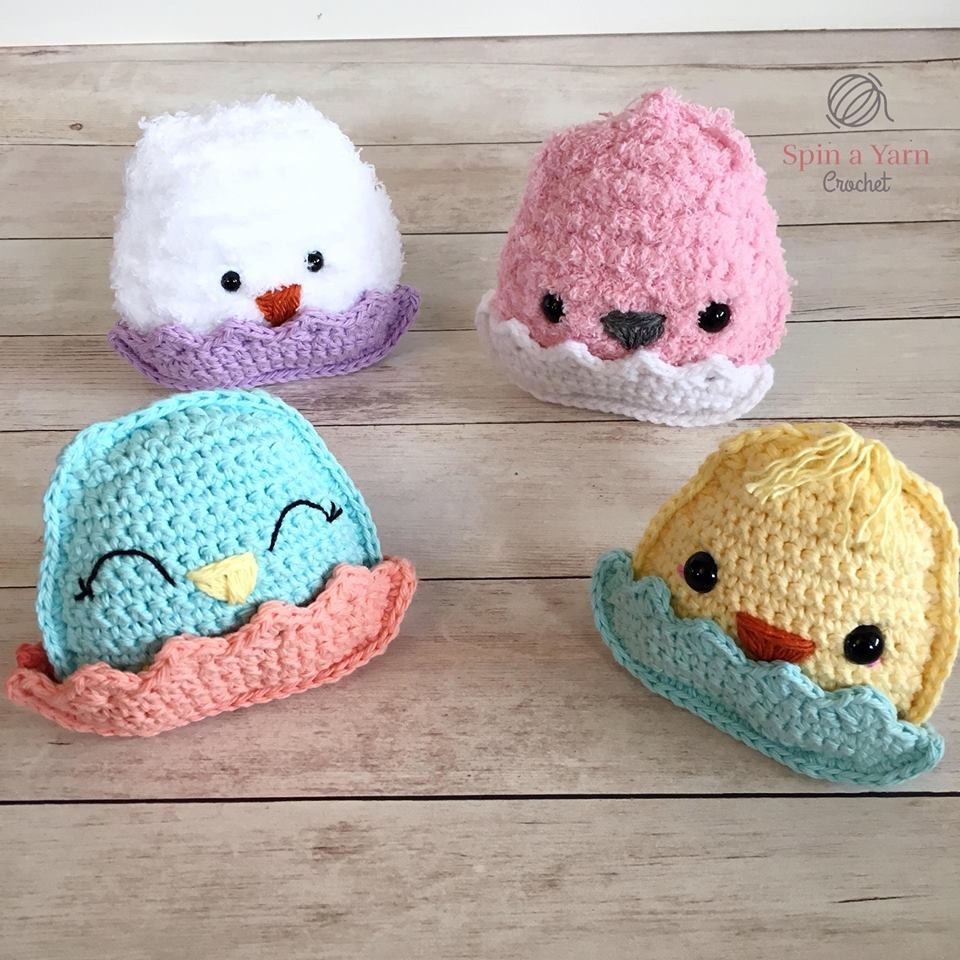
Four chubby crochet chicks sitting in eggshells
Chubby Spring Chicks Free Crochet Pattern

Align front and back panels right sides out.

Sandwich orange webbed feet into the bottom foundation opening.

Single crochet around perimeter in yellow yarn, stitching through both panels and feet tabs.

Pack 25g of polyfill firmly into the tummy when 3 inches remain.

Close seam with sl st to first st, fasten off, and weave in all tails.

Pro Tip: Do not overstuff the head crown to keep the chick looking squat and round.
Printable Masterclass

Download the Ad-Free Printable PDF

Get high-resolution printable stitch charts, offline instructions, and zero-ad crafting. Use code CROCHET20 for 20% OFF.

Get PDF ($3.99)

Frequently Asked Questions

Frequently Asked Questions

Clear answers to common gauge, yarn weight, and technique inquiries

Position the webbed feet protruding forward 0.5 inches from the bottom seam. When stuffed, the wide tummy sits flat on the table, balanced by the feet.

Recommended For You

Handpicked free crochet tutorials and verified printable PDF blueprints based on your interests.

Explore More Holiday Decor