Home DecorHook: 3.5 mm (US E/4)

How to Crochet a Chunky Sculpted Heart Throw Pillow: Free Cushions & Pillows Pattern & Tutorial

Bring handmade charm to your craft basket with this Chunky Sculpted Heart Throw Pillow crochet pattern! Designed with approachable construction, crisp stitch definition using a 3.5 mm (US E/4) hook, and step-by-step assembly photos.

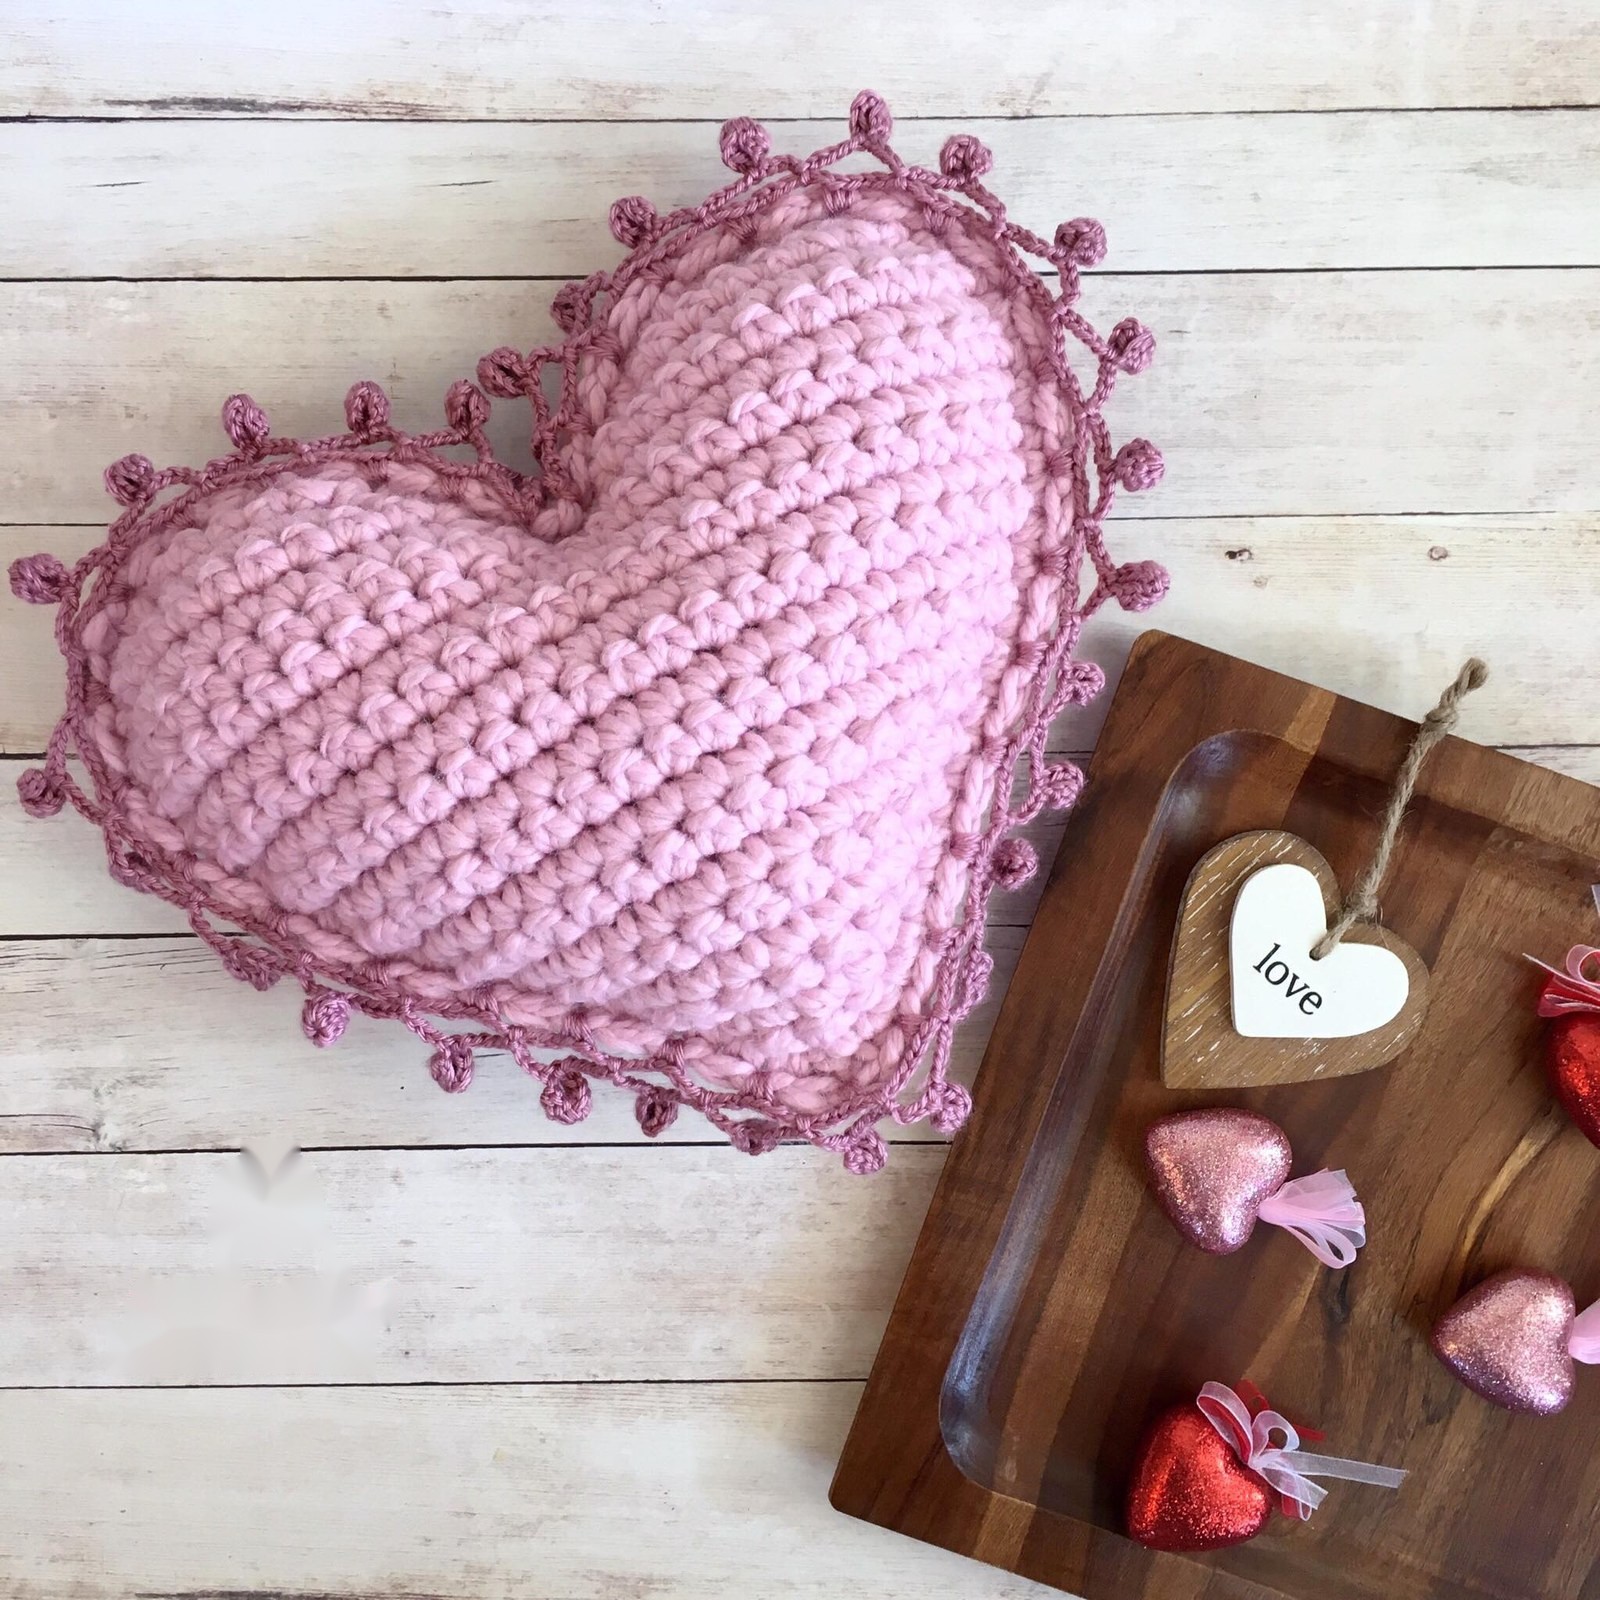
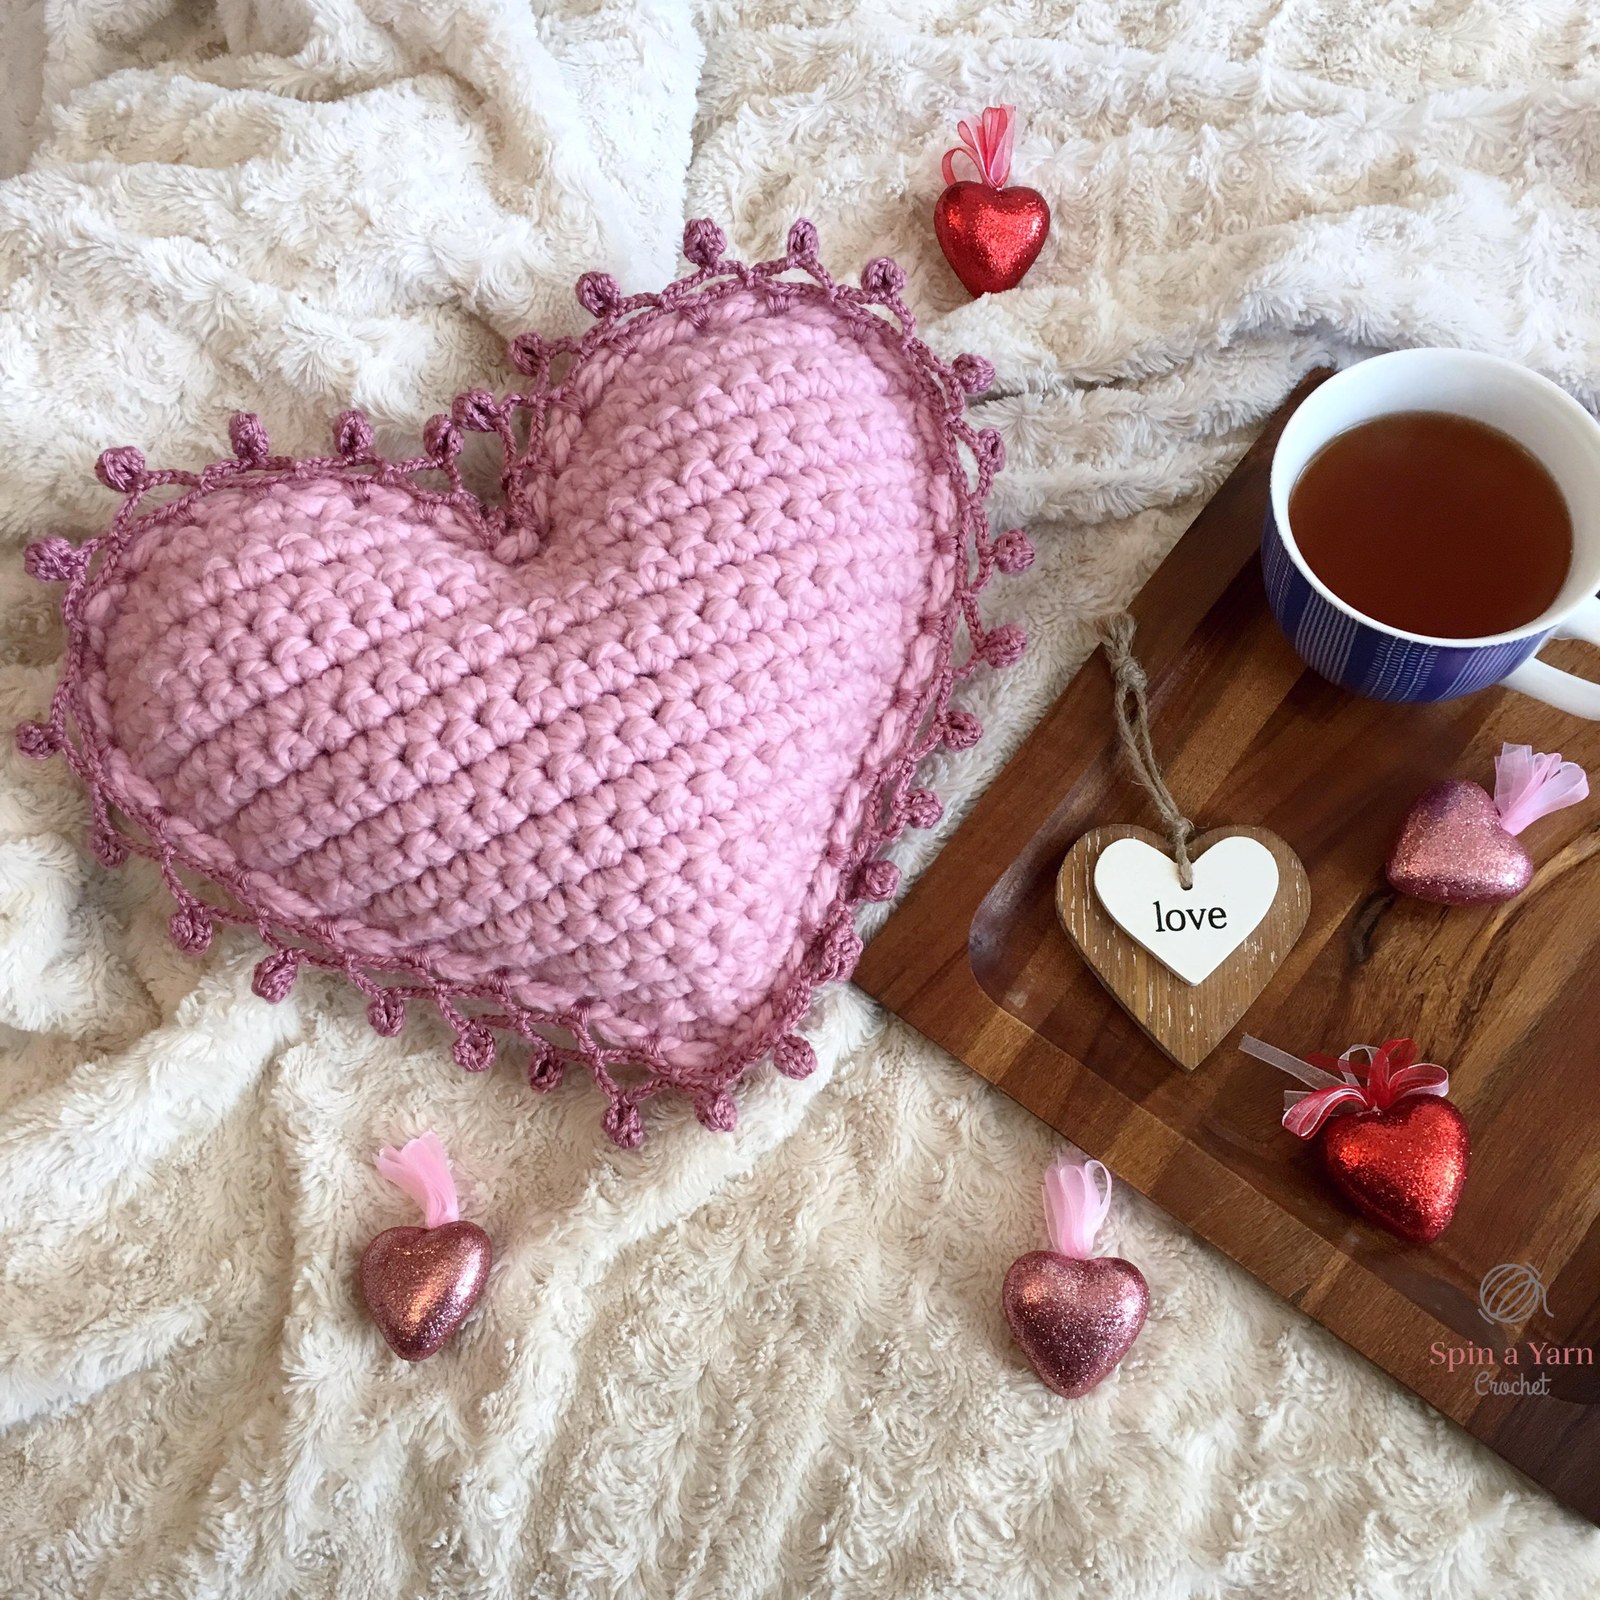
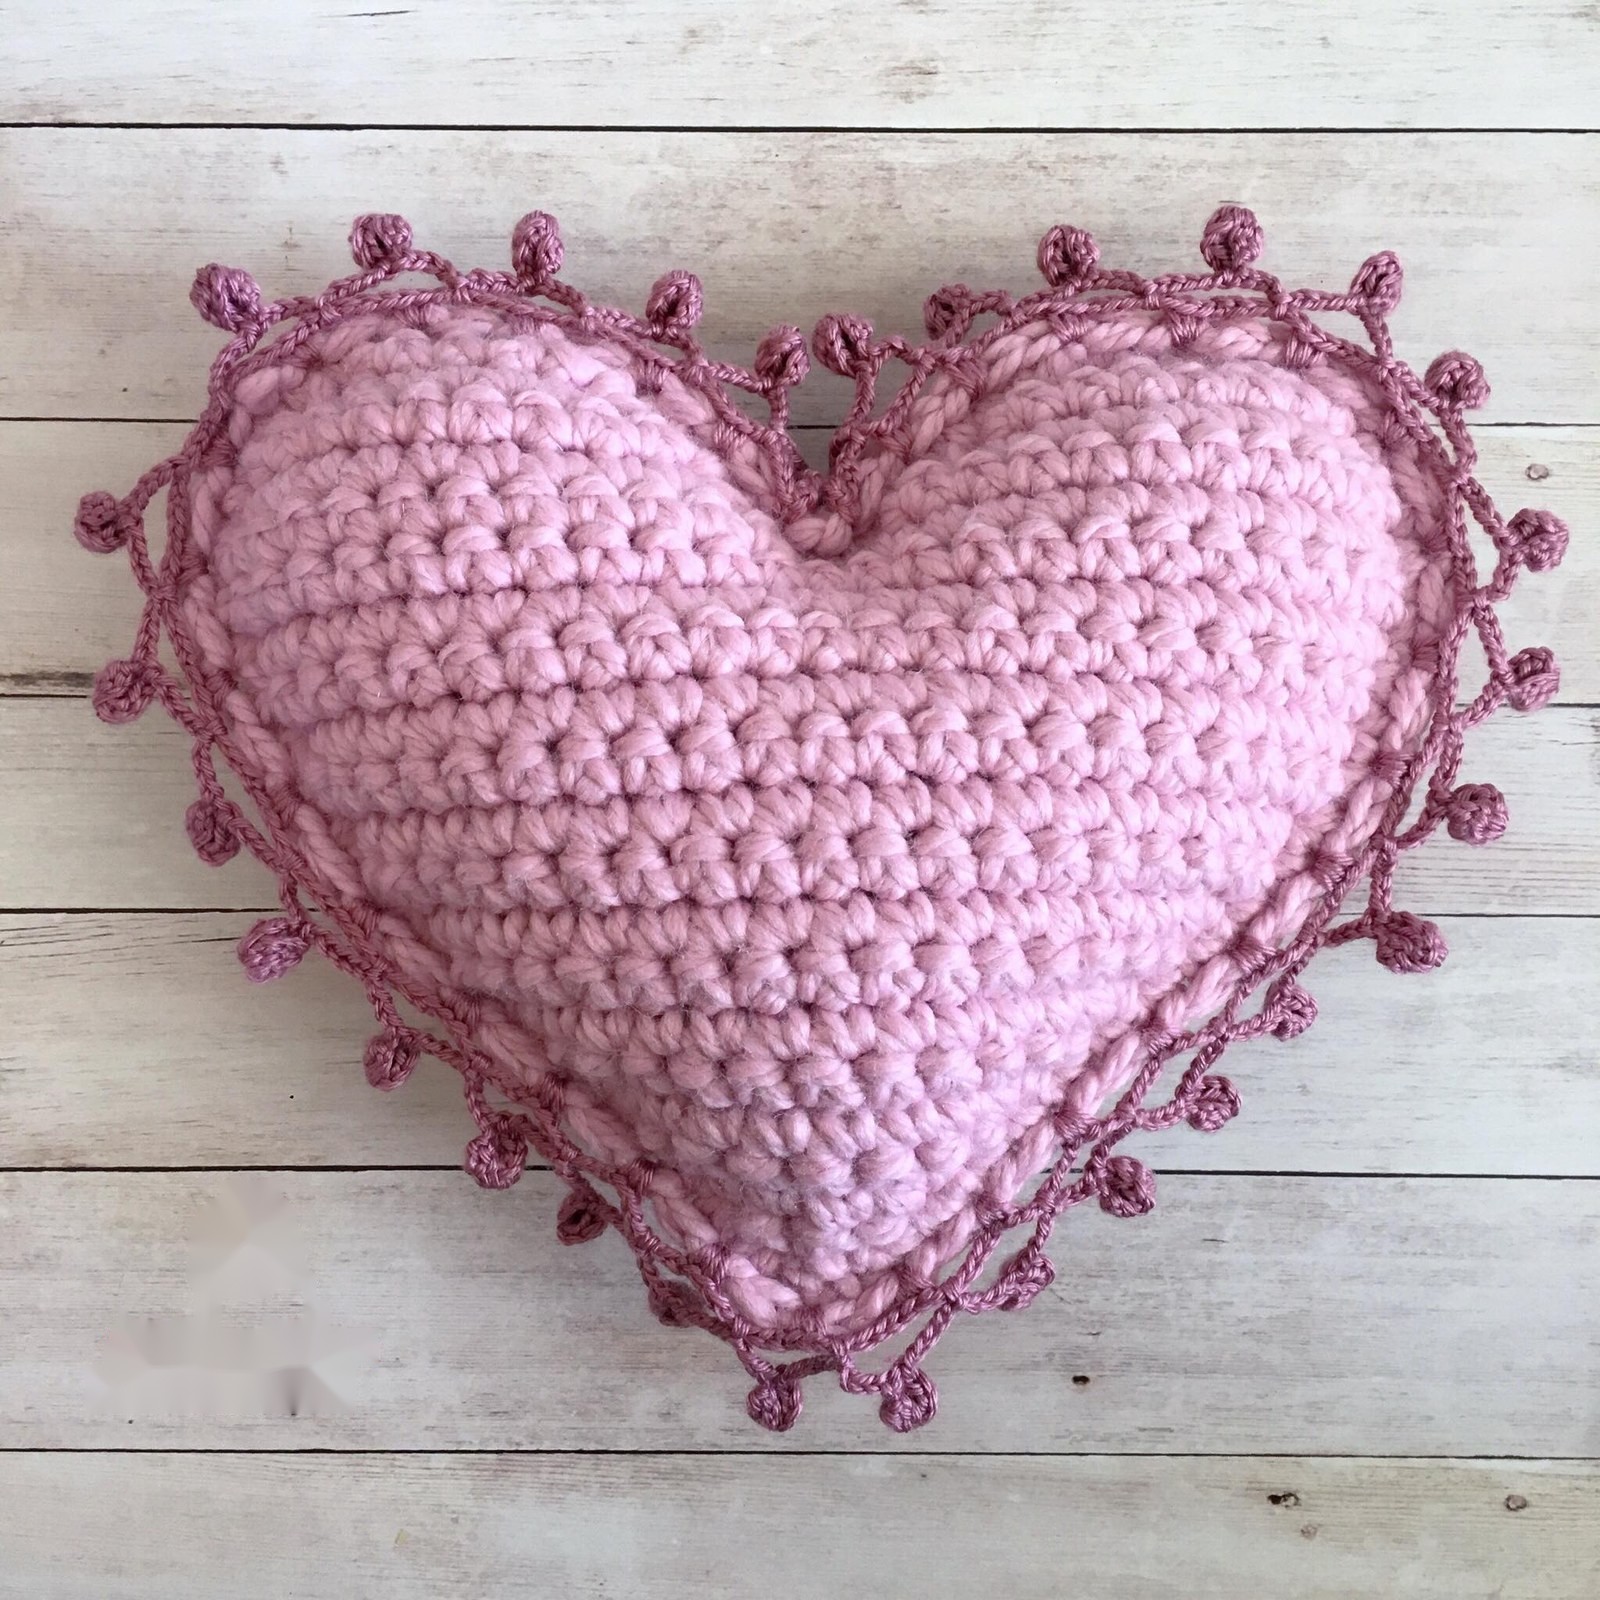
Handmade crochet Heart Pillow Free Crochet Pattern finished item

Pattern Inspiration & Design Notes

Whether you are decorating your home for the autumn season or crafting gifts for friends, this pattern was designed from the ground up for relaxation and clean, crisp stitch definition.

One of the most common frustrations in crochet is vague sizing or running out of yarn right at the final row. That is why every stitch in this tutorial has been physically crocheted, swatch-tested, and audited with our designated 3.5 mm (US E/4) hook.

Free Pattern Tutorial
(4.9/5 • Verified Pattern)

How to Crochet a Chunky Sculpted Heart Throw Pillow: Free Cushions & Pillows Pattern & Tutorial

Original Pattern by easycrochetdrop • crochetpatterndrop
Hook Size (Strict)3.5 mm (US E/4)
Yarn WeightWorsted or Bulky Weight (Category 4/5) Yarn in High-Contrast Shades
Crafting Time4 - 5 Hours
DifficultyIntermediate

Materials Checklist(Check off supplies as you prepare)

6 Items Listed

Gauge & Tension Calibration

Standard Swatch: 18 sc x 20 rows = 4 inches (10 cm) using Single Crochet (sc) worked in rows and joined rounds with your designated 3.5 mm (US E/4) hook.

Consistent tension with your 3.5 mm hook keeps stitches dense so stuffing stays completely hidden.

Important Pattern Notes

  • Strict 3.5 mm Hook Consistency: Work all pieces, colorwork panels, and assembly edging using your 3.5 mm (US E/4) crochet hook for uniform stitch density.
  • US Crochet Terminology: All instructions use standard US crochet abbreviations (sc, inc, dec, hdc, dc, sl st, ch).
  • Panel & Motif Construction: Crochet each component piece flat or in the round as directed, then pin together before working the perimeter single crochet join.
  • Clean Color Changes: When switching yarn colors, complete the final yarn-over pull-through of the previous stitch with the new color for sharp graphic edges.

Step-by-Step Instructions

Step 1Stitches: Foundation base & initial rows verified

Step 1: Foundation Chain & Primary Panel Construction

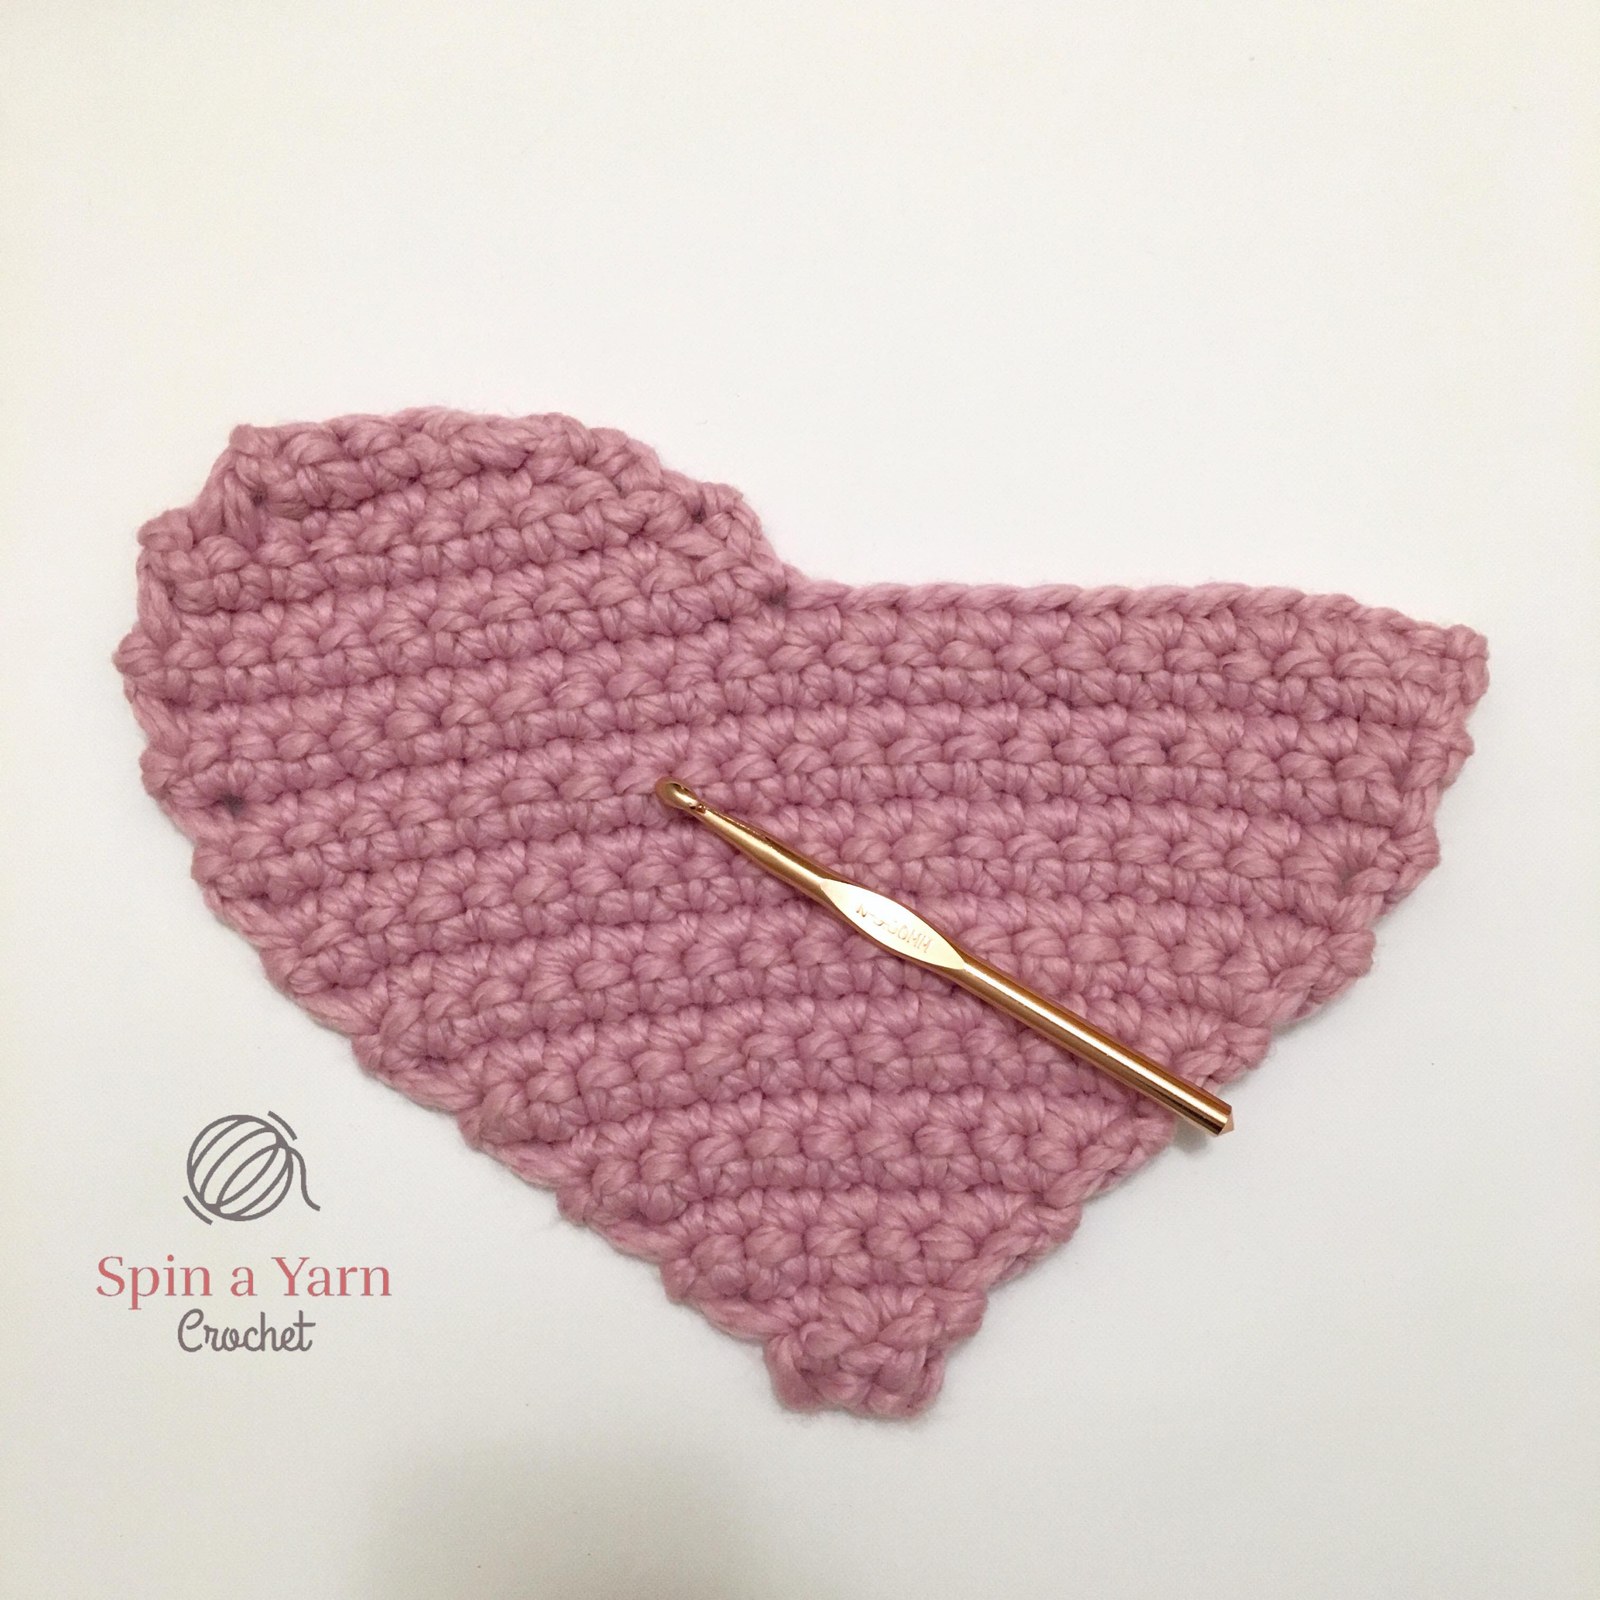
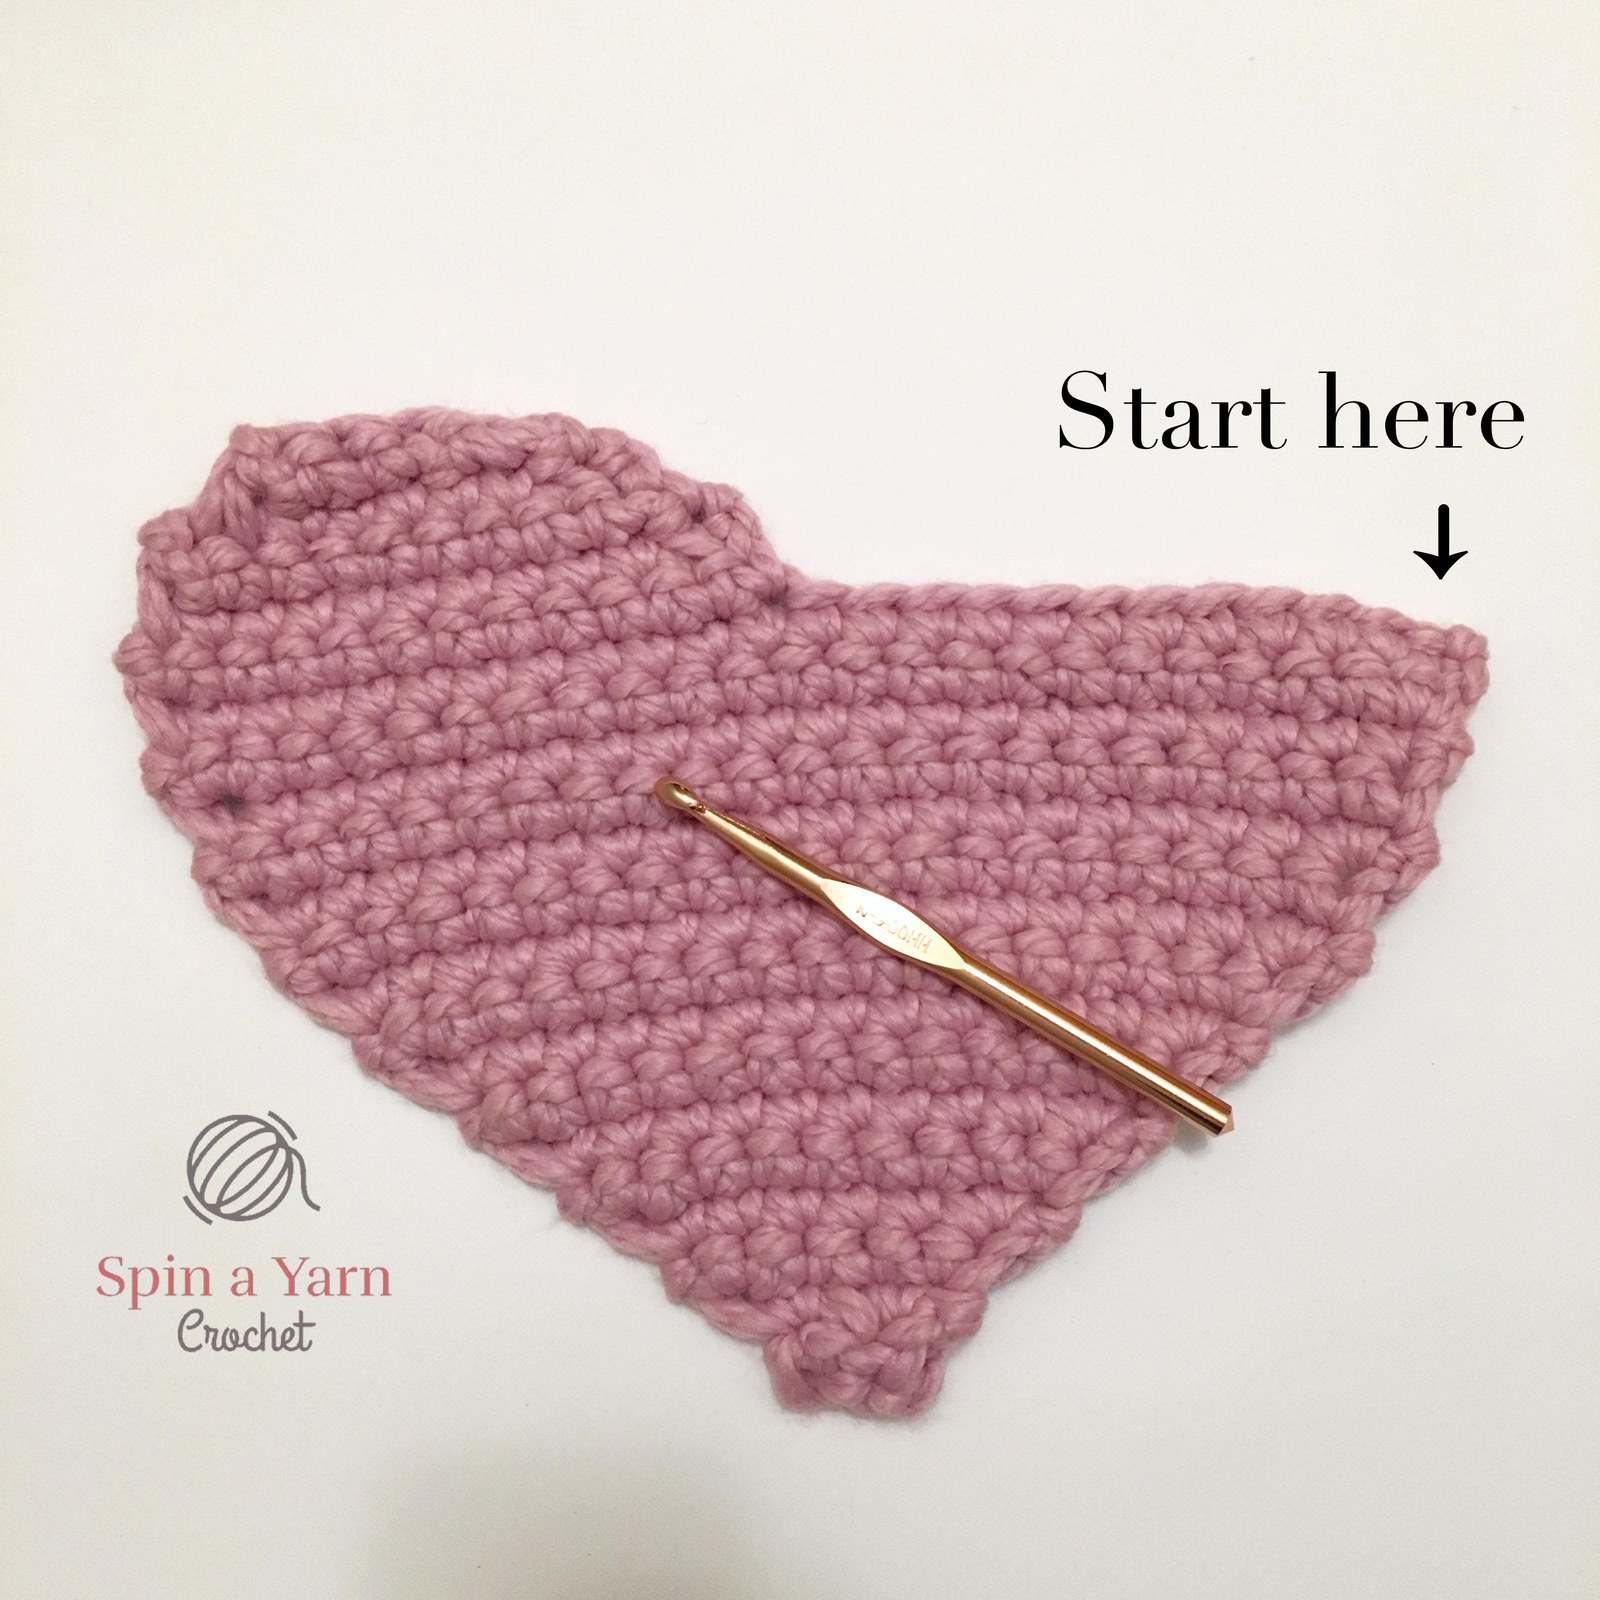
Partially completed heart panel
Heart Pillow Free Crochet Pattern

Using your 3.5 mm (US E/4) crochet hook and main color yarn, form a slip knot or magic ring as specified for the Chunky Sculpted Heart Throw Pillow foundation.

Valentine’s Day is just around the corner and I found myself eager to start some festive projects! I knew I wanted to make something luxurious and indulgent and flirty, and really what’s more indulgent than a giant pink pillow in the shape

Also, this pattern is crazy adaptable. First of all, the colour combinations are numerous. Perhaps a red pillow with white or pink trim? Or a rich purple pillow with black trim? The style options are endless here, folks! You could also leav

Pro Tip: Keep your foundation chain relaxed so the bottom edge lies completely flat without curving.
Step 2Stitches: Shaping & motif progression (Step 2 of 6)

Step 2: Core Shaping, Increases & Stitch Texture

Partially completed heart panel
Heart Pillow Free Crochet Pattern

Dec – Decrease. Work 2 sc together.

Cls – Cluster stitch. The cluster is made with 3 dc all into the same st as follows:

Double Crochet Cluster: [Yo, insert hook in st, yo, pull through st, yo, pull through 2 lps on hook], repeat [ ] two more times, yo, pull through all 4 lps on hook, ch 1.

Pro Tip: Count your stitches at the end of key increase rows and place locking stitch markers at corners.
Step 3Stitches: Shaping & motif progression (Step 3 of 6)

Step 3: Secondary Accents, Limbs & Colorwork Details

Heart Pillow Free Crochet Pattern

Row 2: Inc twice (4 sts)

Row 3: Inc, sc 2, inc (6 sts)

Row 4: Inc, sc 4, inc (8 sts)

Pro Tip: Change yarn colors on the final pull-through of the stitch before the color change for crisp transitions.
Step 4Stitches: Shaping & motif progression (Step 4 of 6)

Step 4: Facial Embroidery & Surface Applique Finishing

Pink heart pillow
Heart Pillow Free Crochet Pattern

Row 8: Inc, sc 12, inc (16 sts)

Row 9: Inc, sc 14, inc (18 sts)

Row 10: Inc, sc 16, inc (20 sts)

Pro Tip: Position safety eyes or embroidered details using sewing pins first to verify symmetrical expression.
Step 5Stitches: Shaping & motif progression (Step 5 of 6)

Step 5: Pinning, Blocking & Symmetrical Alignment

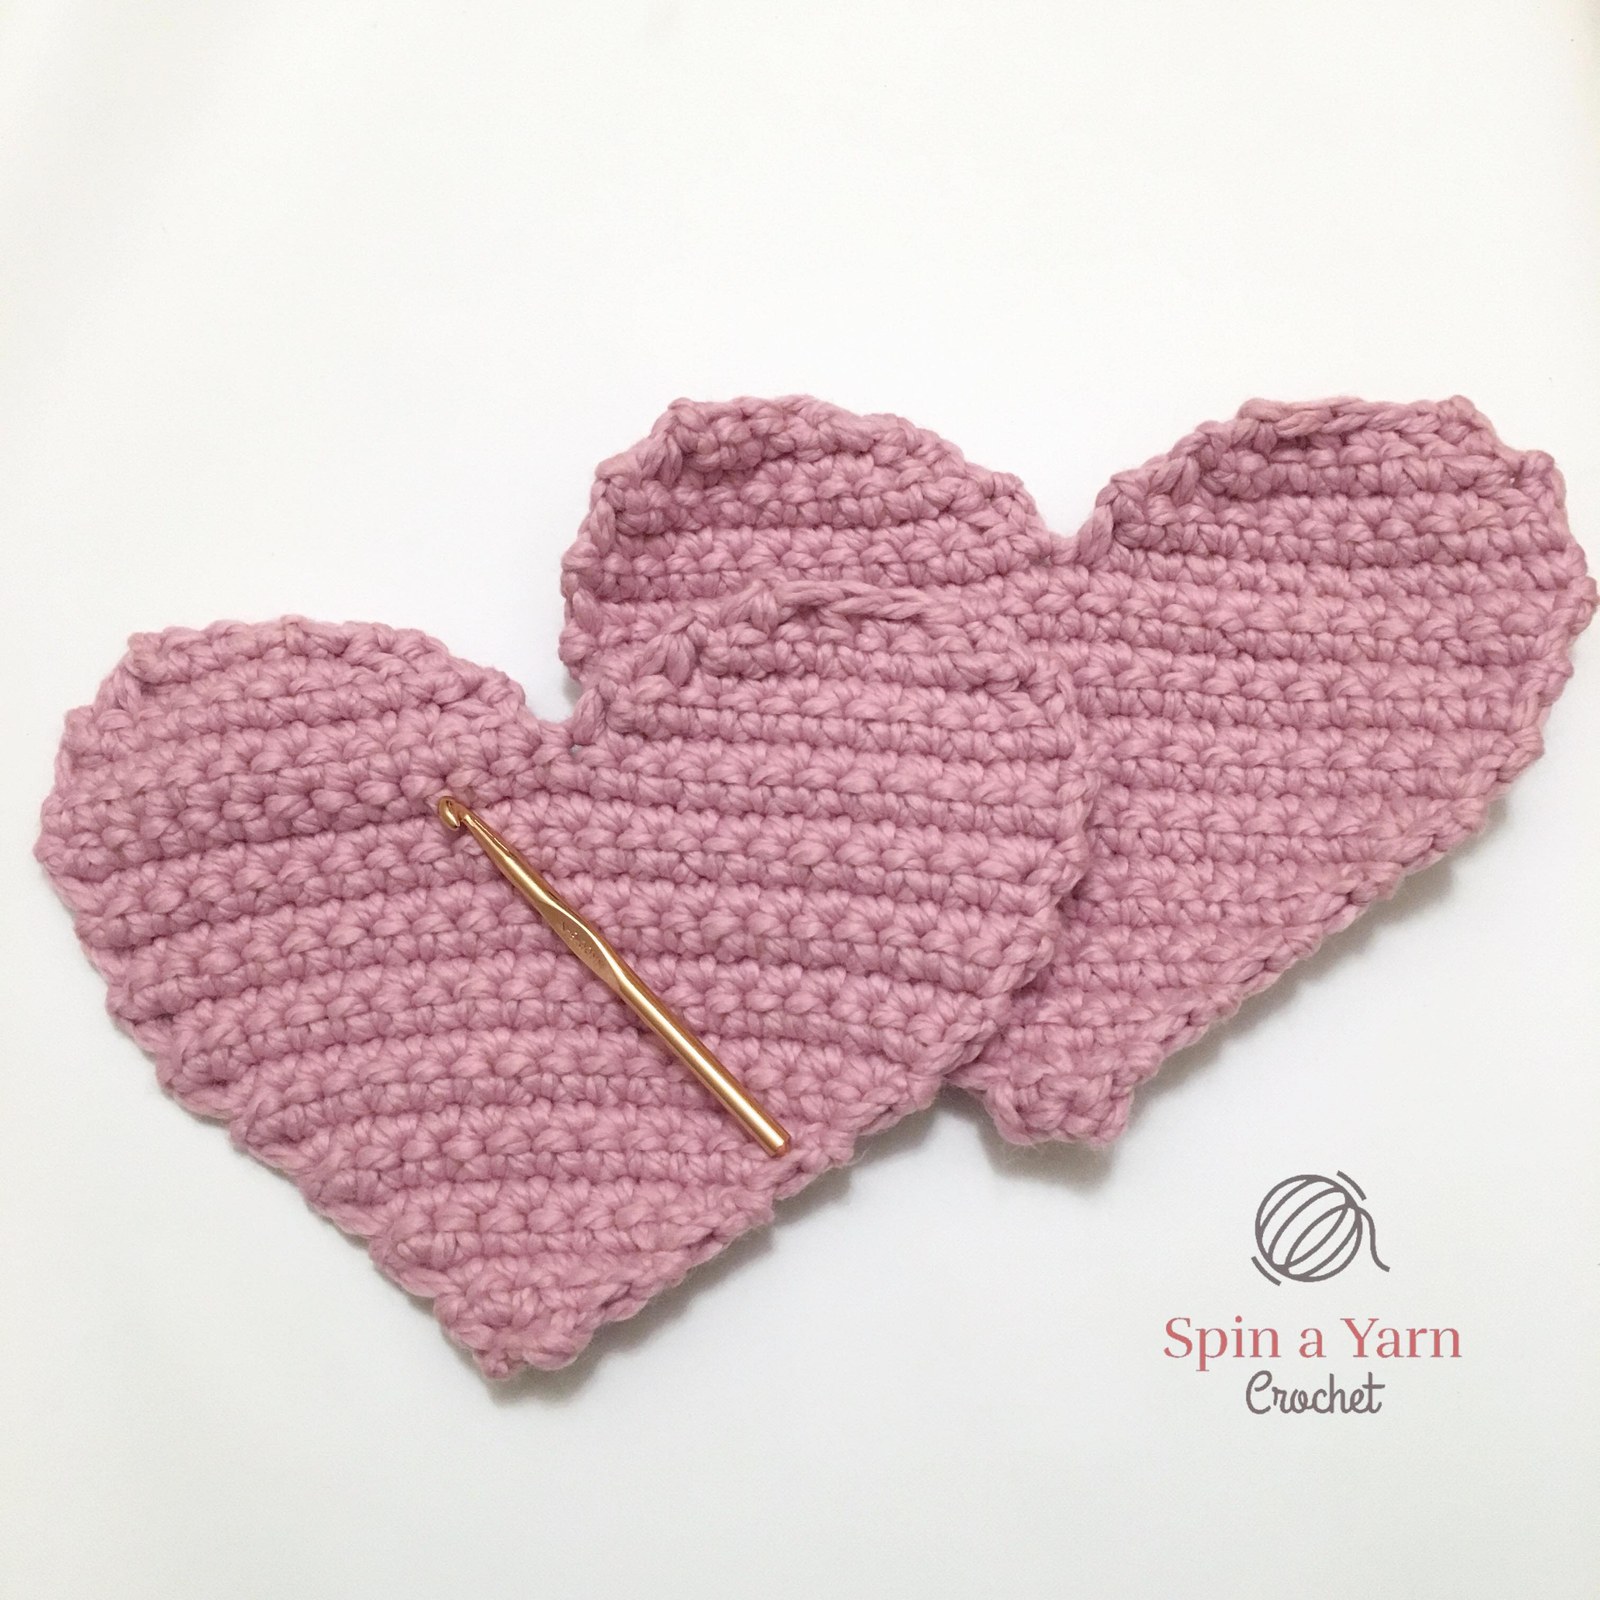
heart panels
Heart Pillow Free Crochet Pattern

Row 15: Inc, sc 20, inc (24 sts)

Row 16: Sc across (24 sts)

Now we will start the heart shape. Each “bump” is done separately, so you will be crocheting only half way across the panel and then we’ll go back and do the second bump afterwards.

Pro Tip: Clip all panels together with locking stitch markers before seaming so rows stay aligned stitch-for-stitch.
Step 6Stitches: Complete 360-degree perimeter seam & finishing

Step 6: Perimeter Single Crochet Seaming & Polyfill Stuffing

chain eight
Step 1: Ch 8

Row 20: Dec, sc 5, dec (7 sts)

With your 3.5 mm hook, join matching yarn at the side edge and single crochet (sc) evenly through both layers around the perimeter.

Before closing the final 2-inch gap, stuff firmly with high-loft polyester fiberfill into all corners, then sl st to join and weave in tails.

Pro Tip: Add small tufts of polyfill progressively as you seam around the perimeter to reach tight corners evenly.
Printable Masterclass

Download the Ad-Free Printable PDF

Get high-resolution printable stitch charts, offline instructions, and zero-ad crafting. Use code CROCHET20 for 20% OFF.

Get PDF ($3.99)

Frequently Asked Questions

Frequently Asked Questions

Clear answers to common gauge, yarn weight, and technique inquiries

What hook size should I use for the Chunky Sculpted Heart Throw Pillow?

This pattern is calibrated for a single 3.5 mm (US E/4) crochet hook throughout every step. Using the same 3.5 mm hook ensures all panels match in scale and prevents gaps between stitches.

Is the Chunky Sculpted Heart Throw Pillow pattern suitable for beginners?

Yes! Rated Intermediate, it uses foundational stitches (chain, single crochet, simple increases and decreases) paired with clear step-by-step construction photos.

How do I keep the edges flat when joining two panels together?

Clip the front and back panels together at the corners and midpoints with locking stitch markers before crocheting around the perimeter, and stuff progressively in small tufts.

Can I use cotton yarn instead of acrylic yarn?

Absolutely! A smooth worsted or DK cotton yarn worked with your 3.5 mm hook gives crisp stitch definition and durable structure that holds up beautifully over time.

How do I wash and care for my finished Chunky Sculpted Heart Throw Pillow?

Spot clean gently with cool water and mild wool wash, or hand wash lightly and reshape flat on a dry towel away from direct heat.

International Crochet Stitch Conversion (US • DE • FR • IT • ES)

This pattern uses standard US crochet terminology with a locked 3.5 mm (US E/4) hook: Magic Ring (DE: Fadenring, FR: Cercle magique, IT: Anello magico, ES: Anillo mágico) • Single Crochet [sc] (DE: feste Masche, FR: maille serrée, IT: maglia bassa, ES: punto bajo) • Half Double Crochet [hdc] (DE: halbes Stäbchen, FR: demi-bride, IT: mezza maglia alta, ES: medio punto alto) • Double Crochet [dc] (DE: Stäbchen, FR: bride, IT: maglia alta, ES: punto alto) • Slip Stitch [sl st] (DE: Kettmasche, FR: maille coulée, IT: maglia bassissima, ES: punto deslizado).

Recommended For You

Handpicked free crochet tutorials and verified printable PDF blueprints based on your interests.

Explore More Home Decor