AmigurumiHook: 3.5 mm (US E/4)

How to Crochet a Woodland Hedgehog: Free Loop Stitch Amigurumi Pattern

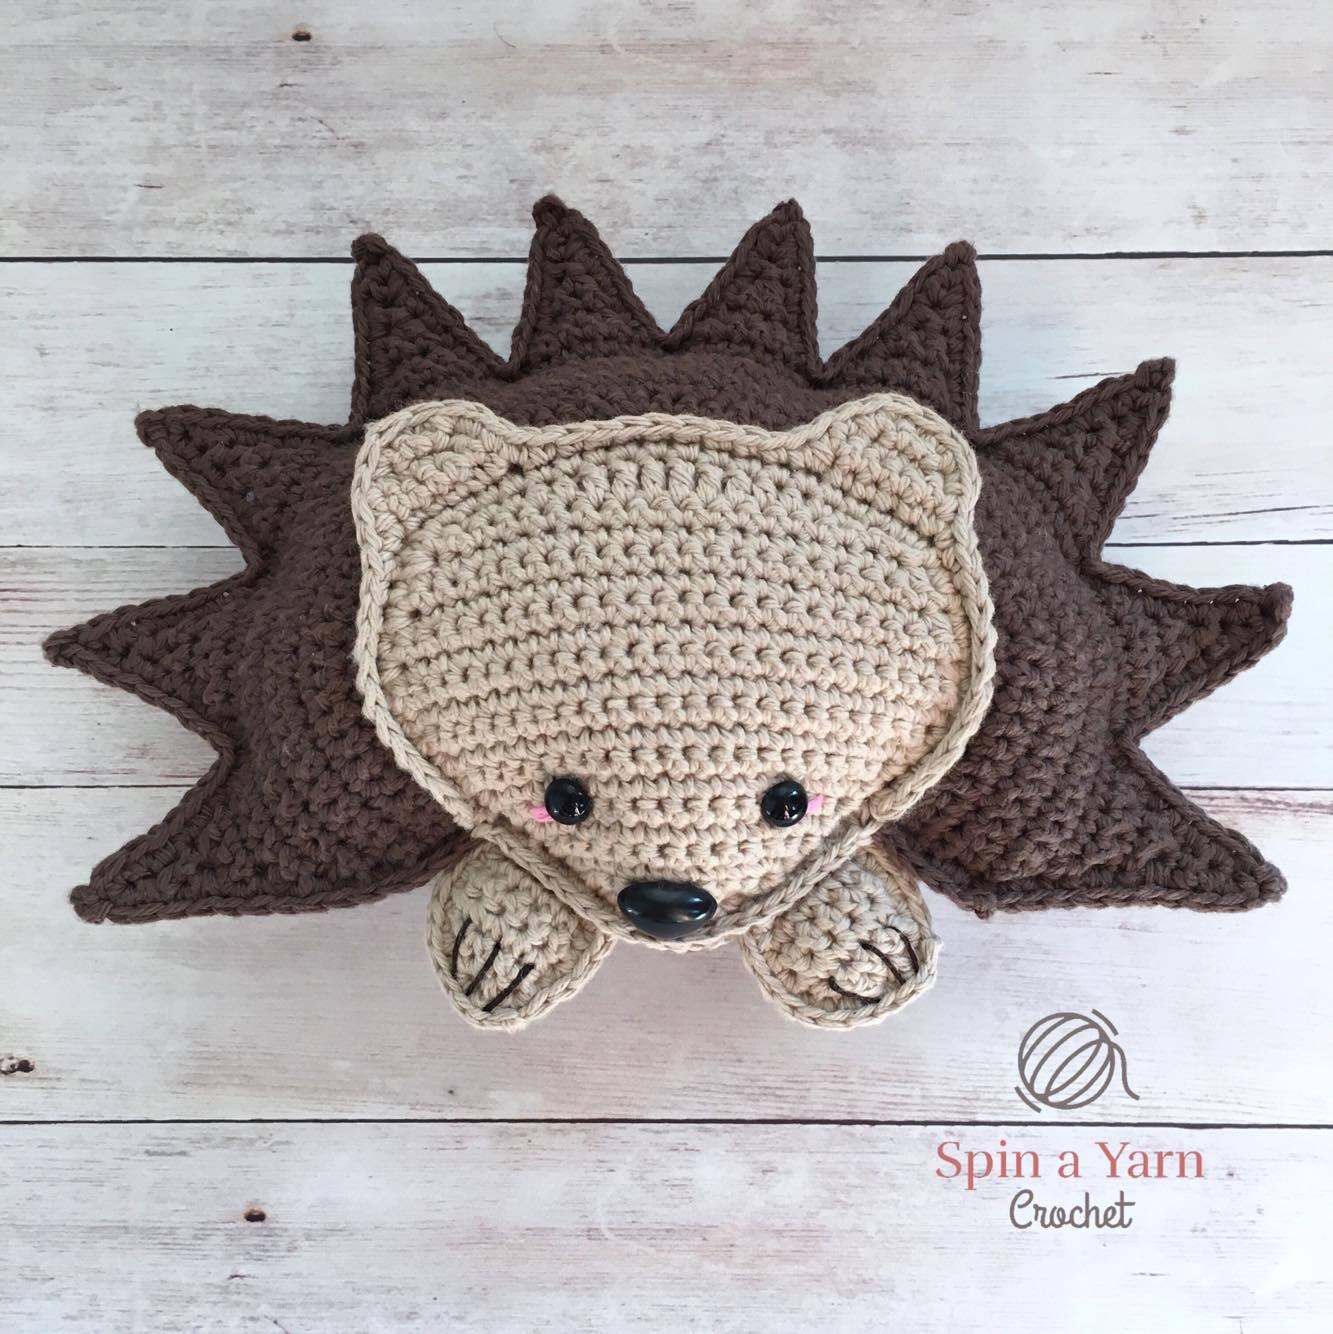
Quill-free and cuddle-ready! This Woodland Hedgehog features a rich, dense loop-stitch coat in chocolate brown, paired with a smooth oatmeal face, rounded ears, and sweet stitched nose.

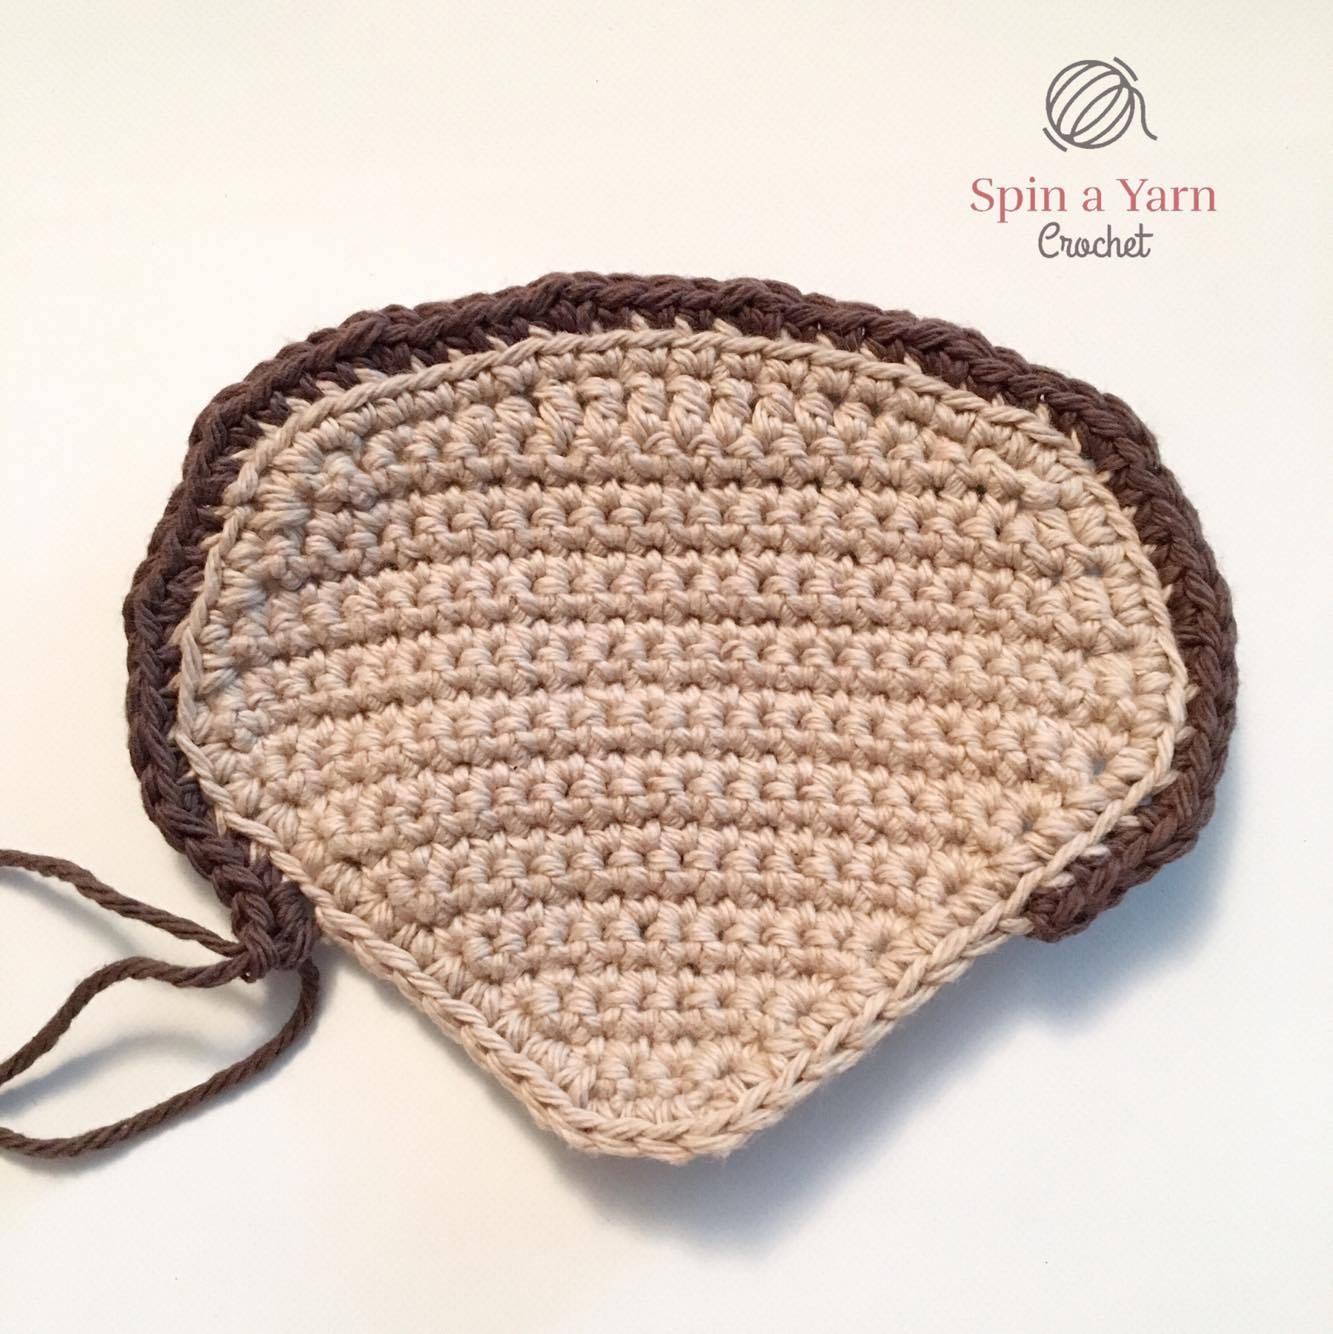
Face panel

Pattern Inspiration & Design Notes

Whether you are decorating your home for the autumn season or crafting gifts for friends, this pattern was designed from the ground up for relaxation and clean, crisp stitch definition.

One of the most common frustrations in crochet is vague sizing or running out of yarn right at the final row. That is why every stitch in this tutorial has been physically crocheted, swatch-tested, and audited with our designated 3.5 mm (US E/4) hook.

Free Pattern Tutorial
(4.9/5 β€’ Verified Pattern)

How to Crochet a Woodland Hedgehog: Free Loop Stitch Amigurumi Pattern

Original Pattern by easycrochetdrop β€’ crochetpatterndrop
Hook Size (Strict)3.5 mm (US E/4)
Yarn WeightWorsted Weight (Category 4) in Chocolate Brown and Oatmeal Beige
Crafting Time3 Hours
DifficultyIntermediate

Materials Checklist(Click to check off supplies)

0 / 6 Ready

Gauge & Tension Calibration

Standard Swatch: 20 sc x 22 rows = 4 inches (10 cm) using Single Crochet Loop Stitch (lp st) and regular sc in rows with your designated 3.5 mm (US E/4) hook.

Consistent loop height (0.5 inch) gives the quill coat dense furry volume.

Important Pattern Notes

  • Strict 3.5mm Hook Consistency: Maintain standard 3.5mm hook for body panels, quill coat, ears, and paws.
  • Loop Stitch Technique: Wrap working yarn around index finger before completing the single crochet to leave a 0.5-inch raised loop on the front side.
  • Tapered Snout: Starts with small 4-sc increases to create the sharp hedgehog snout.
  • Safe Alternative: If you dislike loop stitch, use textured faux fur or boucle yarn worked in regular single crochet.

Step-by-Step Instructions

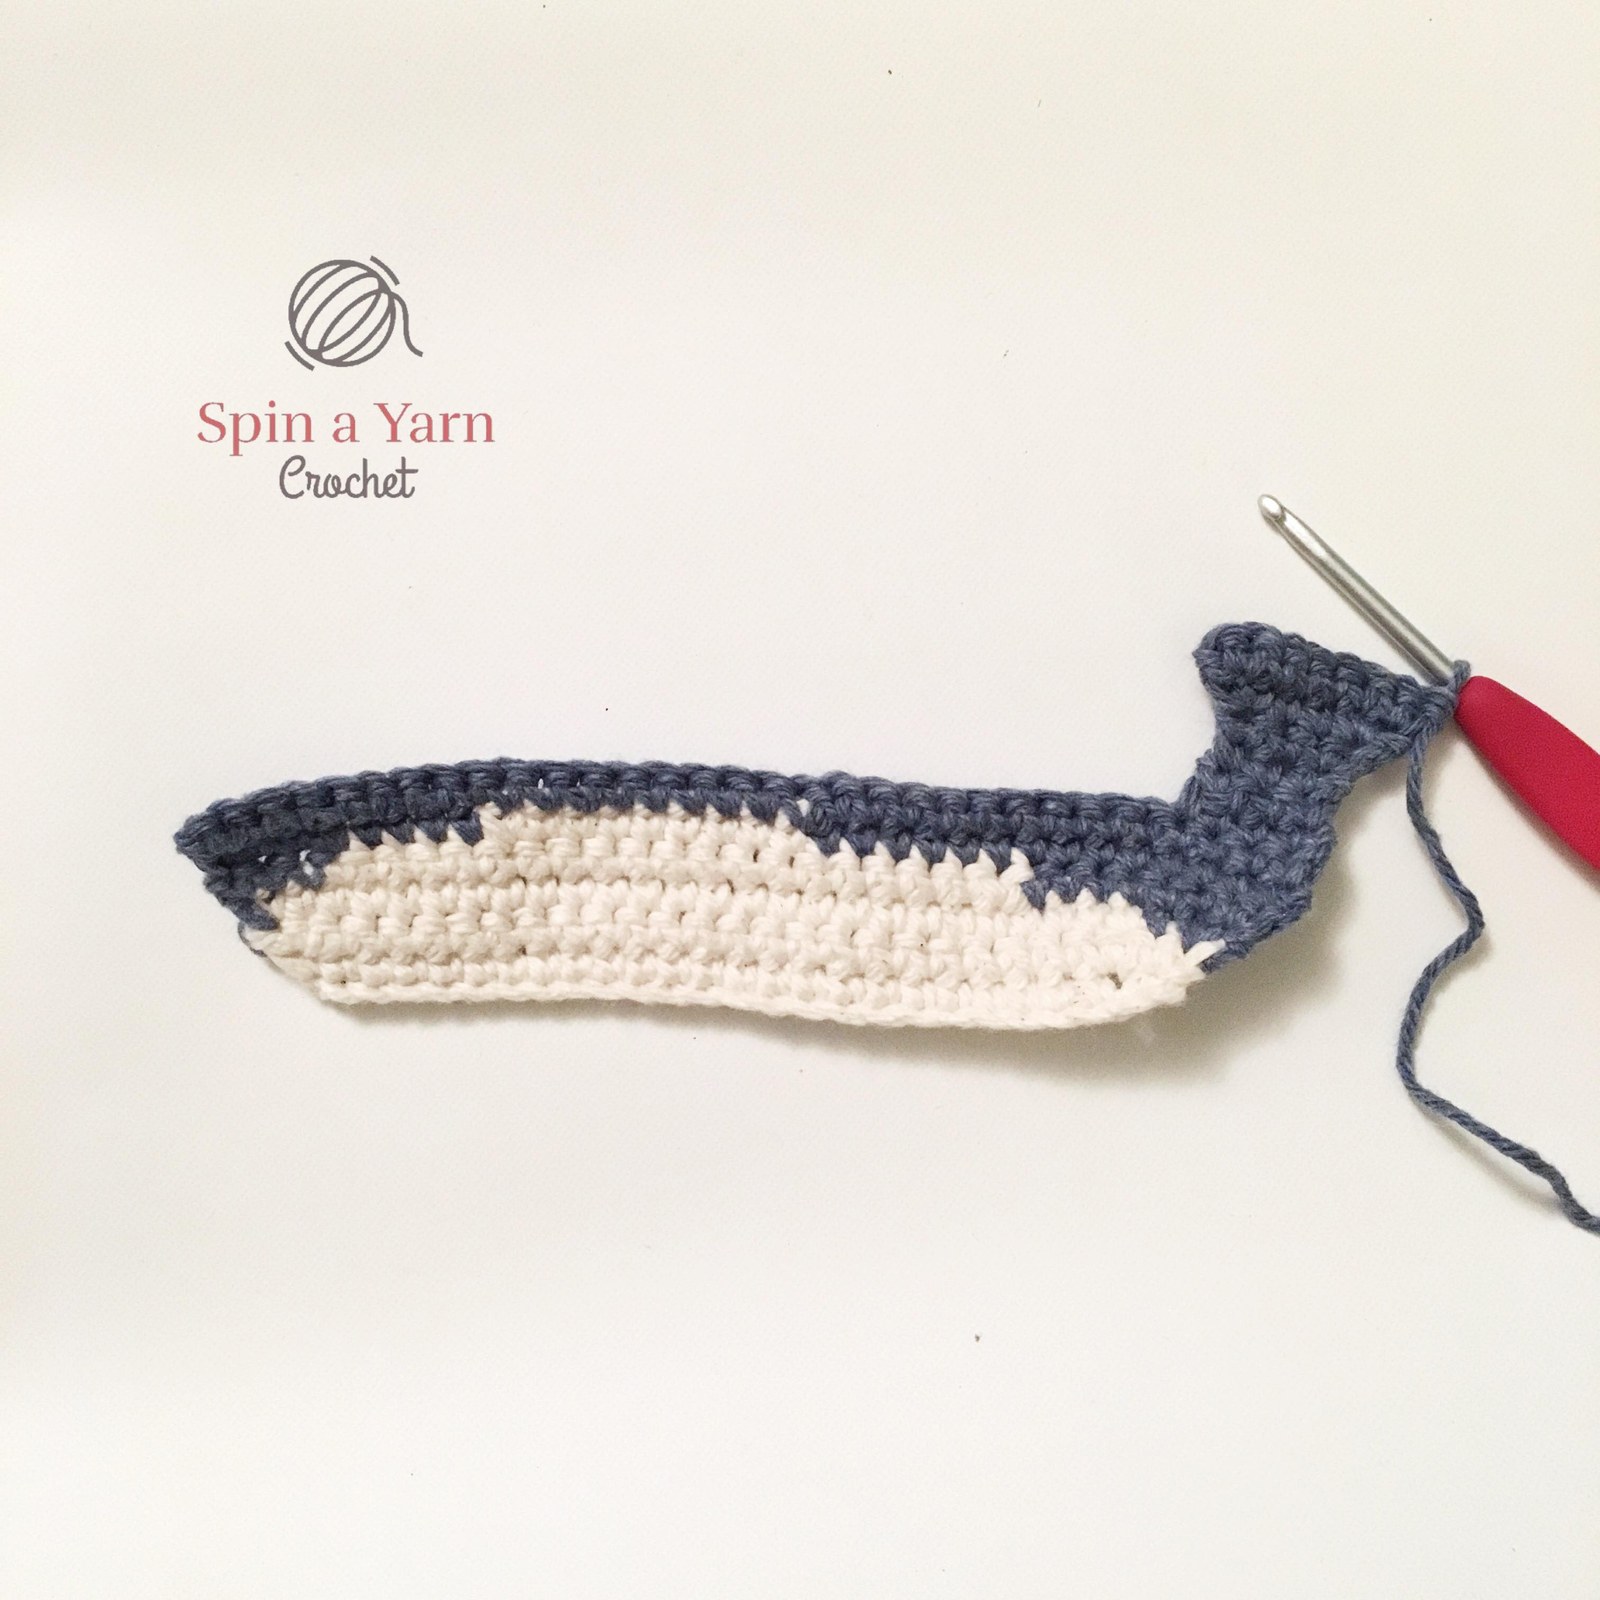
Step 1Stitches: 4 sc expanding to 18 sc in smooth oatmeal yarn

Tapered Oatmeal Snout & Face (Rows 1–12)

Face panel
Hedgehog Amigurumi Free Crochet Pattern

With 3.5mm hook and oatmeal yarn, ch 5. Sc in 2nd ch and across (4 sts). Ch 1, turn.

Rows 2–5: Inc at each edge every row up to 12 sts.

Rows 6–10: Expand forehead and cheeks to 18 sts.

Rows 11–12: Work even (18 sts). Fasten off oatmeal.

Pro Tip: Keep tension extra firm at the nose tip for crisp triangular snout shaping.
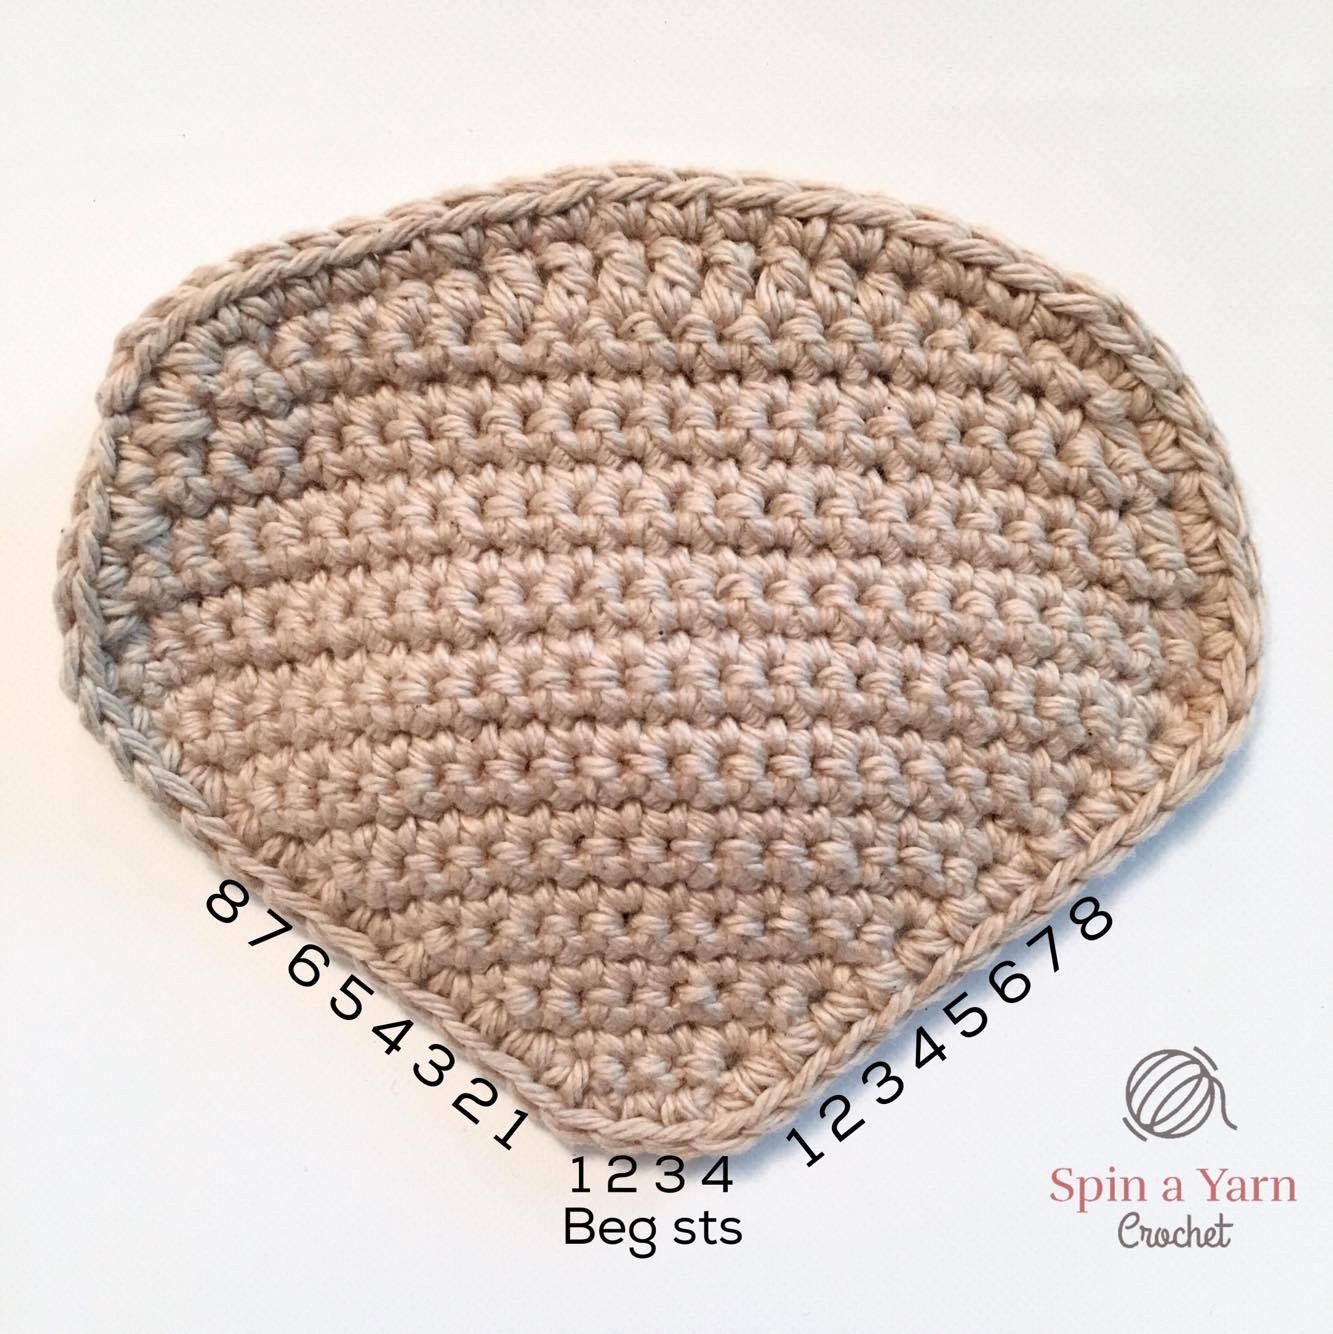
Step 2Stitches: 18 sts wide worked in alternating loop stitch and regular sc rows

Textured Loop-Stitch Quill Back (Rows 13–30)

Face panel
Hedgehog Amigurumi Free Crochet Pattern

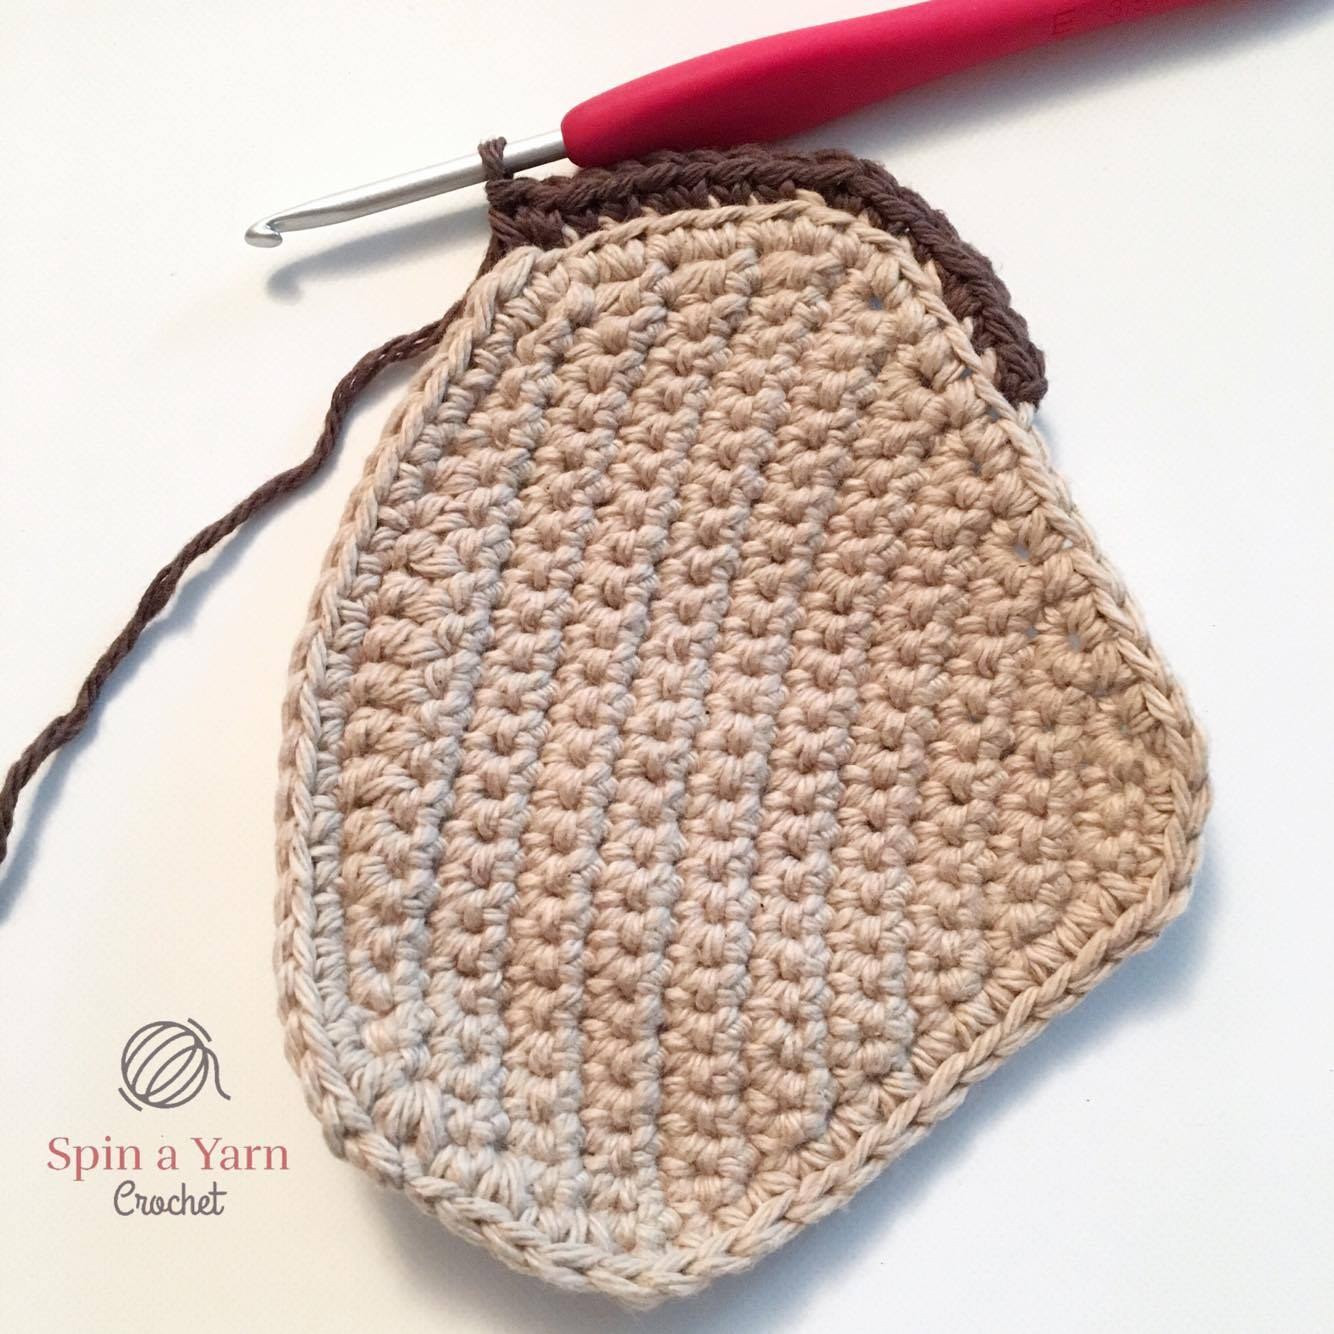
Join brown yarn across top of oatmeal face.

Row 13: Loop stitch in each st across (18 loop sts). Ch 1, turn.

Row 14: Regular sc across (18 sts). Ch 1, turn.

Rows 15–26: Alternate loop rows and sc rows across the arched back.

Rows 27–30: Decrease evenly down to 6 sts to round the rump. Fasten off.

Pro Tip: Work loops strictly on wrong-side rows so all quills project outward onto the exterior face.
Step 3Stitches: 6-sc half-circle ears; 4-sc mini paw tabs

Crocheting Round Ears & Mini Paws (Make 2 Each)

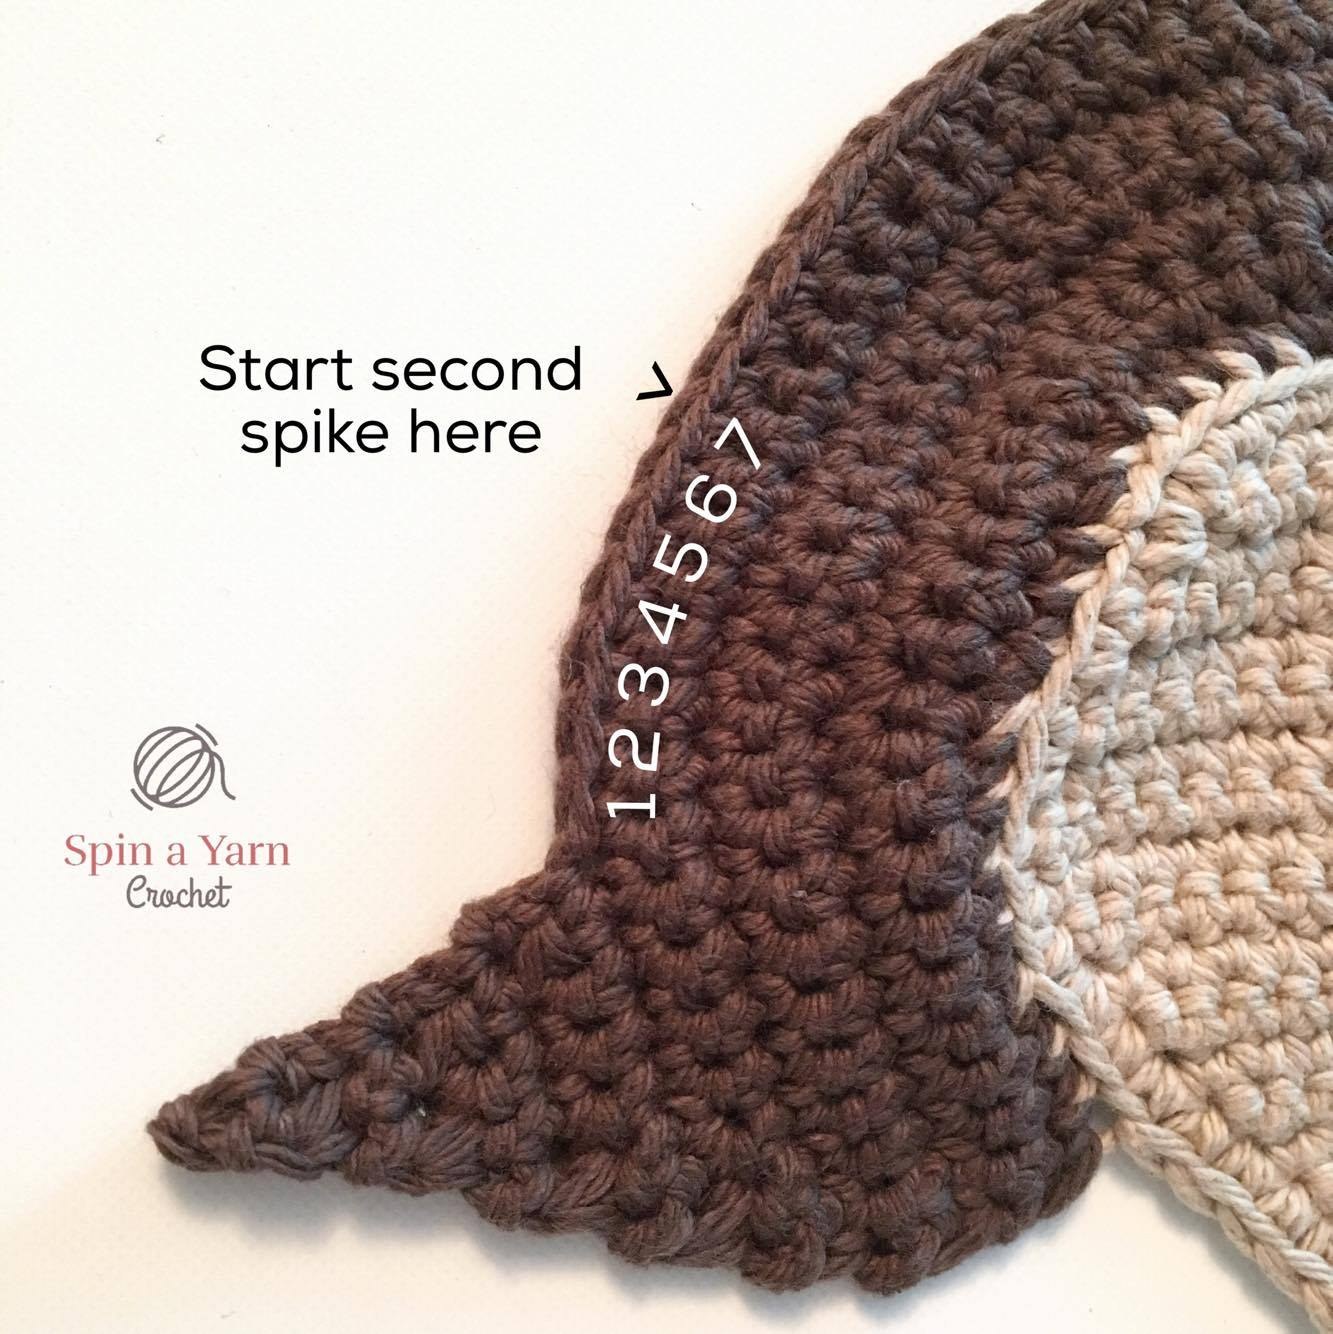
Spikes
Hedgehog Amigurumi Free Crochet Pattern

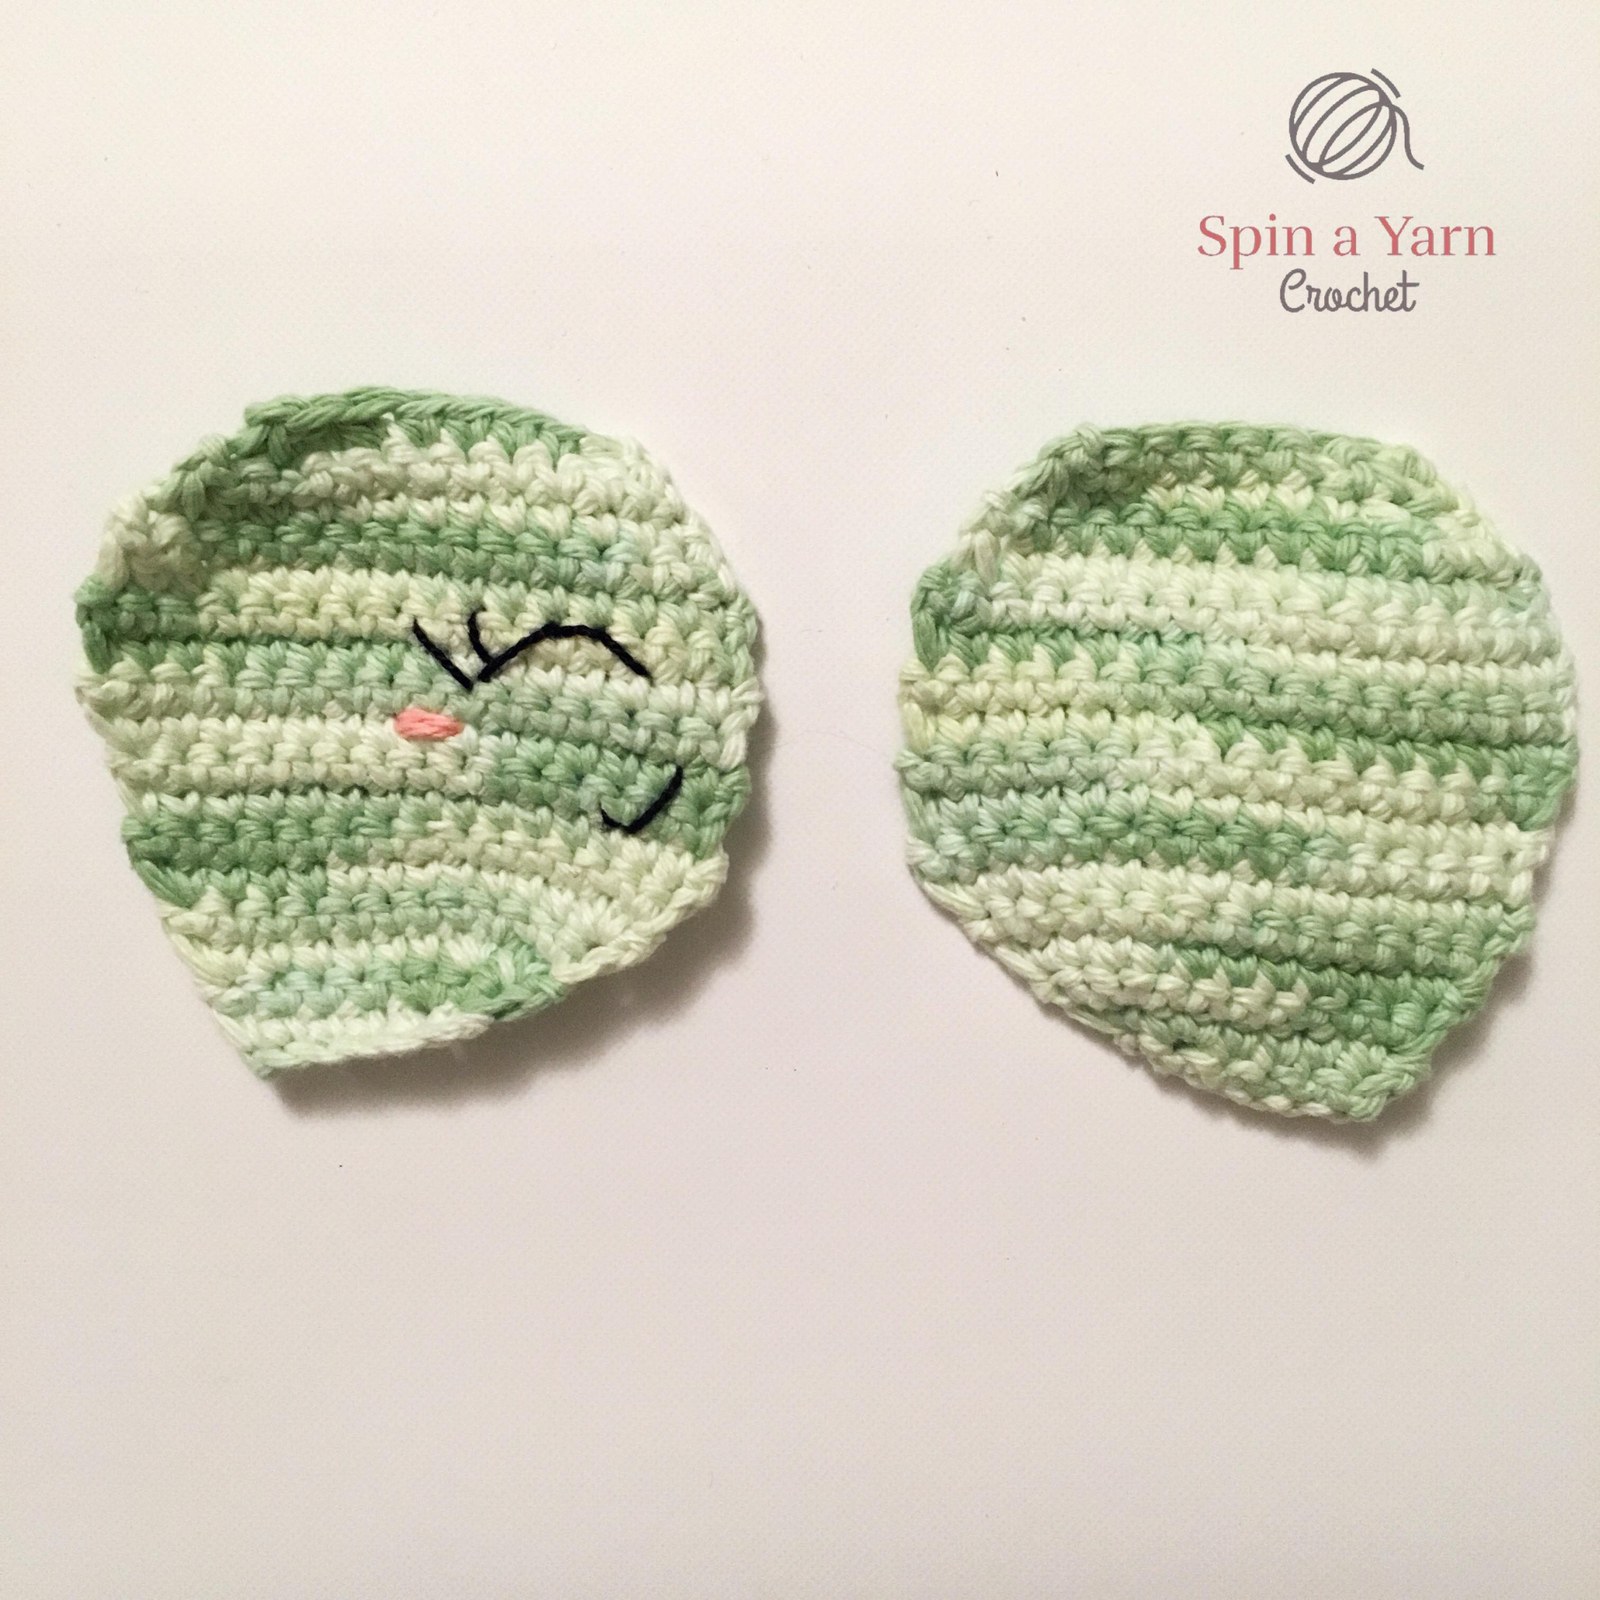
Ears (Make 2): In oatmeal, 6 sc in magic ring. Pull ring into a semi-circle. Fasten off.

Paws (Make 4): In oatmeal, 5 sc in magic ring, work 2 rounds even. Fasten off.

Pro Tip: Position ears right at the boundary between oatmeal face and brown quills.
Step 4Stitches: Safety eyes between Rows 8 and 9, 7 sts apart

Installing Eyes, Snout Embroidery & Ears

Hedgehog
Hedgehog Amigurumi Free Crochet Pattern

Insert 9mm safety eyes between Rows 8 and 9 of oatmeal face.

Embroider a solid black triangle nose over the Row 1 point with embroidery thread.

Sew round ears on either side at Row 12.

Stitch sweet sleeping cheeks or smile with black thread.

Pro Tip: Embroider a shiny black satin-stitch triangular nose over the pointed tip.
Step 5Stitches: Perimeter single crochet join with 40g polyfill pack

Seaming Underbelly, Stuffing & Finishing

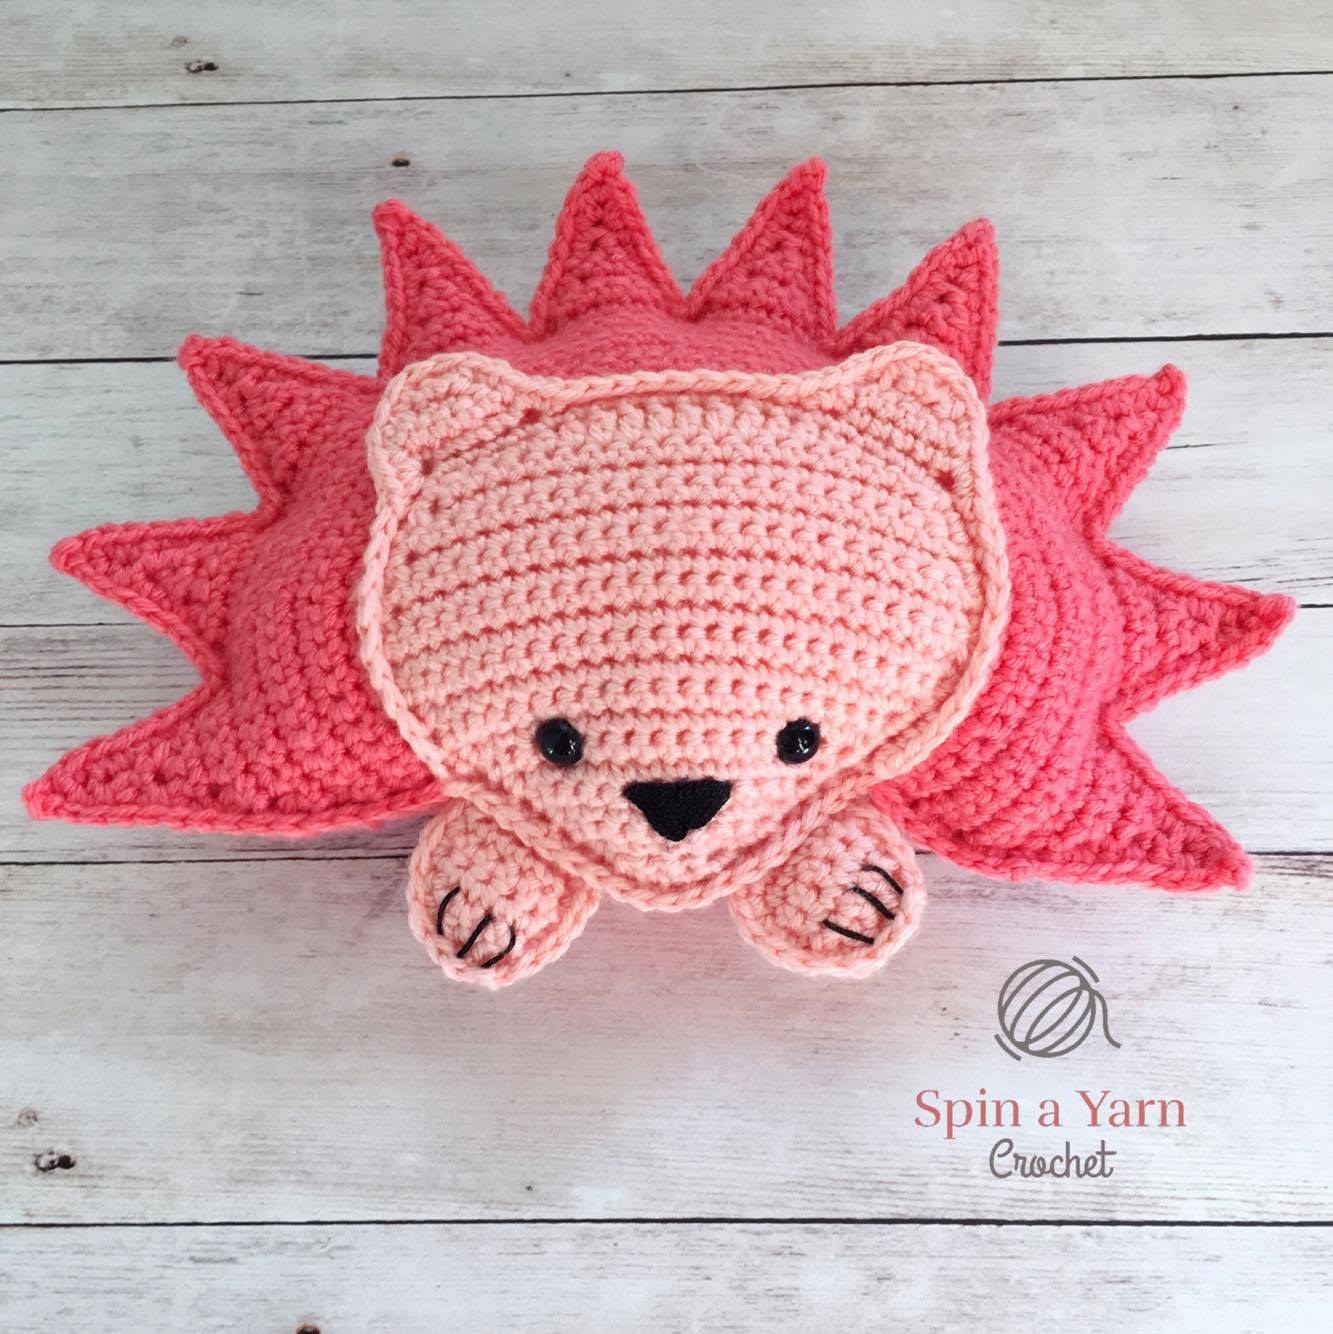
Pink Hedgehog
Hedgehog Amigurumi Free Crochet Pattern

Align front and back panels right sides facing out.

Single crochet around the perimeter, matching oatmeal thread along snout and brown along quills.

Pack 40g of polyfill firmly into the body cavity.

Sew 4 paws along bottom underbelly.

Fluff all loop stitches forward with fingers for a full fuzzy coat. Weave in all tails.

Pro Tip: Comb through the loop stitches with your fingers to fluff out the quill coat.
Printable Masterclass

Download the Ad-Free Printable PDF

Get high-resolution printable stitch charts, offline instructions, and zero-ad crafting. Use code CROCHET20 for 20% OFF.

Get PDF ($3.99)

Frequently Asked Questions

Frequently Asked Questions

Clear answers to common gauge, yarn weight, and technique inquiries

The loop stitch is worked by wrapping the working yarn around your non-dominant index finger before drawing the loop through the stitch. This leaves an adjustable yarn loop on the back of the work that acts as soft fuzzy hedgehog quills!

Recommended For You

Handpicked free crochet tutorials and verified printable PDF blueprints based on your interests.

Explore More Amigurumi