AmigurumiHook: 3.5 mm (US E/4)

How to Crochet a Tropical Pink Flamingo: Free Standing Amigurumi Pattern

Add a splash of vibrant tropical elegance to your amigurumi collection! This Standing Pink Flamingo features an arched S-neck, layered wing feathers, two-tone beak, and slender legs.

Swan assembly

Pattern Inspiration & Design Notes

Whether you are decorating your home for the autumn season or crafting gifts for friends, this pattern was designed from the ground up for relaxation and clean, crisp stitch definition.

One of the most common frustrations in crochet is vague sizing or running out of yarn right at the final row. That is why every stitch in this tutorial has been physically crocheted, swatch-tested, and audited with our designated 3.5 mm (US E/4) hook.

Free Pattern Tutorial
(4.9/5 β€’ Verified Pattern)

How to Crochet a Tropical Pink Flamingo: Free Standing Amigurumi Pattern

Original Pattern by easycrochetdrop β€’ crochetpatterndrop
Hook Size (Strict)3.5 mm (US E/4)
Yarn WeightWorsted Weight (Category 4) in Rose Pink, Soft Coral, and Jet Black
Crafting Time3 Hours
DifficultyIntermediate

Materials Checklist(Click to check off supplies)

0 / 6 Ready

Gauge & Tension Calibration

Standard Swatch: 20 sc x 22 rows = 4 inches (10 cm) using Single Crochet (sc) in rows with your designated 3.5 mm (US E/4) hook.

Firm gauge gives the S-curve neck natural upright support.

Important Pattern Notes

  • Strict 3.5mm Hook Consistency: Maintain standard 3.5mm hook for body panels, neck, beak, wings, and legs.
  • S-Curve Neck Architecture: Staggered increases on the front edge and decreases on the back edge curve the neck into an authentic waterfowl profile.
  • Two-Tone Beak: Black tip transitioning to rose pink with a characteristic downward curve.
  • Layered Wing Feathers: Scalloped feather panels stitched in overlapping tiers.

Step-by-Step Instructions

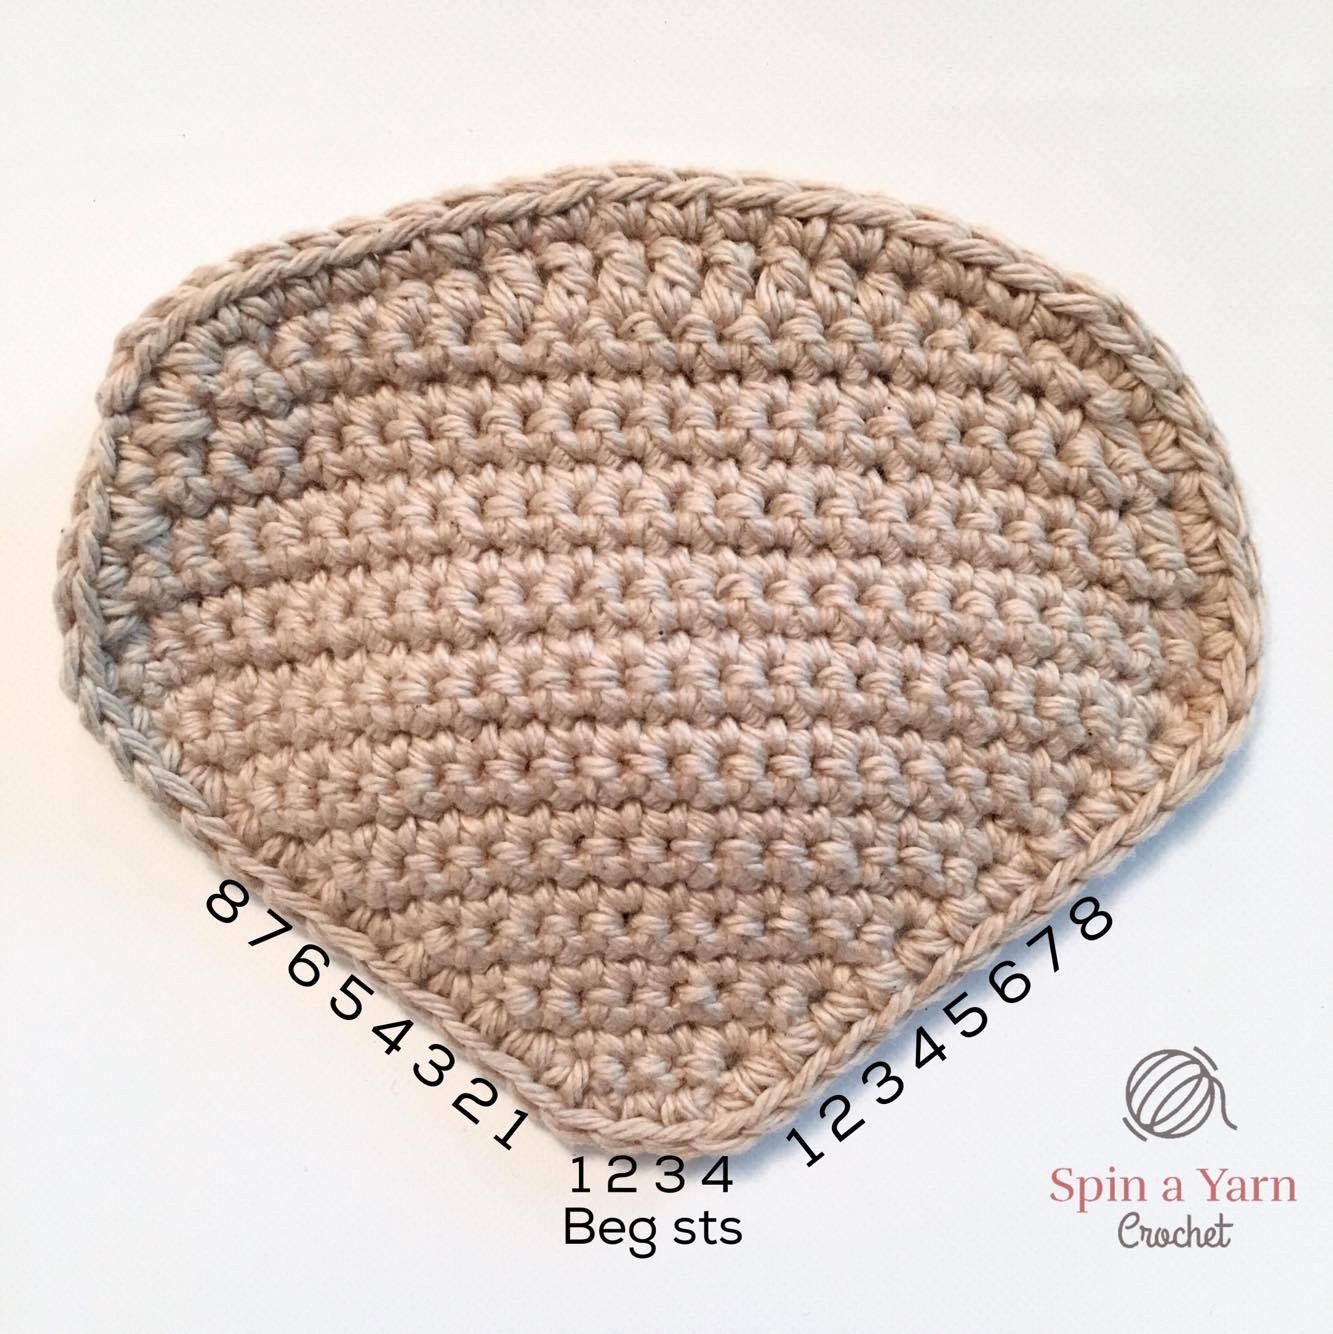
Step 1Stitches: Teardrop body (18 sts) continuing up through curved 8-sc neck to head dome

Flamingo Body & S-Curve Neck Panels (Make 2)

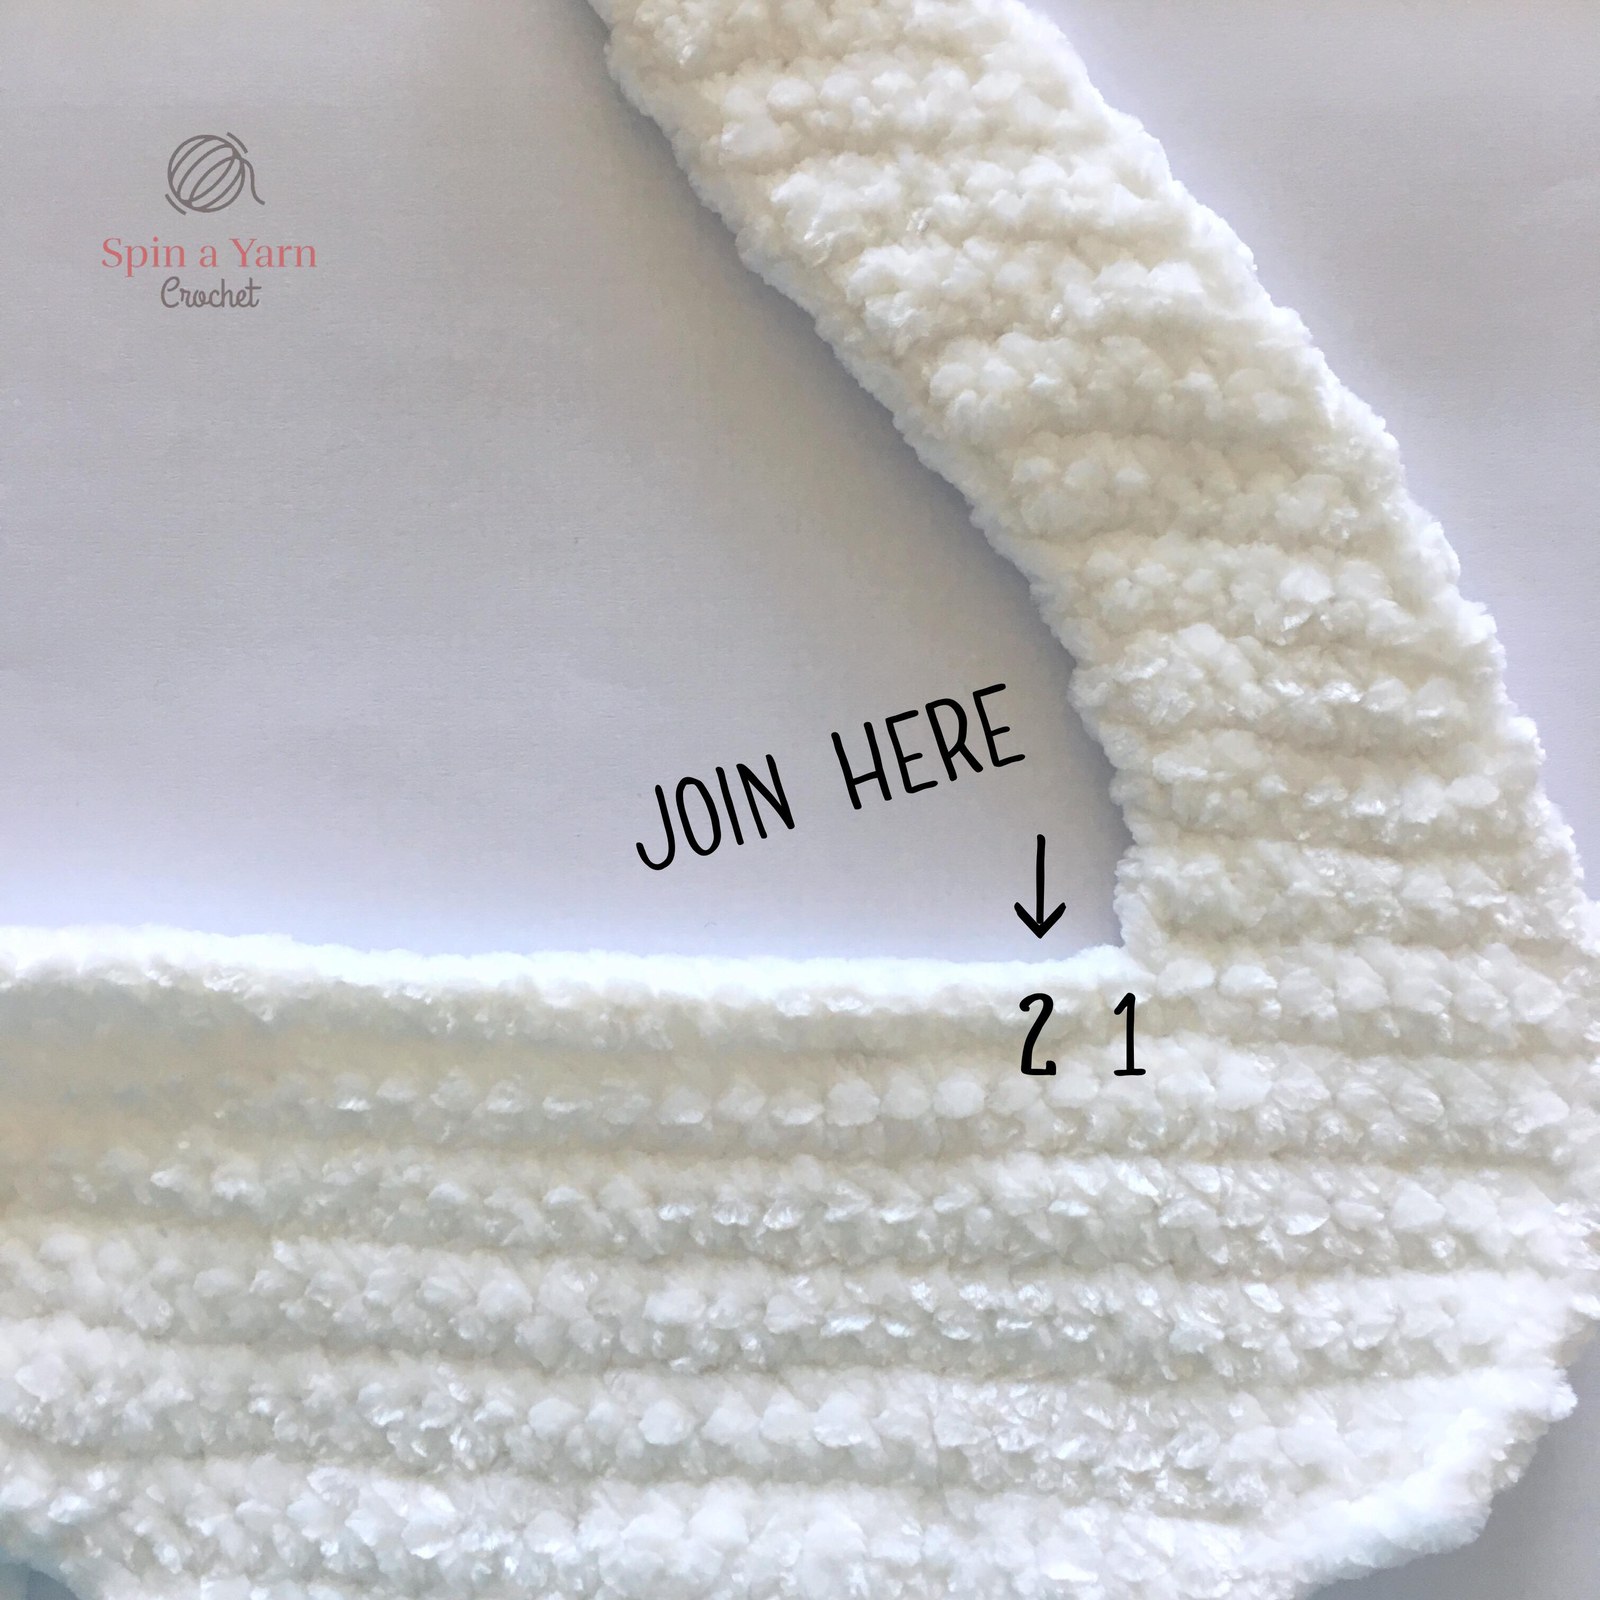
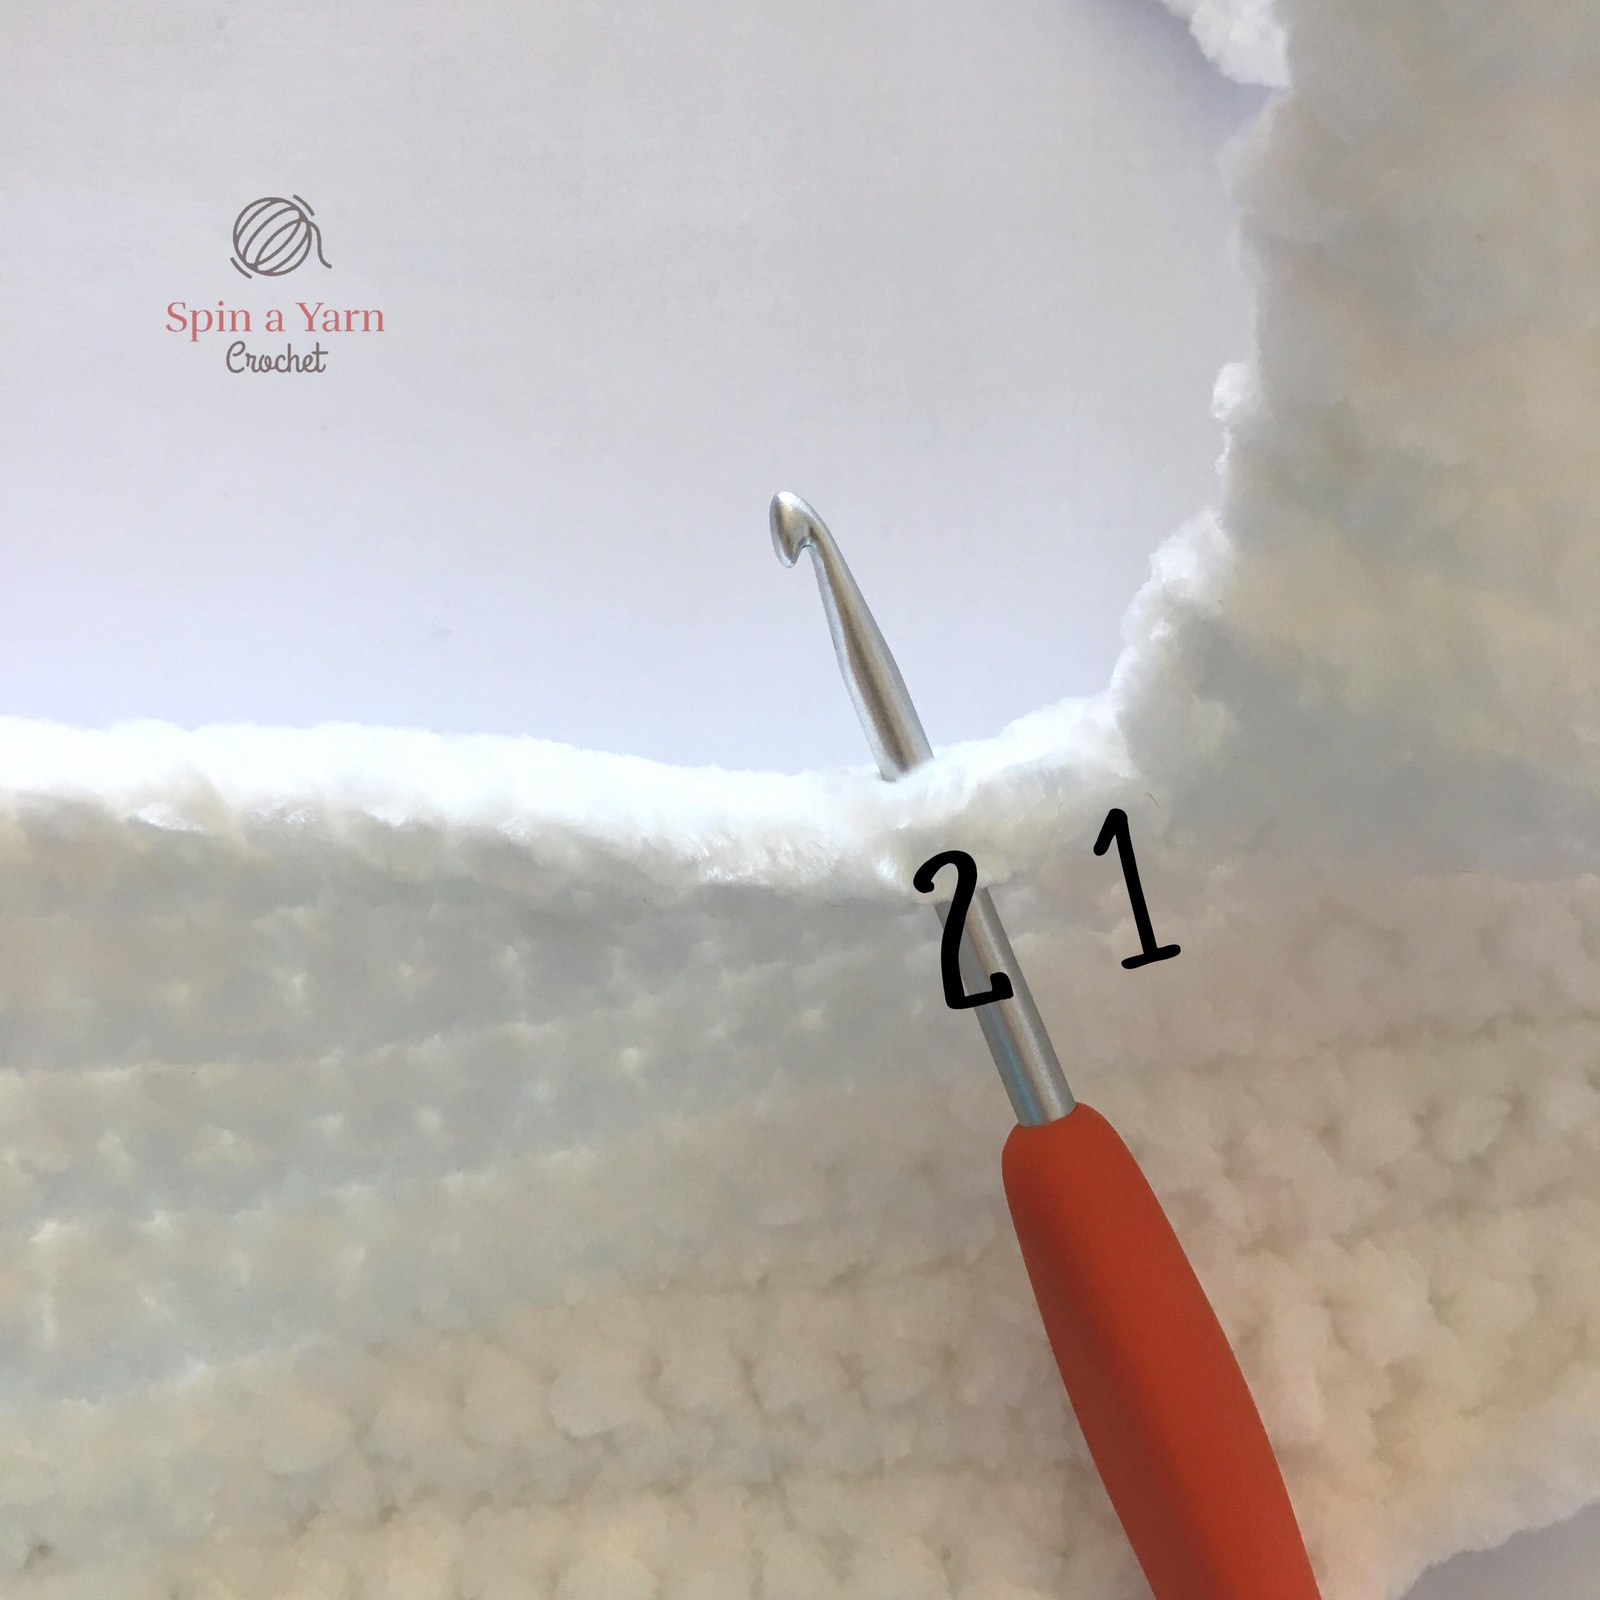
Swan assembly
Swan assembly

With 3.5mm hook and pink yarn, ch 11. Sc in 2nd ch and across (10 sts). Ch 1, turn.

Rows 2–8: Expand rounded oval body up to 18 sts.

Rows 9–14: Taper rear rump and begin neck ascent (8 sts).

Rows 15–24: Work neck with synchronized front increases and rear decreases to shape S-curve.

Rows 25–28: Expand head dome to 12 sts, round crown down to 6 sts. Fasten off.

Pro Tip: Steam the neck panel lightly between damp cloths to set the graceful curve.
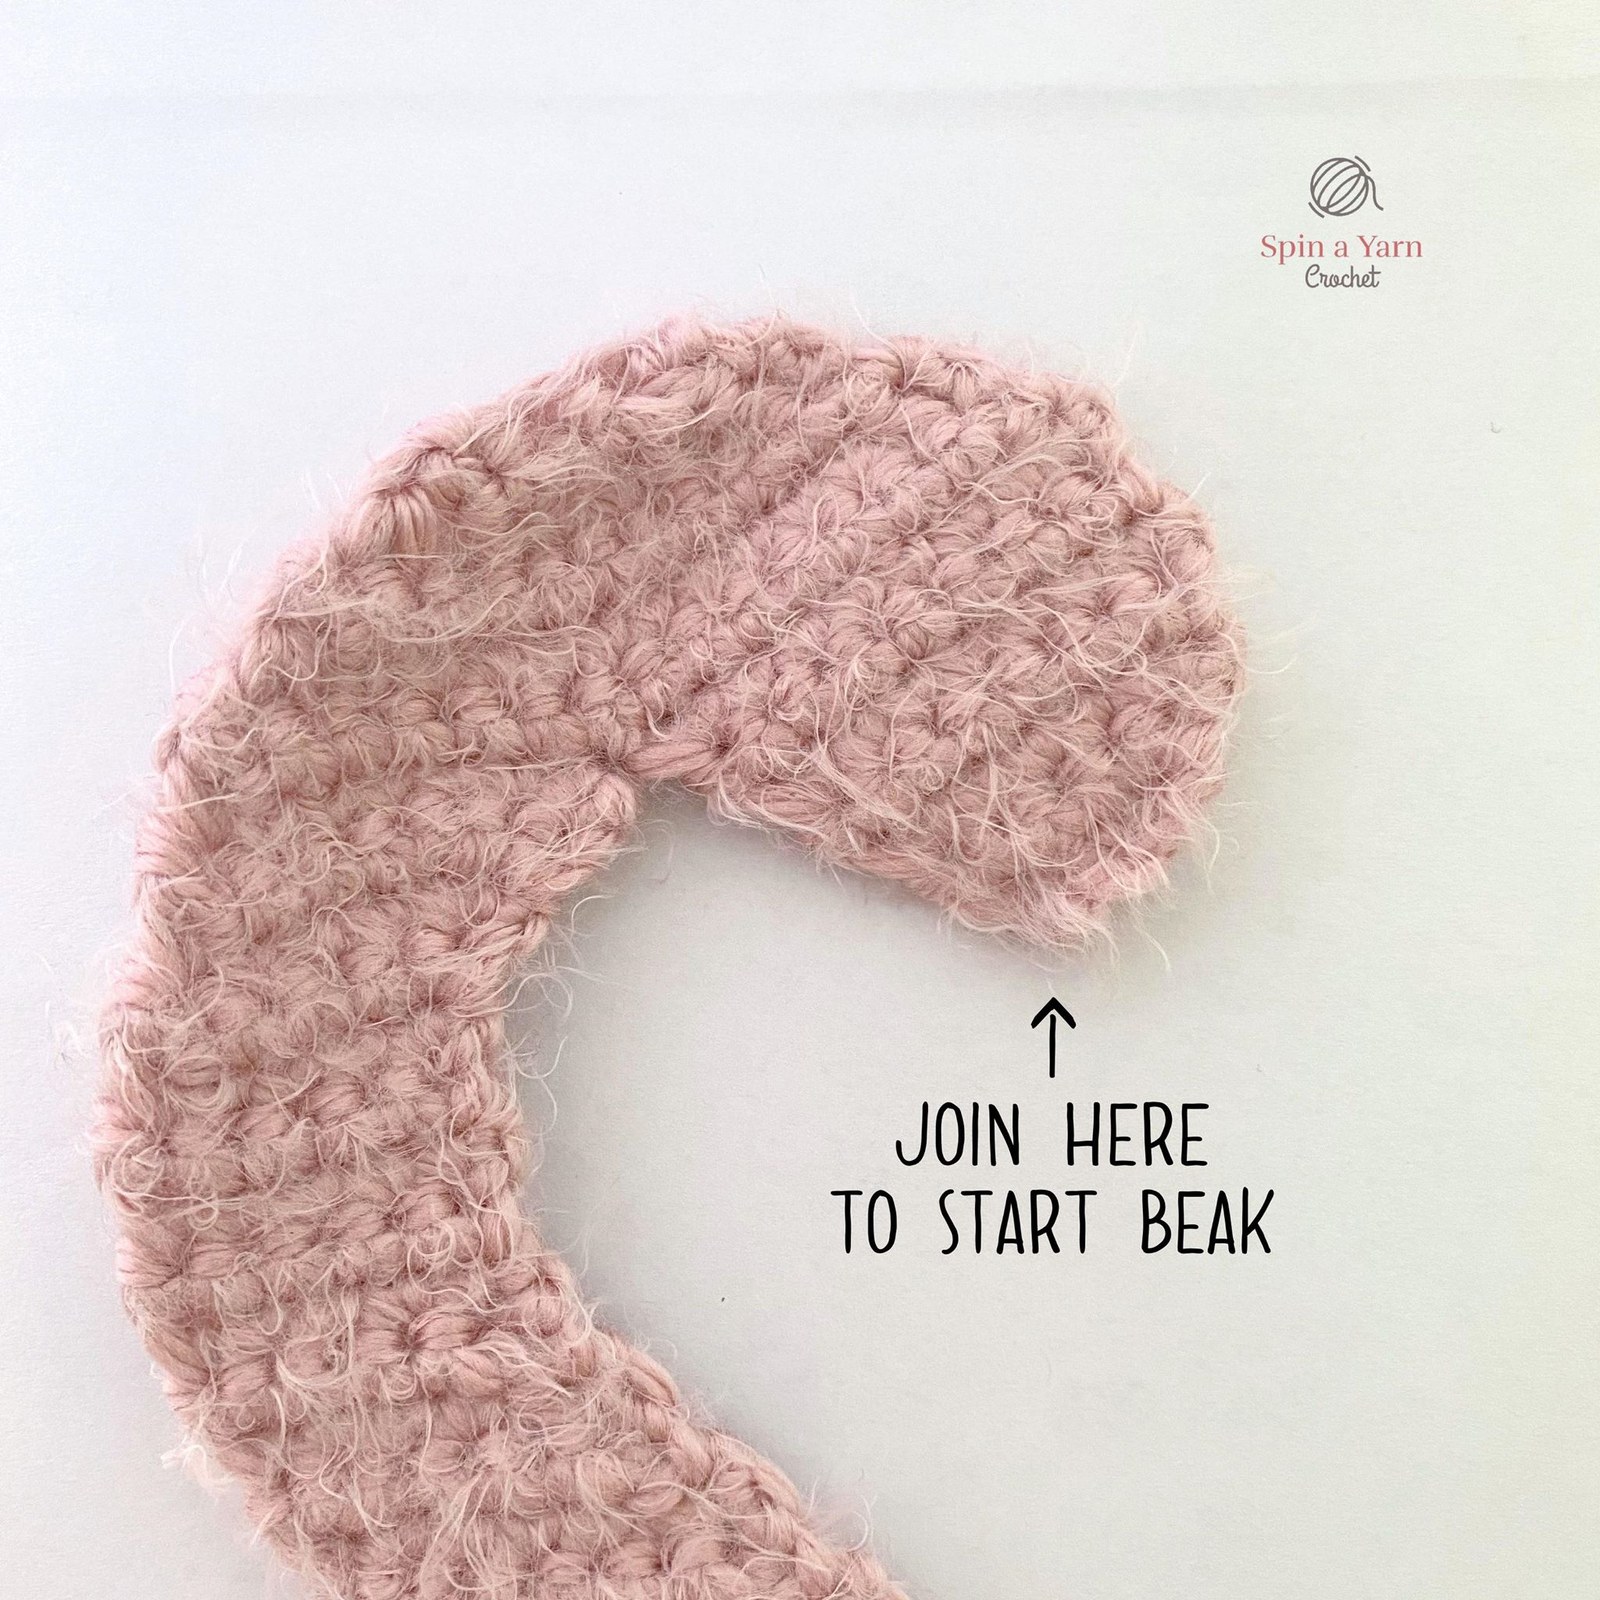
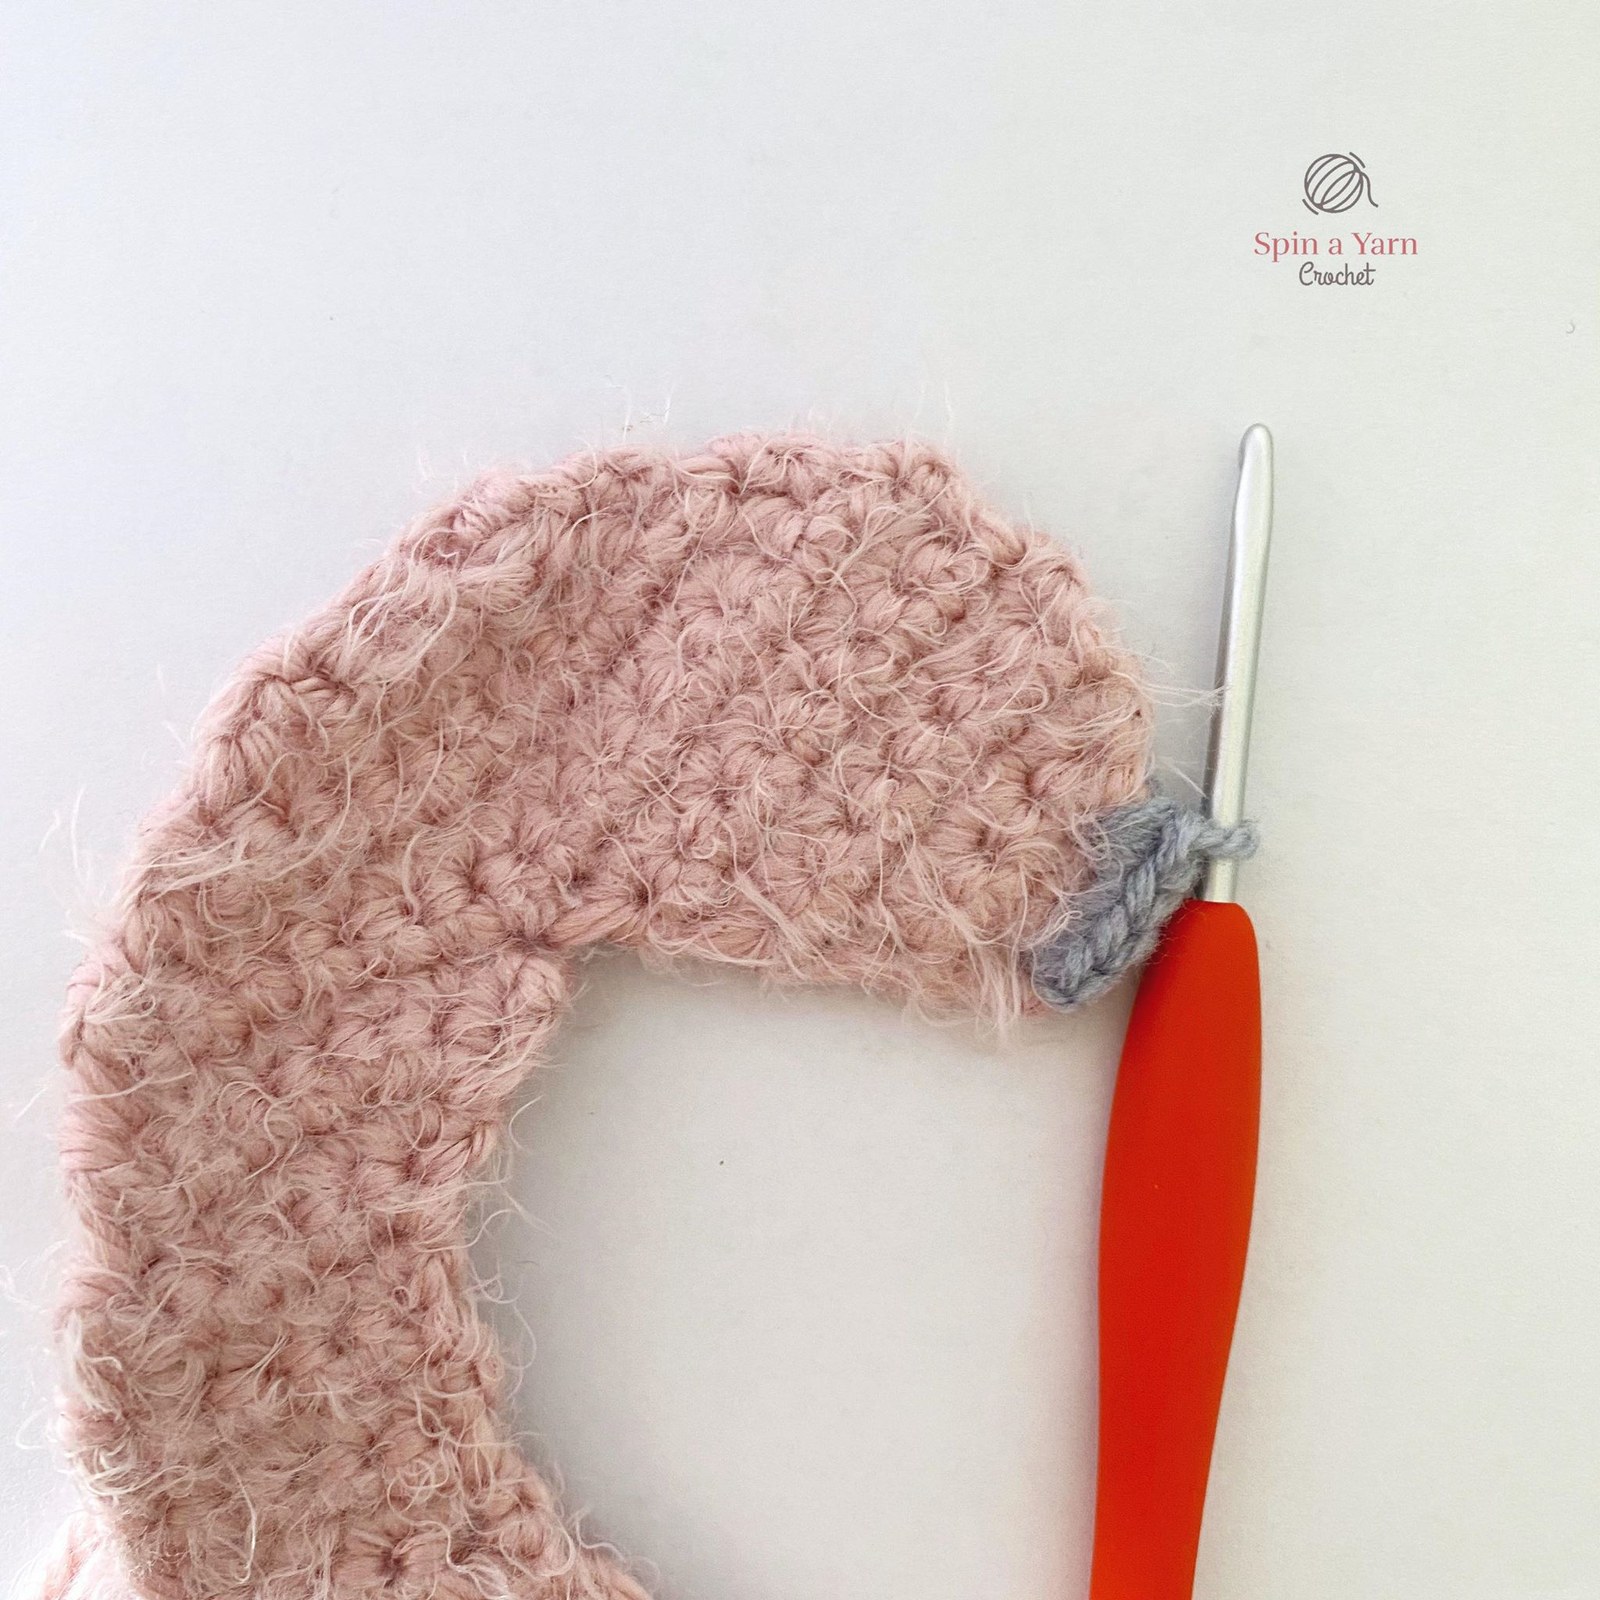
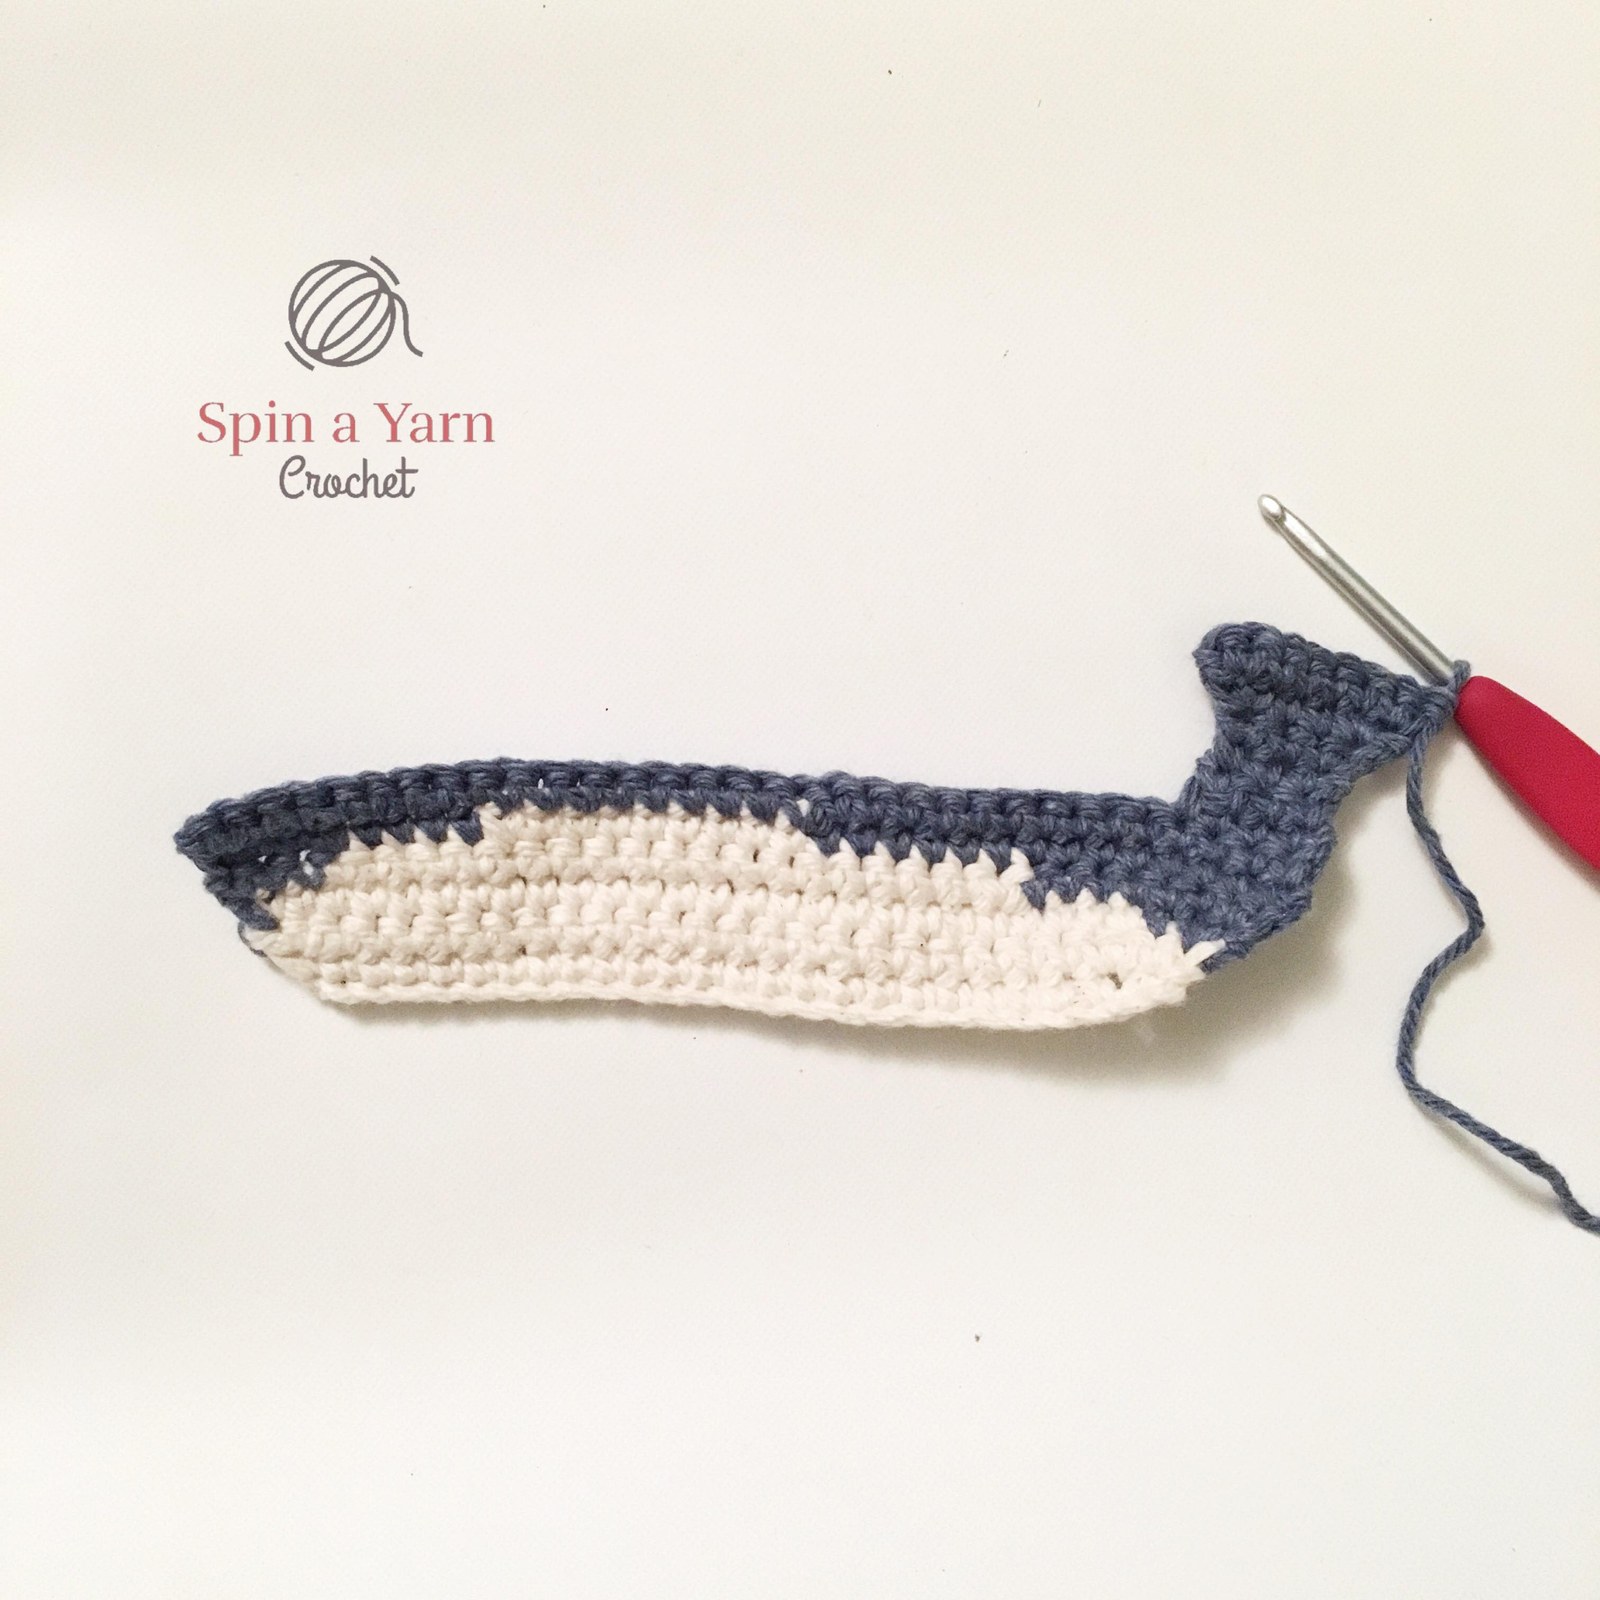
Step 2Stitches: Downward curved wedge starting in black, switching to pink

Curved Two-Tone Beak (Black Tip to Pink)

Swan panel
Finish Body:

In black yarn, ch 4. Sc 3 across for 2 rows, decrease along lower edge.

Switch to pink yarn for 3 rows, expanding to 6 sts.

Fasten off leaving sewing tail.

Pro Tip: Stuff beak tip lightly with yarn scraps before attaching to face.
Step 3Stitches: 3 overlapping feather tiers in coral and pink

Layered Scalloped Wing Feathers (Make 2 Sets)

Swan panel
Finish Body:

In coral yarn, ch 12. [Sc, hdc, dc 3, hdc, sc] across to form scalloped feather tips.

Repeat in pink yarn with ch 10 for middle tier, and ch 8 for top tier.

Stack and whipstitch into a 3D layered flight wing.

Pro Tip: Sew the longest wing tier at the back and stack shorter tiers on top for realistic plumage.
Step 4Stitches: 4 sc spiral tube x 18 rounds with 3 webbed toes

Slender Standing Legs (Make 2)

Flamingo
Beak:

In pink yarn, 4 sc in magic ring. Work 18 continuous rounds (4 sts each).

Foot: Ch 4, [sl st, ch 2, sl st] 3 times for 3 forward webbed toes. Fasten off.

Pro Tip: Insert a pipe cleaner inside each leg if you want them poseable to stand on one leg!
Step 5Stitches: Perimeter join with approx. 70 sc, attach 8mm safety eyes

Perimeter Seaming, Eye Placement & Assembly

Flamingo
Beak:

Attach 8mm safety eyes on front head panel.

Align front and back flamingo panels, single crochet around outer edge in pink yarn.

Stuff body and neck firmly with polyfill as you seam.

Sew curved two-tone beak to front of head.

Attach layered wings on body sides and insert legs at bottom base. Weave in all tails.

Pro Tip: Pack the neck firmly with small pinches of stuffing so it stays proudly upright.
Printable Masterclass

Download the Ad-Free Printable PDF

Get high-resolution printable stitch charts, offline instructions, and zero-ad crafting. Use code CROCHET20 for 20% OFF.

Get PDF ($3.99)

Frequently Asked Questions

Frequently Asked Questions

Clear answers to common gauge, yarn weight, and technique inquiries

Insert a 12-inch pipe cleaner or bendable craft wire through the body and down through the legs. Bend one leg up at the knee joint for the classic iconic standing flamingo pose!

Recommended For You

Handpicked free crochet tutorials and verified printable PDF blueprints based on your interests.

Explore More Amigurumi