Baby & KidsHook: 3.5 mm (US E/4)

How to Crochet a Snuggle Bunny Amigurumi: Free Pattern & Nursery Plushie Guide

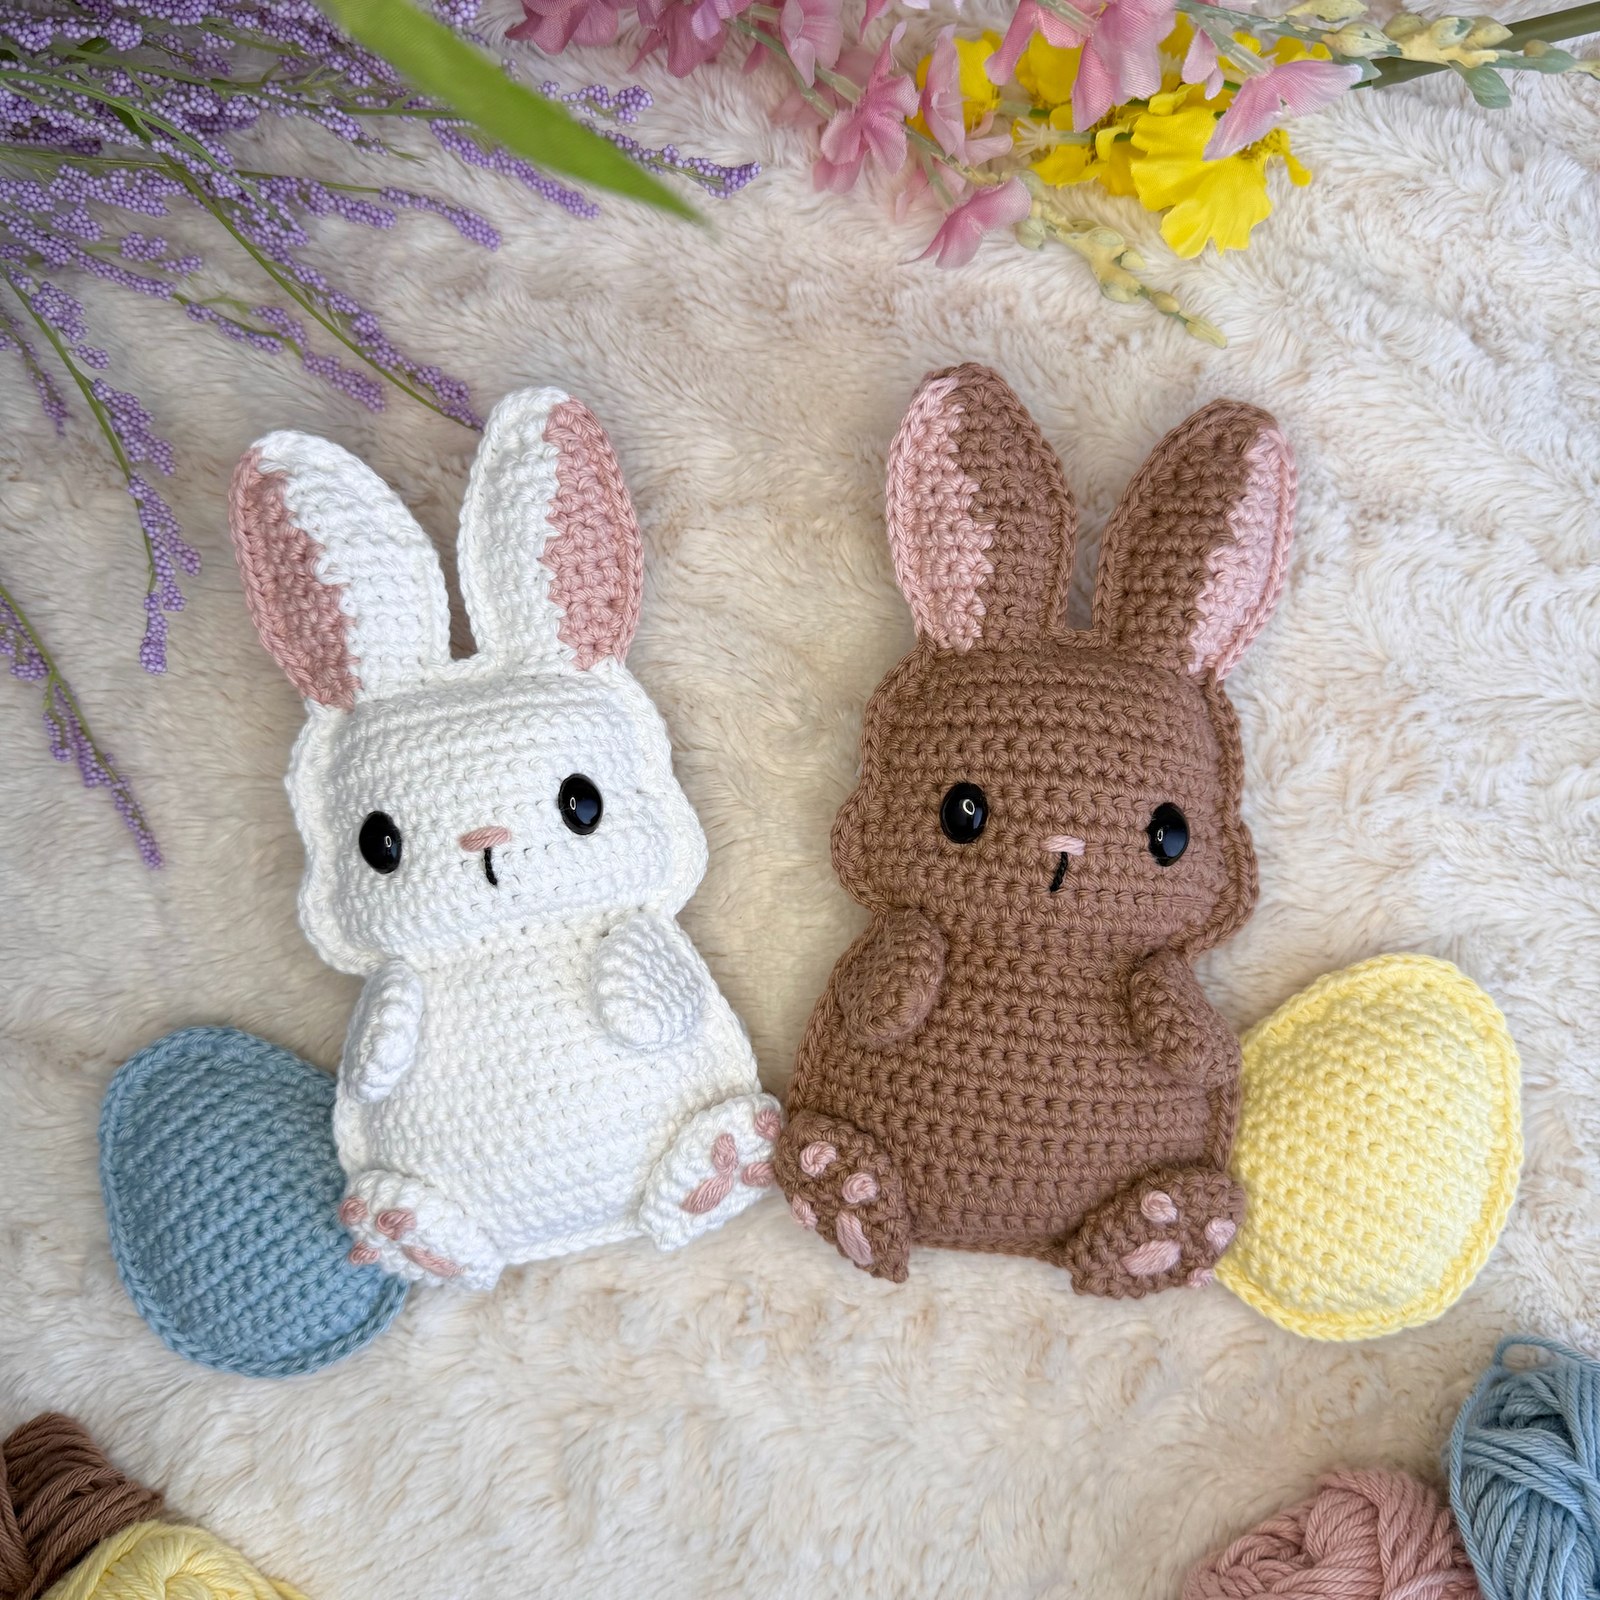
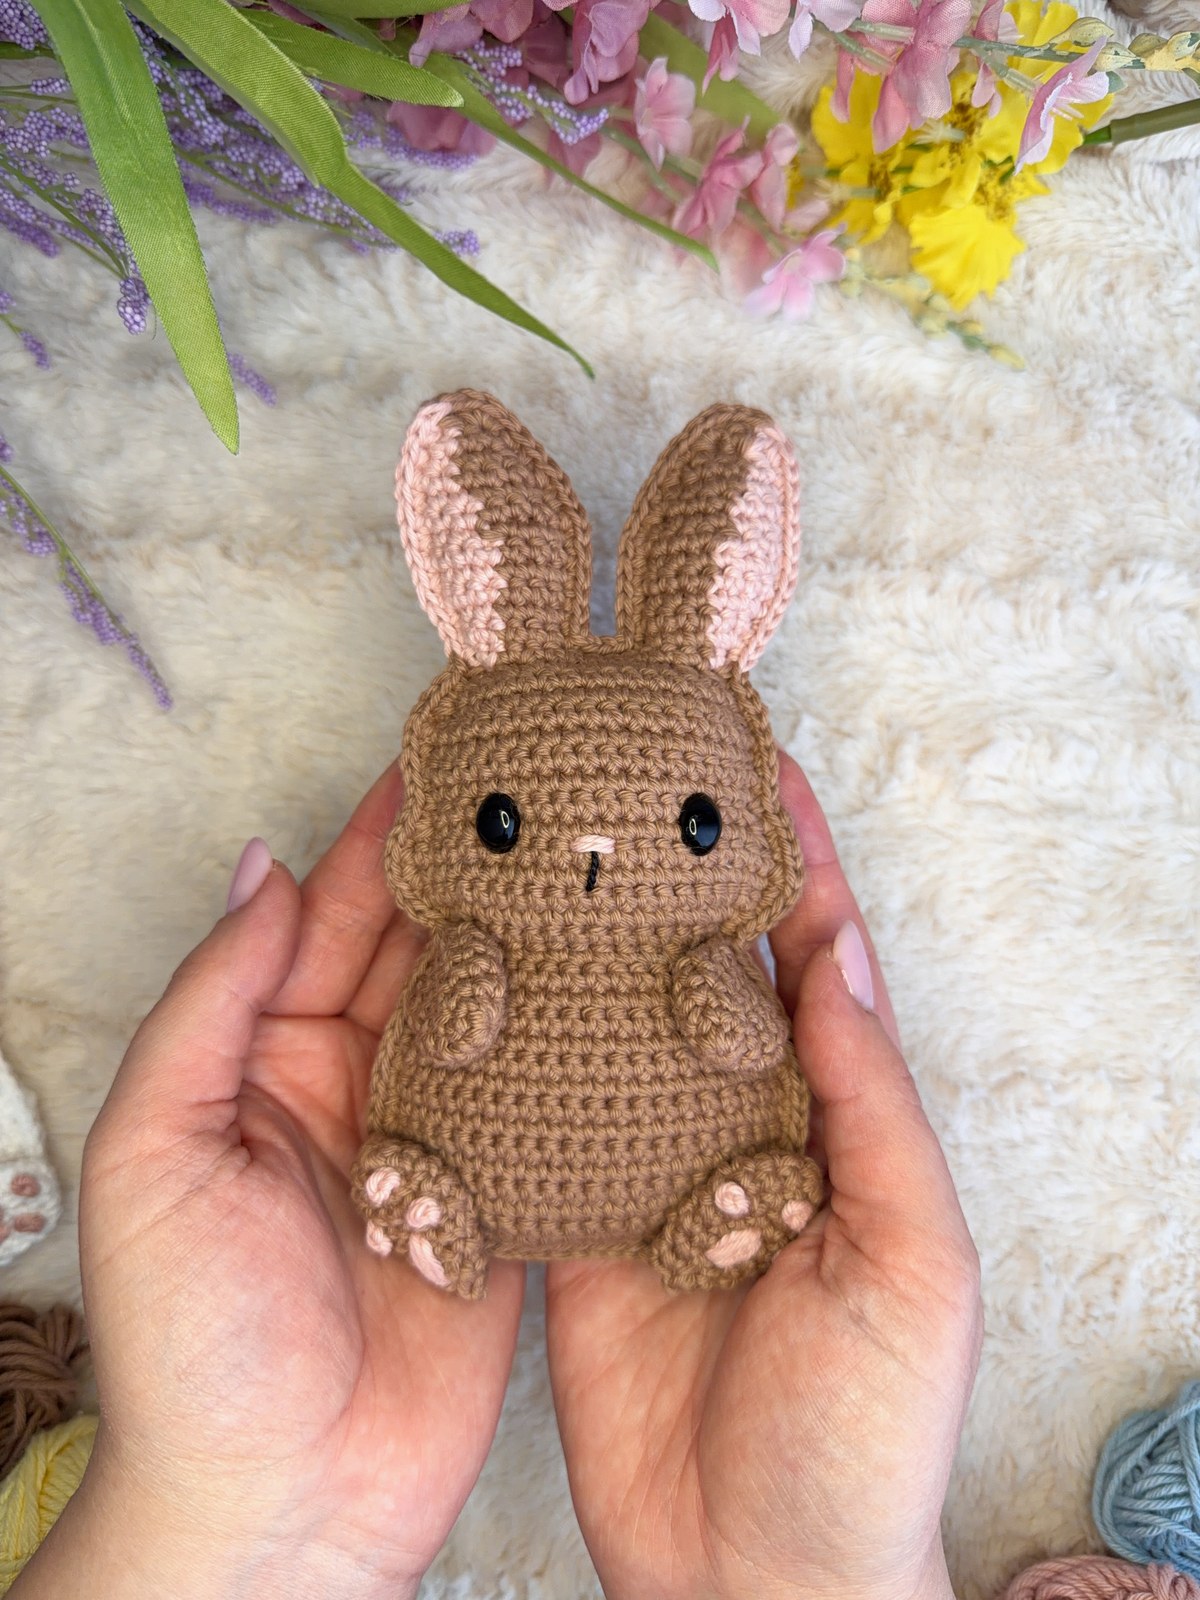
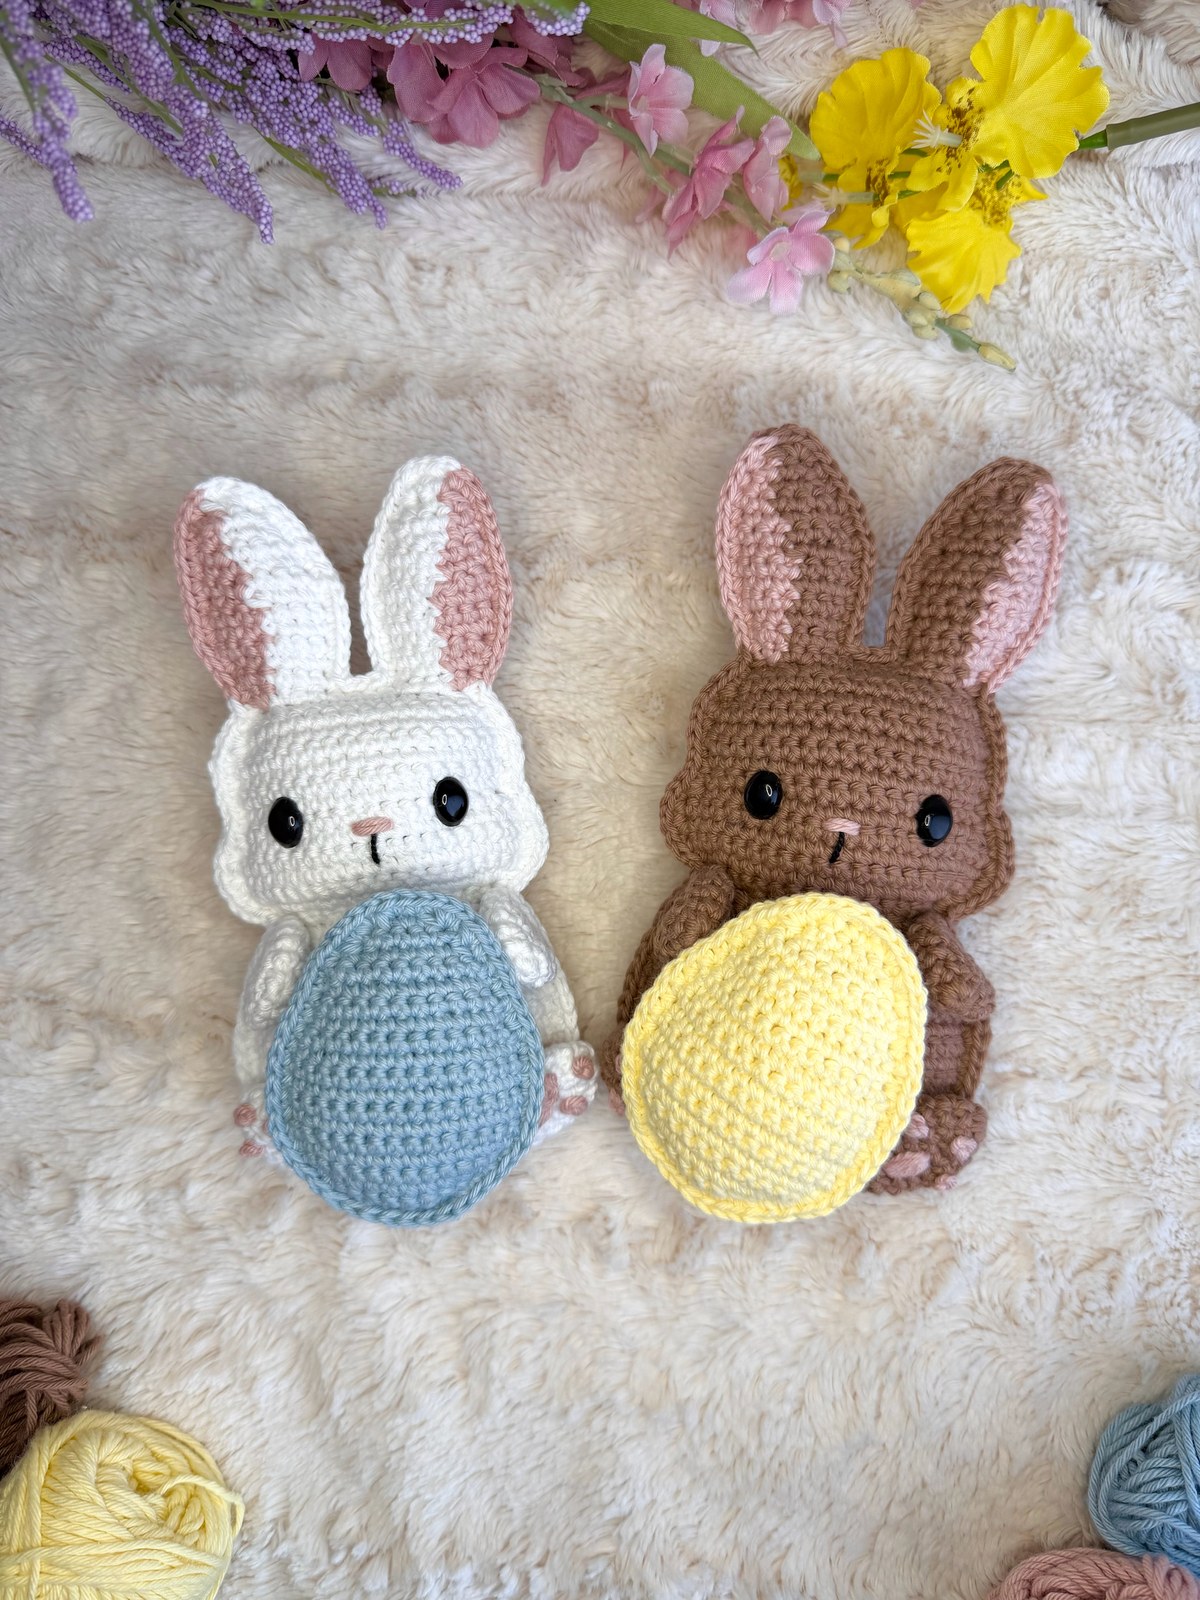
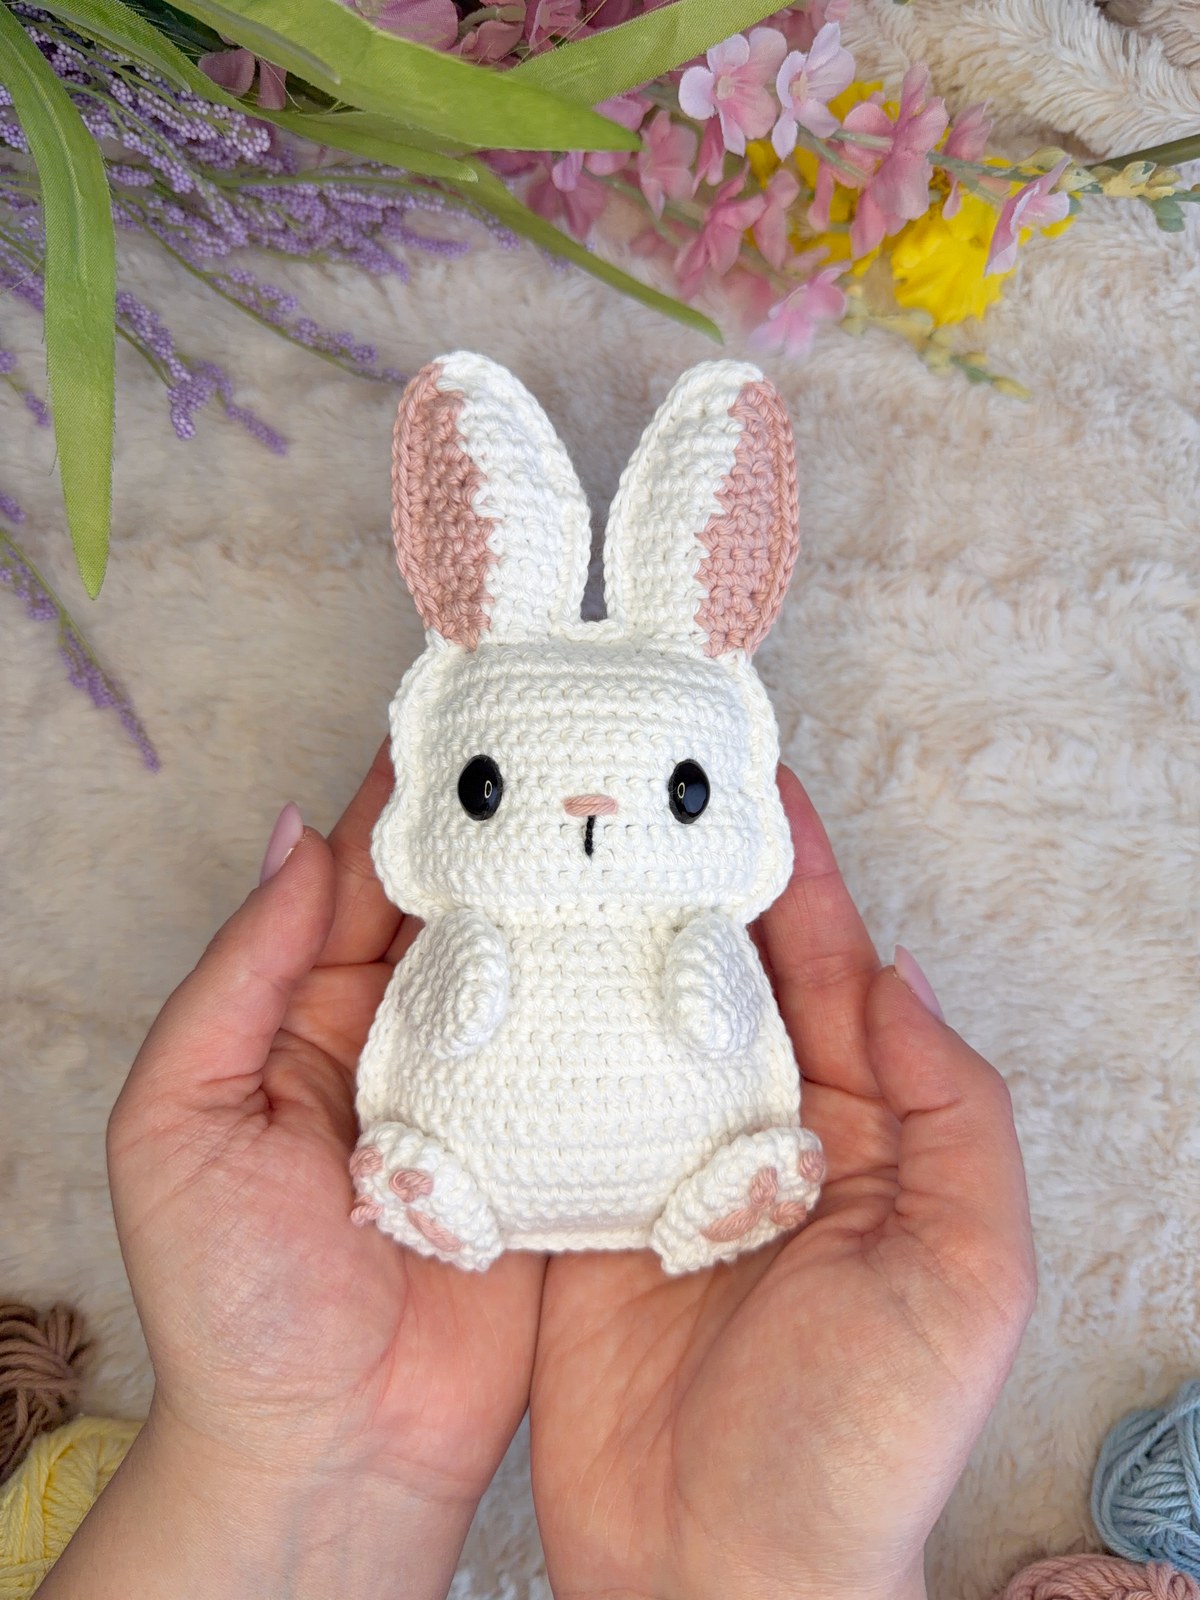
Meet the Snuggle Bunny! Worked as two gentle egg-shaped panels joined with crisp single crochet edging, featuring long floppy ears and sleepy embroidered eyes for sensory nursery comfort.

Bunny

Pattern Inspiration & Design Notes

Whether you are decorating your home for the autumn season or crafting gifts for friends, this pattern was designed from the ground up for relaxation and clean, crisp stitch definition.

One of the most common frustrations in crochet is vague sizing or running out of yarn right at the final row. That is why every stitch in this tutorial has been physically crocheted, swatch-tested, and audited with our designated 3.5 mm (US E/4) hook.

Free Pattern Tutorial
(4.9/5 β€’ Verified Pattern)

How to Crochet a Snuggle Bunny Amigurumi: Free Pattern & Nursery Plushie Guide

Original Pattern by easycrochetdrop β€’ crochetpatterndrop
Hook Size (Strict)3.5 mm (US E/4)
Yarn WeightWorsted Weight (Category 4) in Soft Cream and Pastel Pink
Crafting Time2 - 2.5 Hours
DifficultyEasy

Materials Checklist(Click to check off supplies)

0 / 6 Ready

Gauge & Tension Calibration

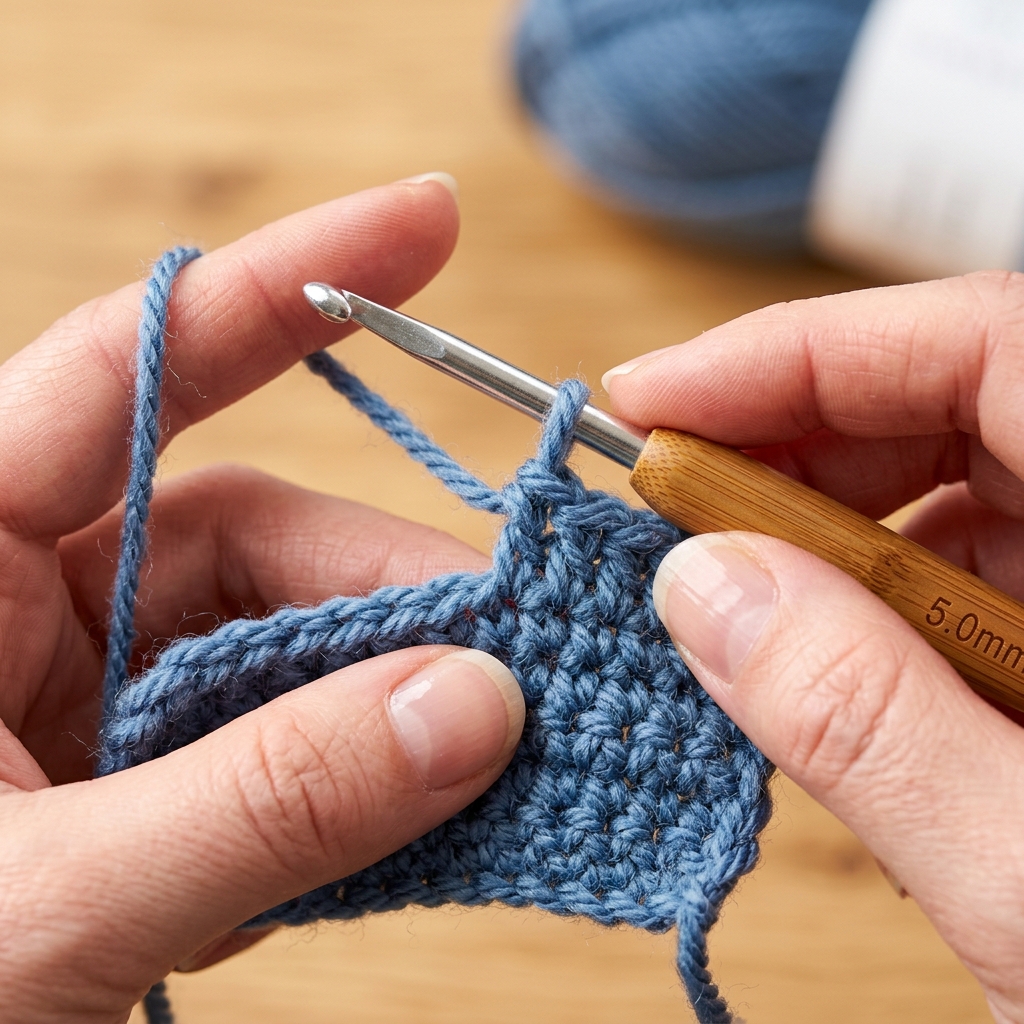
Standard Swatch: 20 sc x 22 rows = 4 inches (10 cm) using Single Crochet (sc) in back-and-forth rows with your designated 3.5 mm (US E/4) hook.

Firm tension prevents polyfill from peeking between stitches.

Important Pattern Notes

  • Strict 3.5mm Hook Consistency: Maintain your 3.5mm hook throughout body panels, ears, and seaming for uniform dimensions.
  • Ragdoll 2D Construction: Worked as two separate flat body panels that are decorated, pinned together, and seamed with single crochet.
  • Turning Chains: Ch 1 at end of rows does NOT count as a stitch. Always begin Row 1 in the 2nd ch from hook.
  • Facial Embroidery: Always embroider sleepy eyes, cheeks, and nose on the front panel BEFORE seaming panels together.
  • Stuffing: Stuff lightly as you crochet around the perimeter to maintain the signature huggable flat shape.

Step-by-Step Instructions

Step 1Stitches: Increases from 8 sts to 22 sts, straight for 14 rows, decreases to 12 sts

Front & Back Egg-Shaped Body Panels (Rows 1–28)

Bunny
Egg Panel (make 2):

With 3.5mm hook and cream yarn, ch 9. Starting in 2nd ch from hook, sc 8 (8 sts). Ch 1, turn.

Row 2: Inc, sc 6, inc (10 sts). Ch 1, turn.

Row 3: Inc, sc 8, inc (12 sts). Ch 1, turn.

Row 4: Inc, sc 10, inc (14 sts). Ch 1, turn.

Rows 5–18: Sc in each st across (14 sts). Ch 1, turn.

Rows 19–26: Sc across, maintaining gentle curved decreases at top of head down to 10 sts. Fasten off.

Pro Tip: Place a stitch marker at Row 14 to easily align front and back panels during assembly.
Step 2Stitches: 6 sts wide x 18 rows long per ear panel

Long Floppy Bunny Ears (Make 2 Front, 2 Back)

Bunny
Egg Panel (make 2):

In pink yarn (inner ear), ch 7. Sc in 2nd ch and across (6 sts). Ch 1, turn.

Rows 2–16: Sc in each st across (6 sts). Ch 1, turn.

Row 17: Dec, sc 2, dec (4 sts).

Row 18: Dec twice (2 sts). Fasten off.

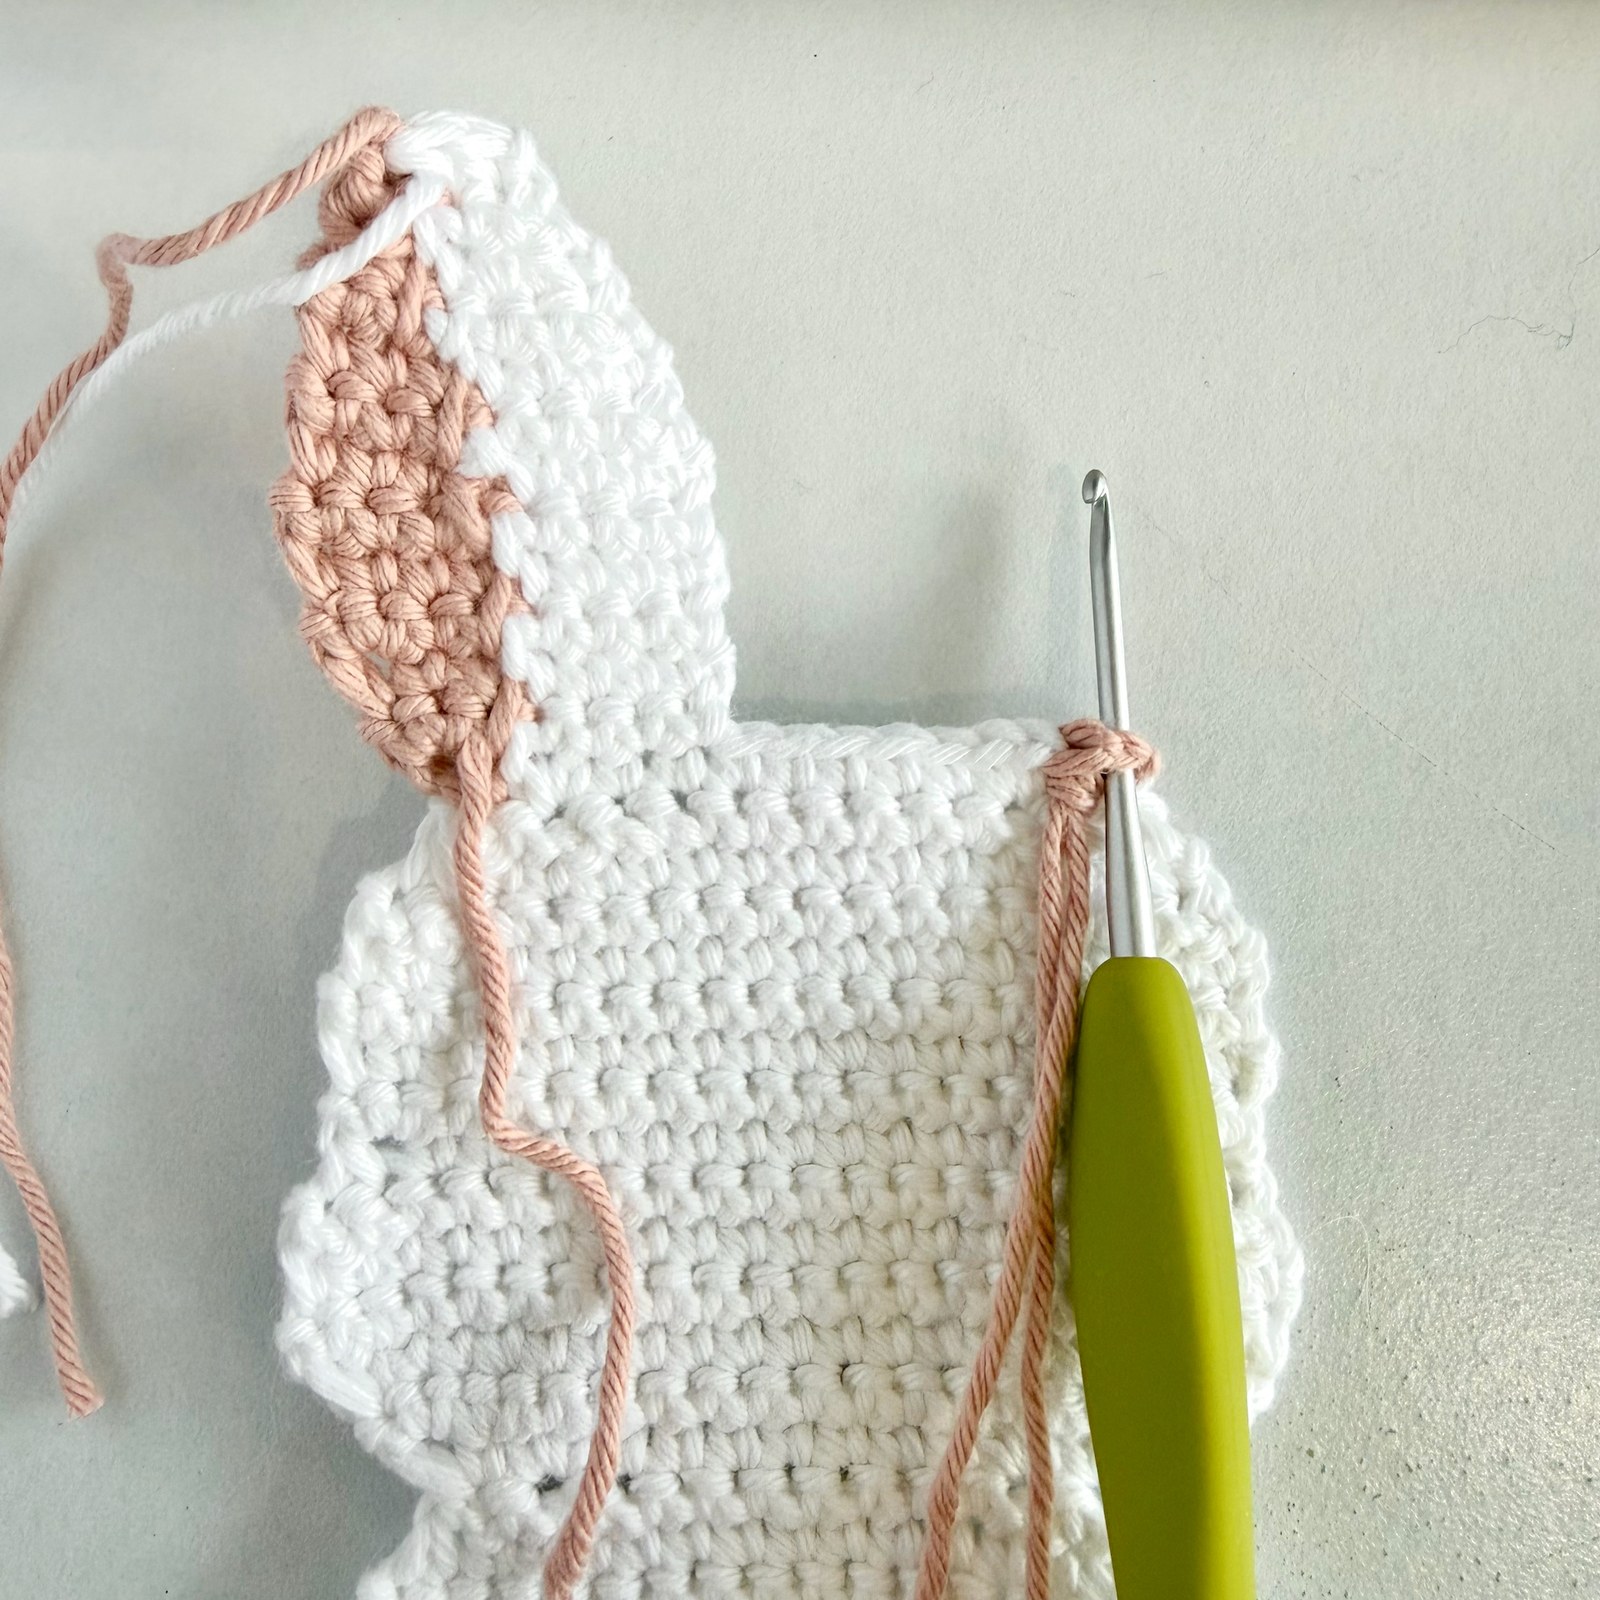
Repeat with cream yarn for outer ears, join outer and inner ears with sc border.

Pro Tip: Sew pink inner ear panels onto cream back panels before attaching to the head.
Step 3Stitches: Curved eyelash arcs spanning 3 stitches each

Embroidering Sleeping Face & Rosy Cheeks

Bunny
Egg Panel (make 2):

Position eyes between Rows 16 and 17, approximately 6 stitches apart.

Embroider a downward crescent arc with 3 tiny angled eyelash stitches for a peaceful slumber look.

Stitch a delicate pink satin-stitch nose centered between the eyes on Row 15.

Dab or embroider small circular pink blush circles on either side of the nose.

Pro Tip: Use sharp embroidery needle with 4 strands of floss for crisp, durable nursery features.
Step 4Stitches: Pinning verification with locking stitch markers

Aligning Ears & Pinning Panels Together

Bunny
Egg Panel (make 2):

Place back panel flat on table with right side down.

Insert bottom tabs of the floppy ears at the top head corners between the panels.

Lay embroidered front panel on top, right side facing up. Pin thoroughly around all edges.

Pro Tip: Sandwich bottom ear tabs between panels at the crown before crocheting perimeter.
Step 5Stitches: Approx. 68 sc around perimeter, 3 sc in bottom corners

Perimeter Single Crochet Seaming & Gentle Stuffing

Bunny
Assembly:

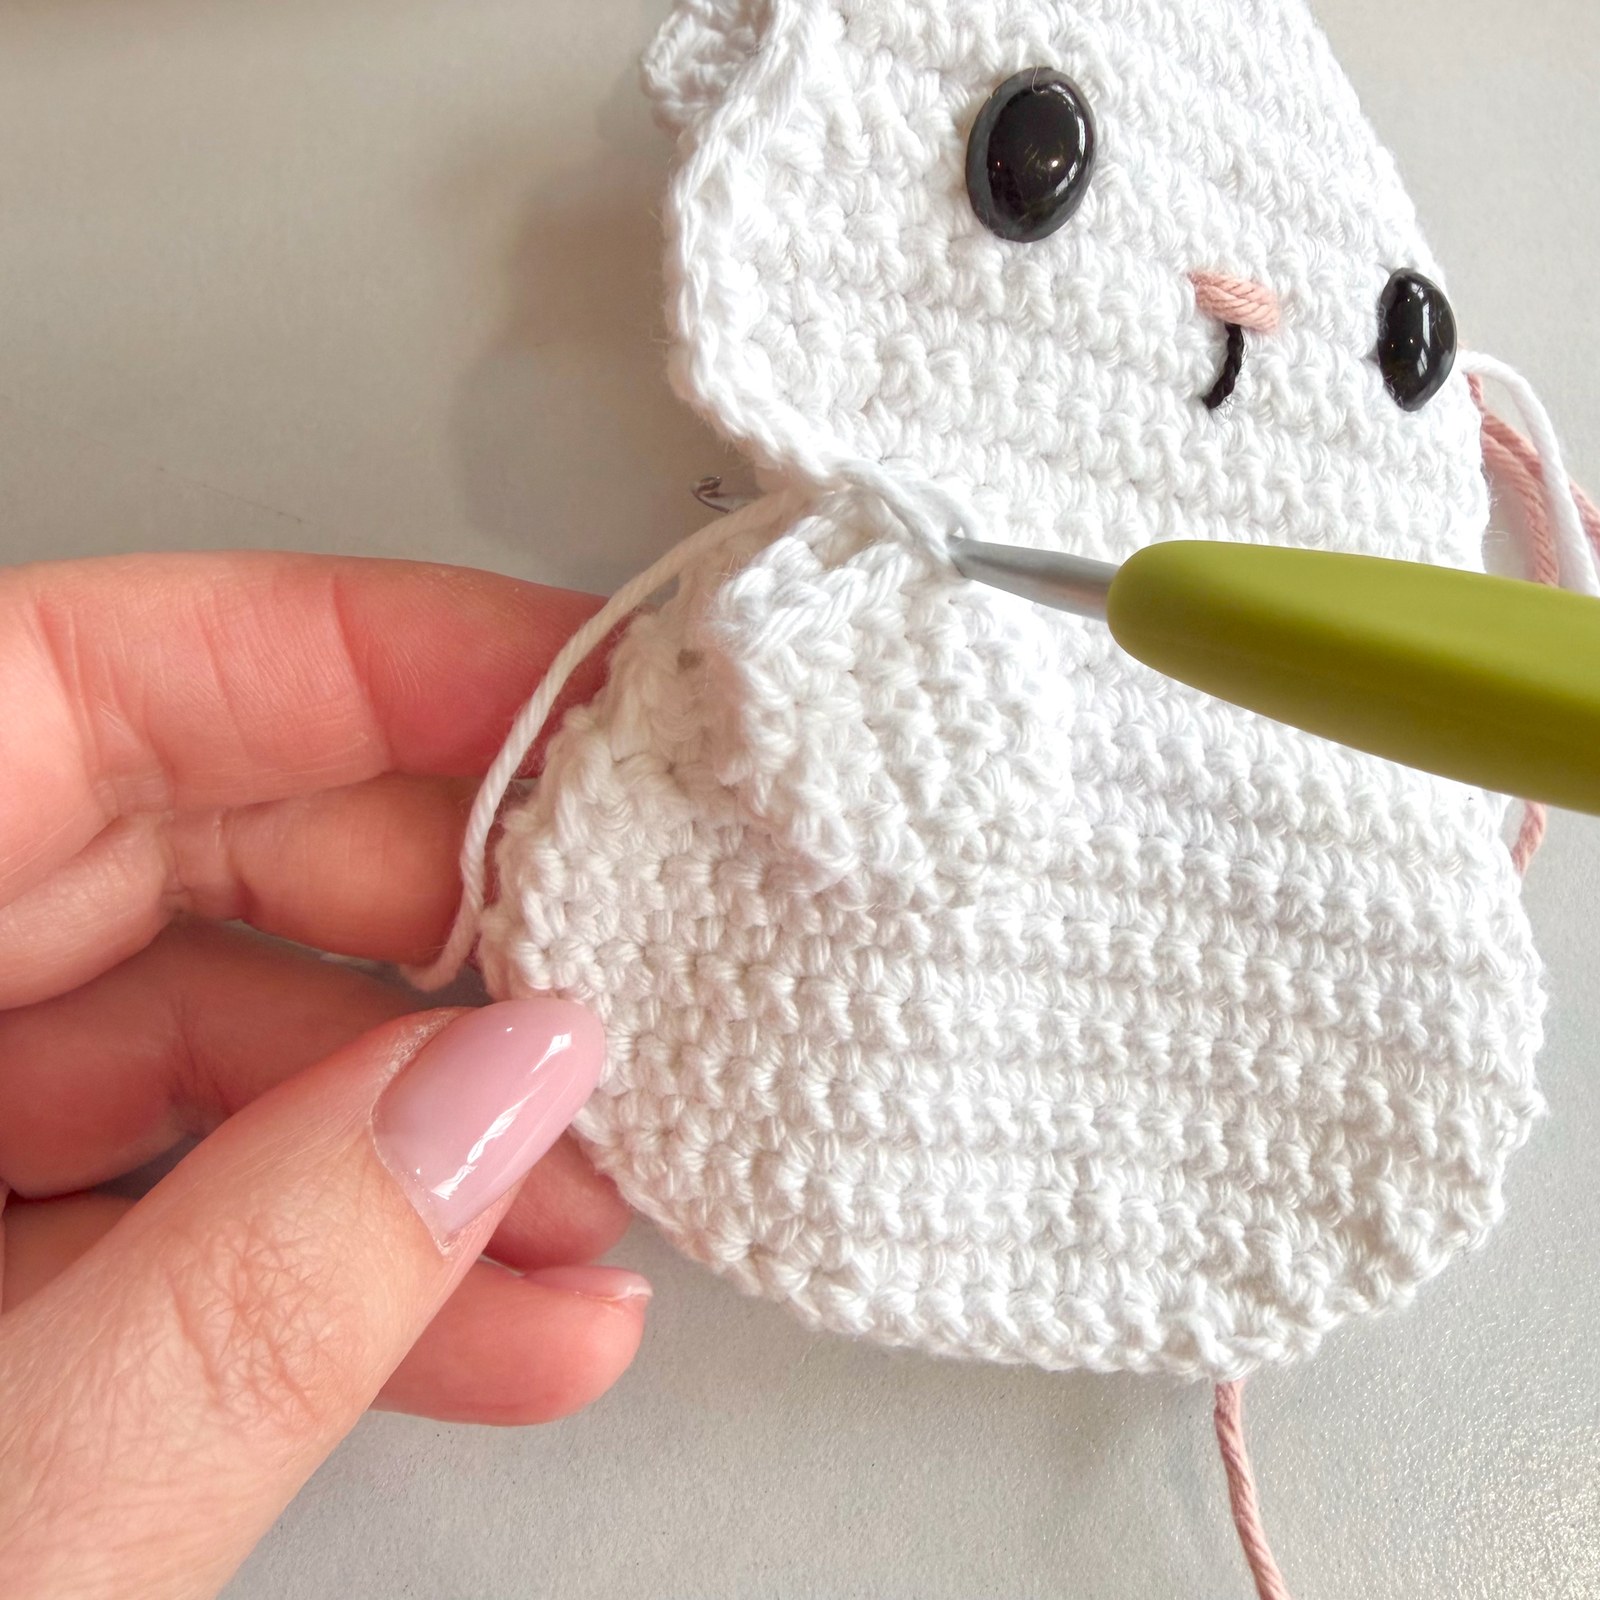
Join cream yarn with sl st at bottom left corner. Ch 1.

Single crochet evenly through both panels around outer edge.

Catch the ear bases securely with sc stitches across the crown.

When seaming reaches 75% around, stuff gently with 35g of polyfill. Complete remaining sc, join with sl st to first st, and weave in all yarn ends.

Pro Tip: Pause when 3 inches remain to pack polyfill evenly into the cheeks and belly.
Printable Masterclass

Download the Ad-Free Printable PDF

Get high-resolution printable stitch charts, offline instructions, and zero-ad crafting. Use code CROCHET20 for 20% OFF.

Get PDF ($3.99)

Frequently Asked Questions

Frequently Asked Questions

Clear answers to common gauge, yarn weight, and technique inquiries

Yes! Because all facial features are 100% embroidered with cotton floss rather than plastic safety eyes, it is completely baby-safe and machine washable.

Recommended For You

Handpicked free crochet tutorials and verified printable PDF blueprints based on your interests.

Explore More Baby & Kids