Home DecorHook: 5.0 mm (US H/8)

How to Crochet a Boo Ghost Throw Pillow: Free Intarsia Fall Decor Pattern

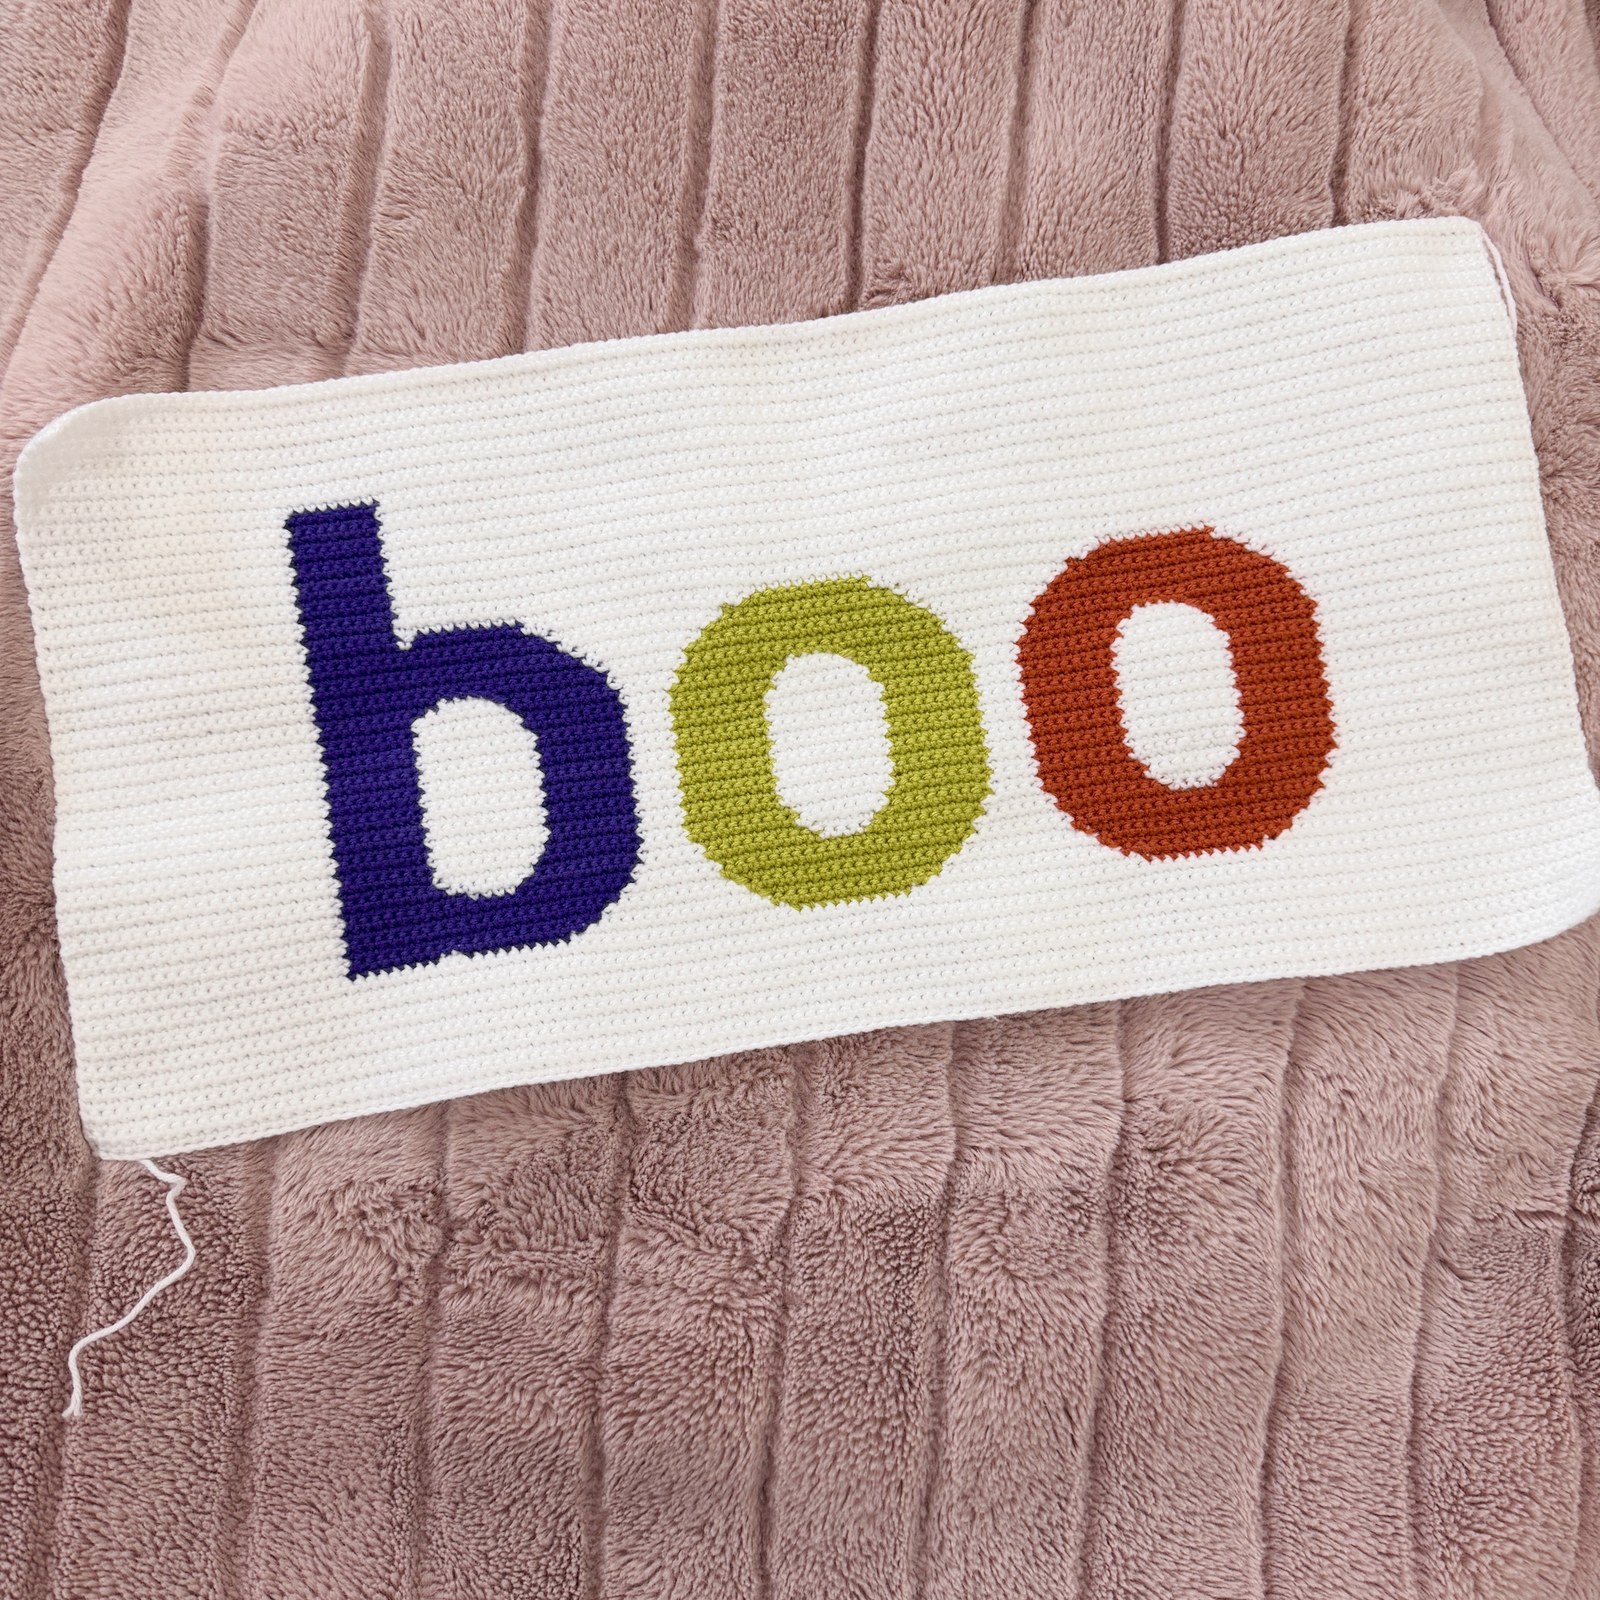
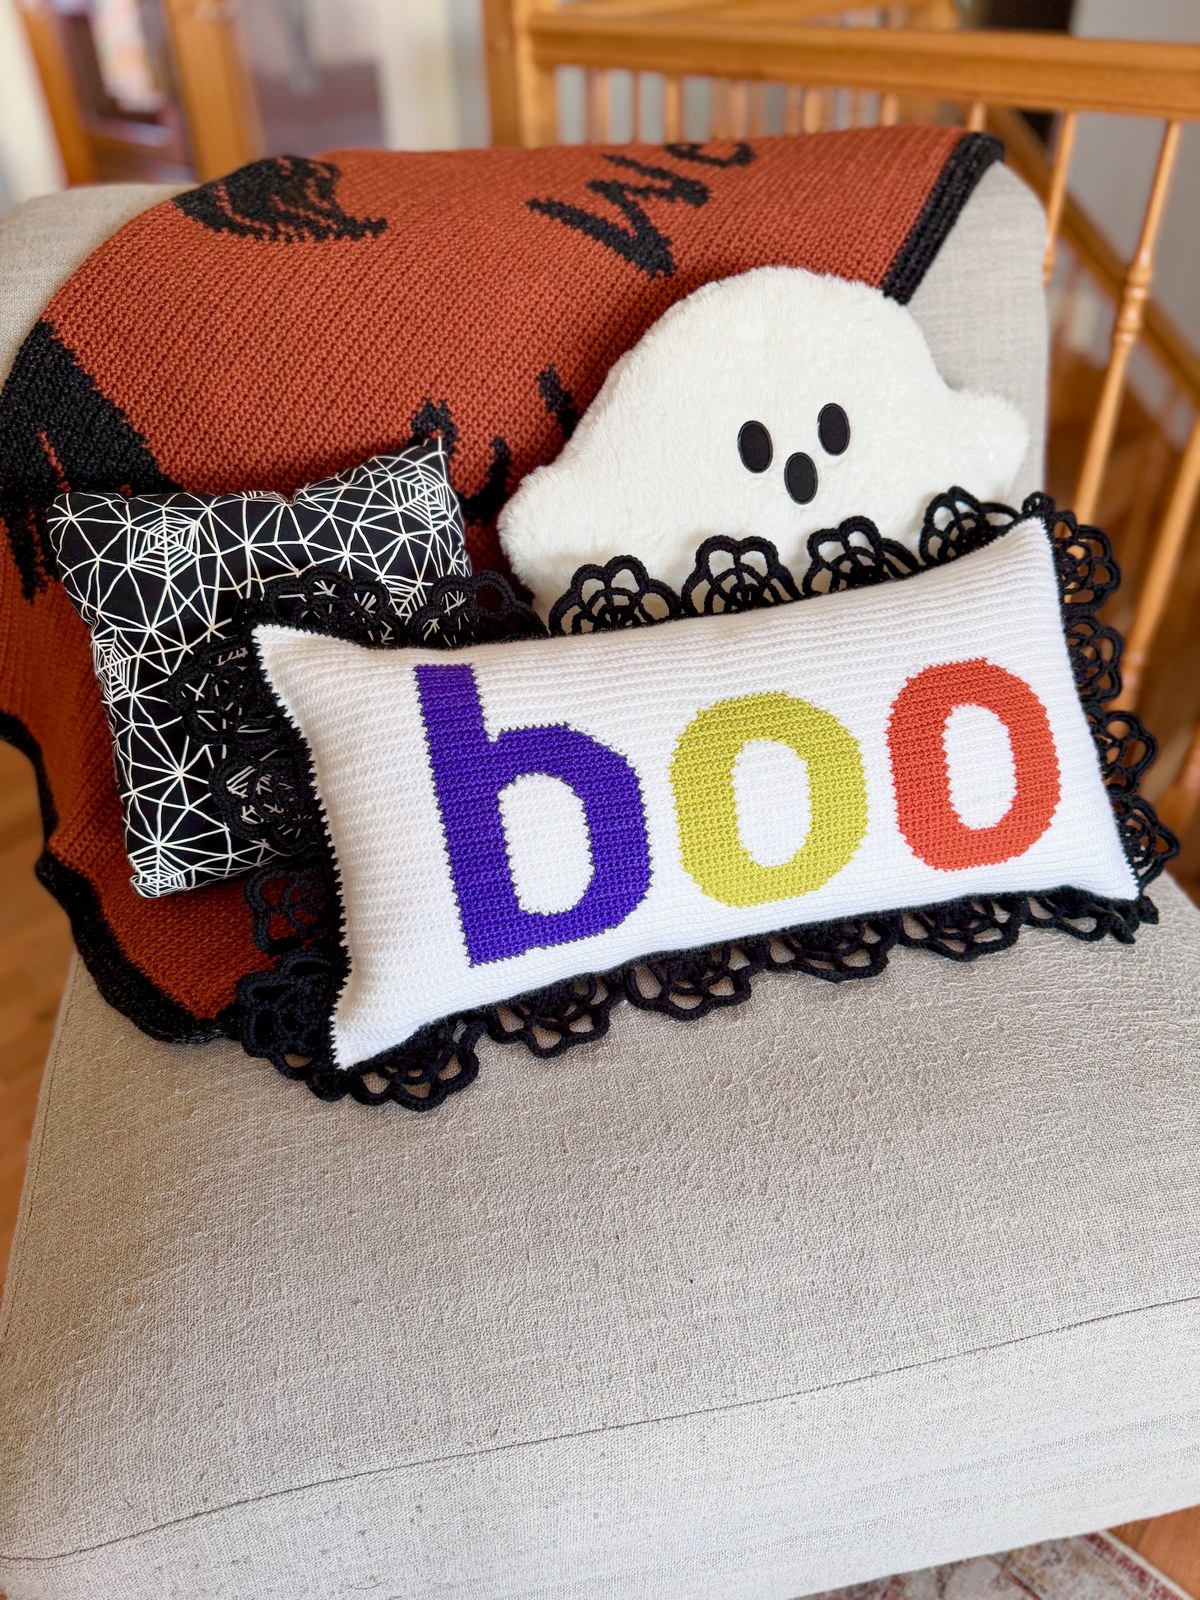
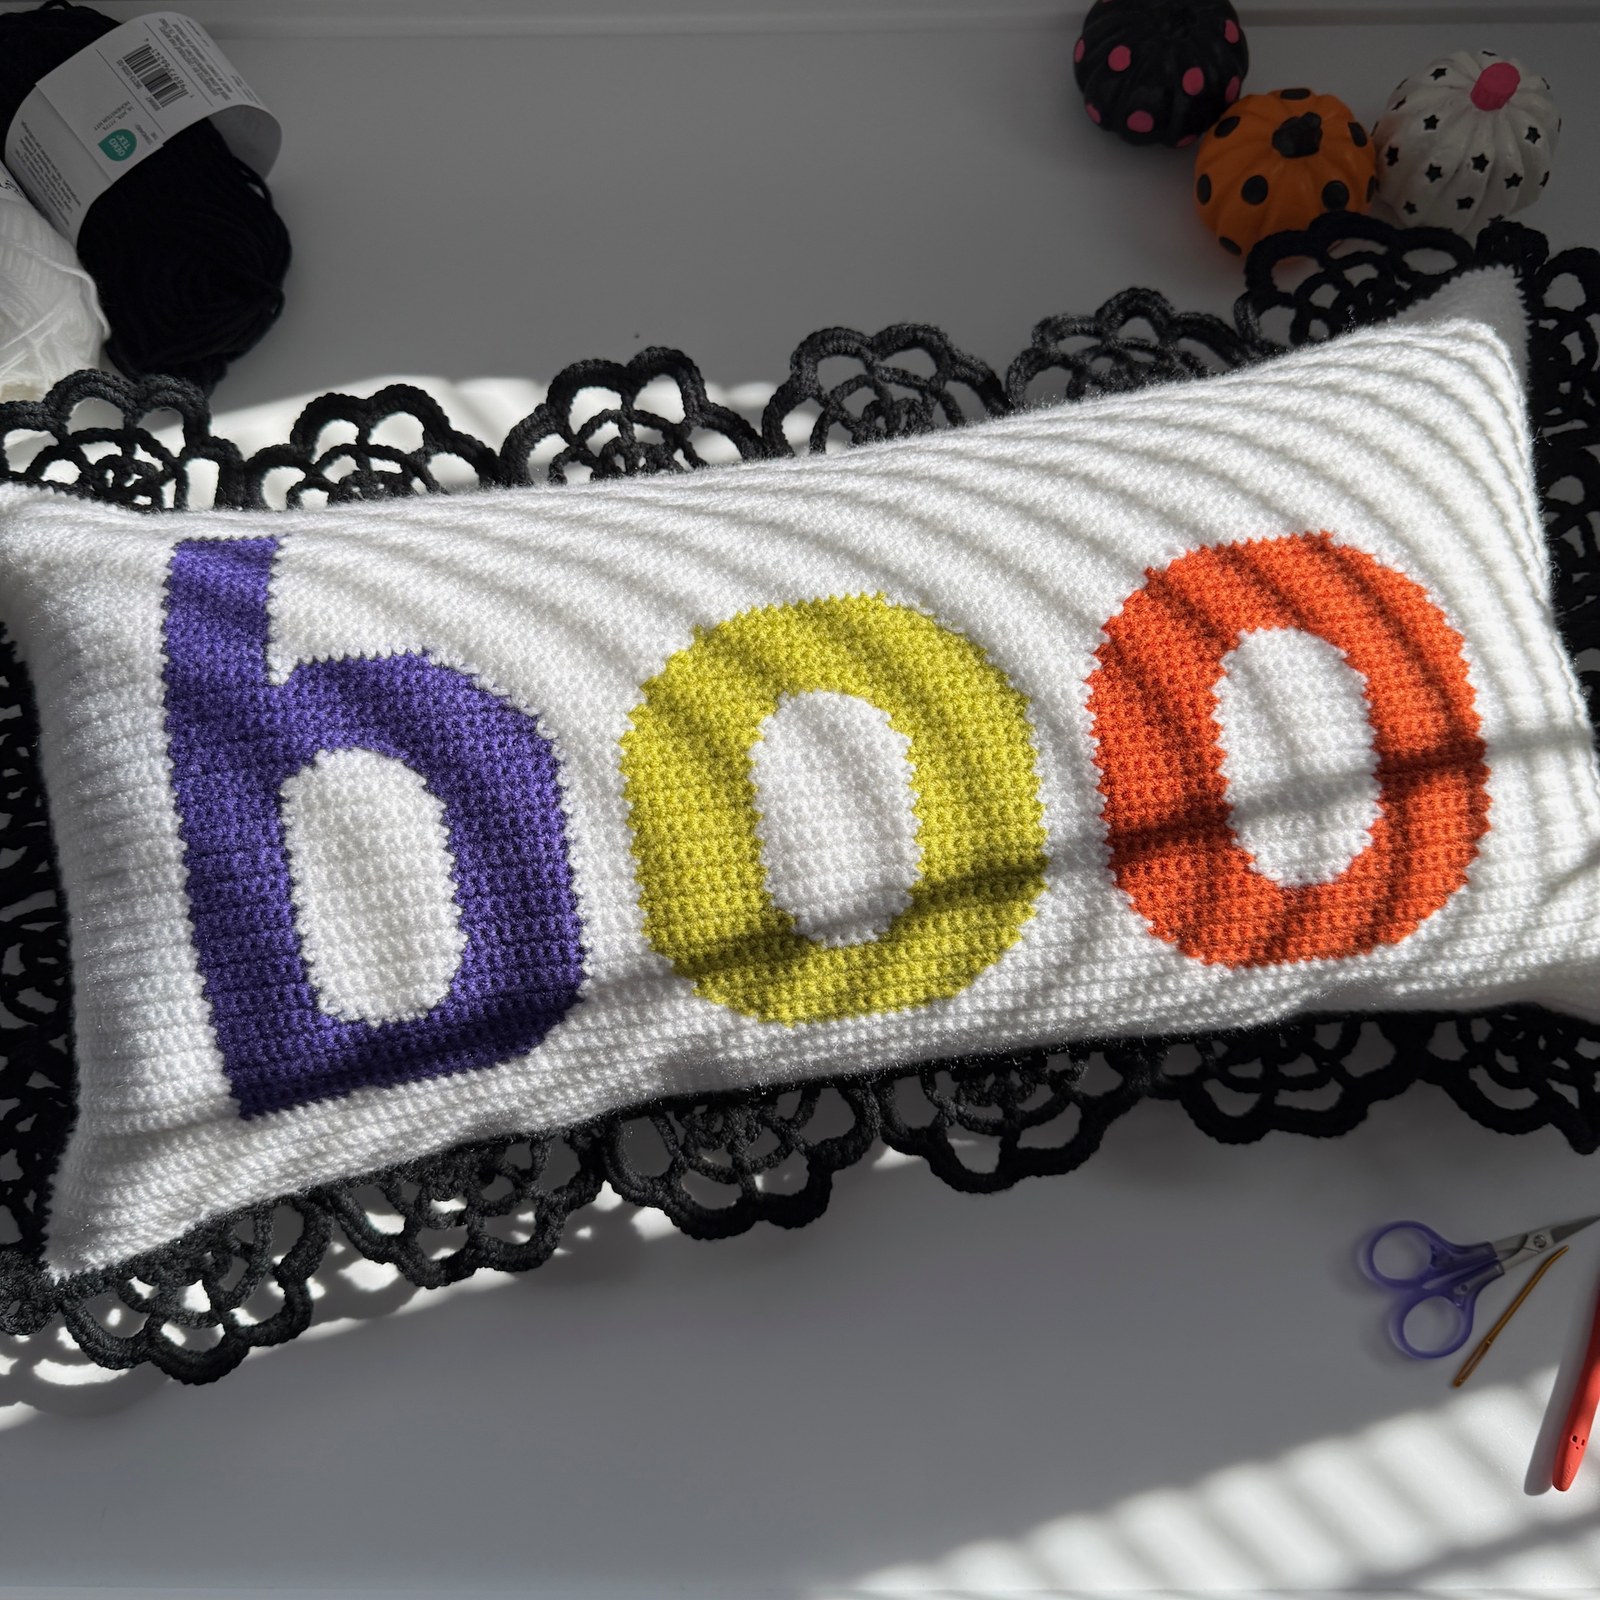
Spookify your autumn couch with this viral Boo Ghost Throw Pillow! Worked in graphic intarsia colorwork featuring floating kawaii ghosts and bold typography on a slate charcoal background.

Boo Pillow

Pattern Inspiration & Design Notes

Whether you are decorating your home for the autumn season or crafting gifts for friends, this pattern was designed from the ground up for relaxation and clean, crisp stitch definition.

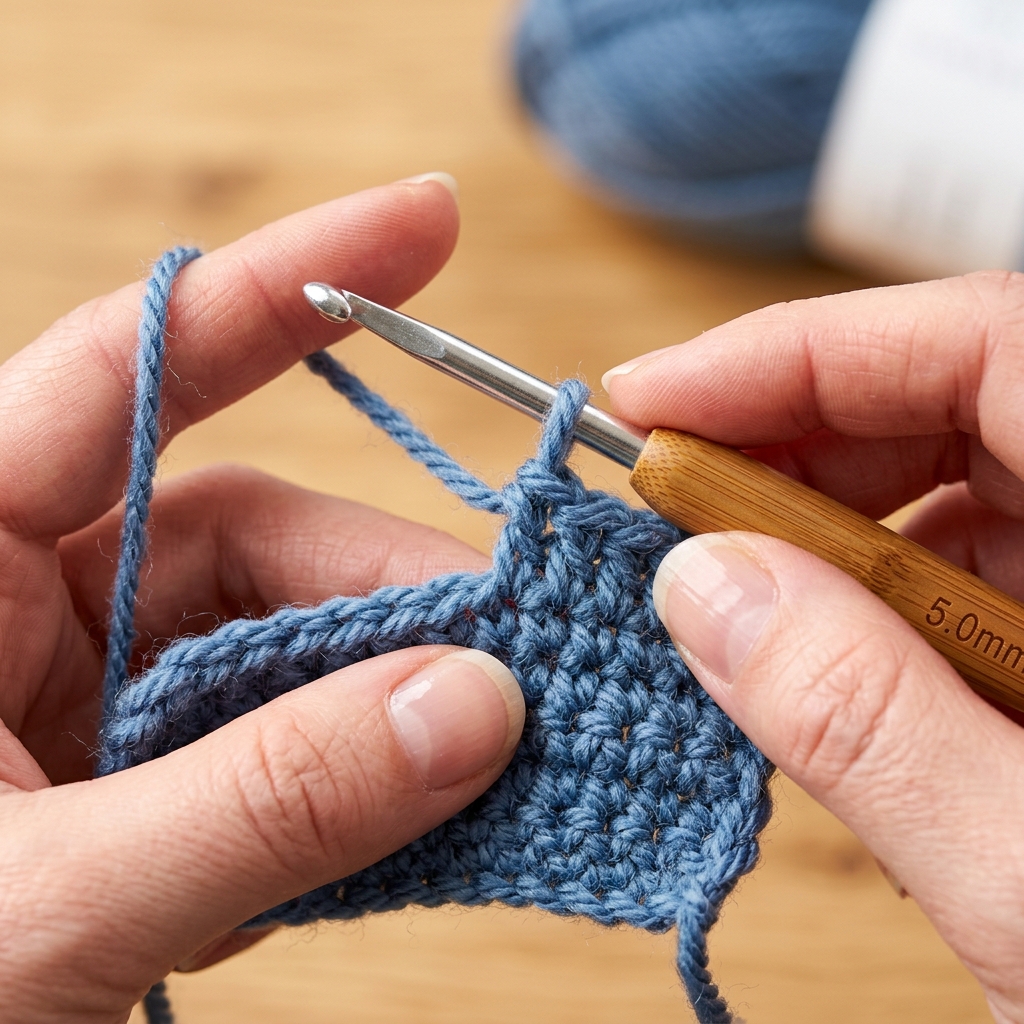
One of the most common frustrations in crochet is vague sizing or running out of yarn right at the final row. That is why every stitch in this tutorial has been physically crocheted, swatch-tested, and audited with our designated 5.0 mm (US H/8) hook.

Free Pattern Tutorial
(4.9/5 β€’ Verified Pattern)

How to Crochet a Boo Ghost Throw Pillow: Free Intarsia Fall Decor Pattern

Original Pattern by easycrochetdrop β€’ crochetpatterndrop
Hook Size (Strict)5.0 mm (US H/8)
Yarn WeightBulky / Chunky (Category 5) or Chenille in Slate Charcoal and Ghost White
Crafting Time4 - 5 Hours
DifficultyIntermediate

Materials Checklist(Click to check off supplies)

0 / 6 Ready

Gauge & Tension Calibration

Standard Swatch: 14 sc x 16 rows = 4 inches (10 cm) using Single Crochet (sc) in back-and-forth grid rows with your designated 5.0 mm (US H/8) hook.

Even tension ensures the cushion measures exactly 14x14 inches for standard inserts.

Important Pattern Notes

  • Strict 5.0mm Hook Consistency: Maintain standard 5.0mm hook for front intarsia panel, back envelope panels, and border edging.
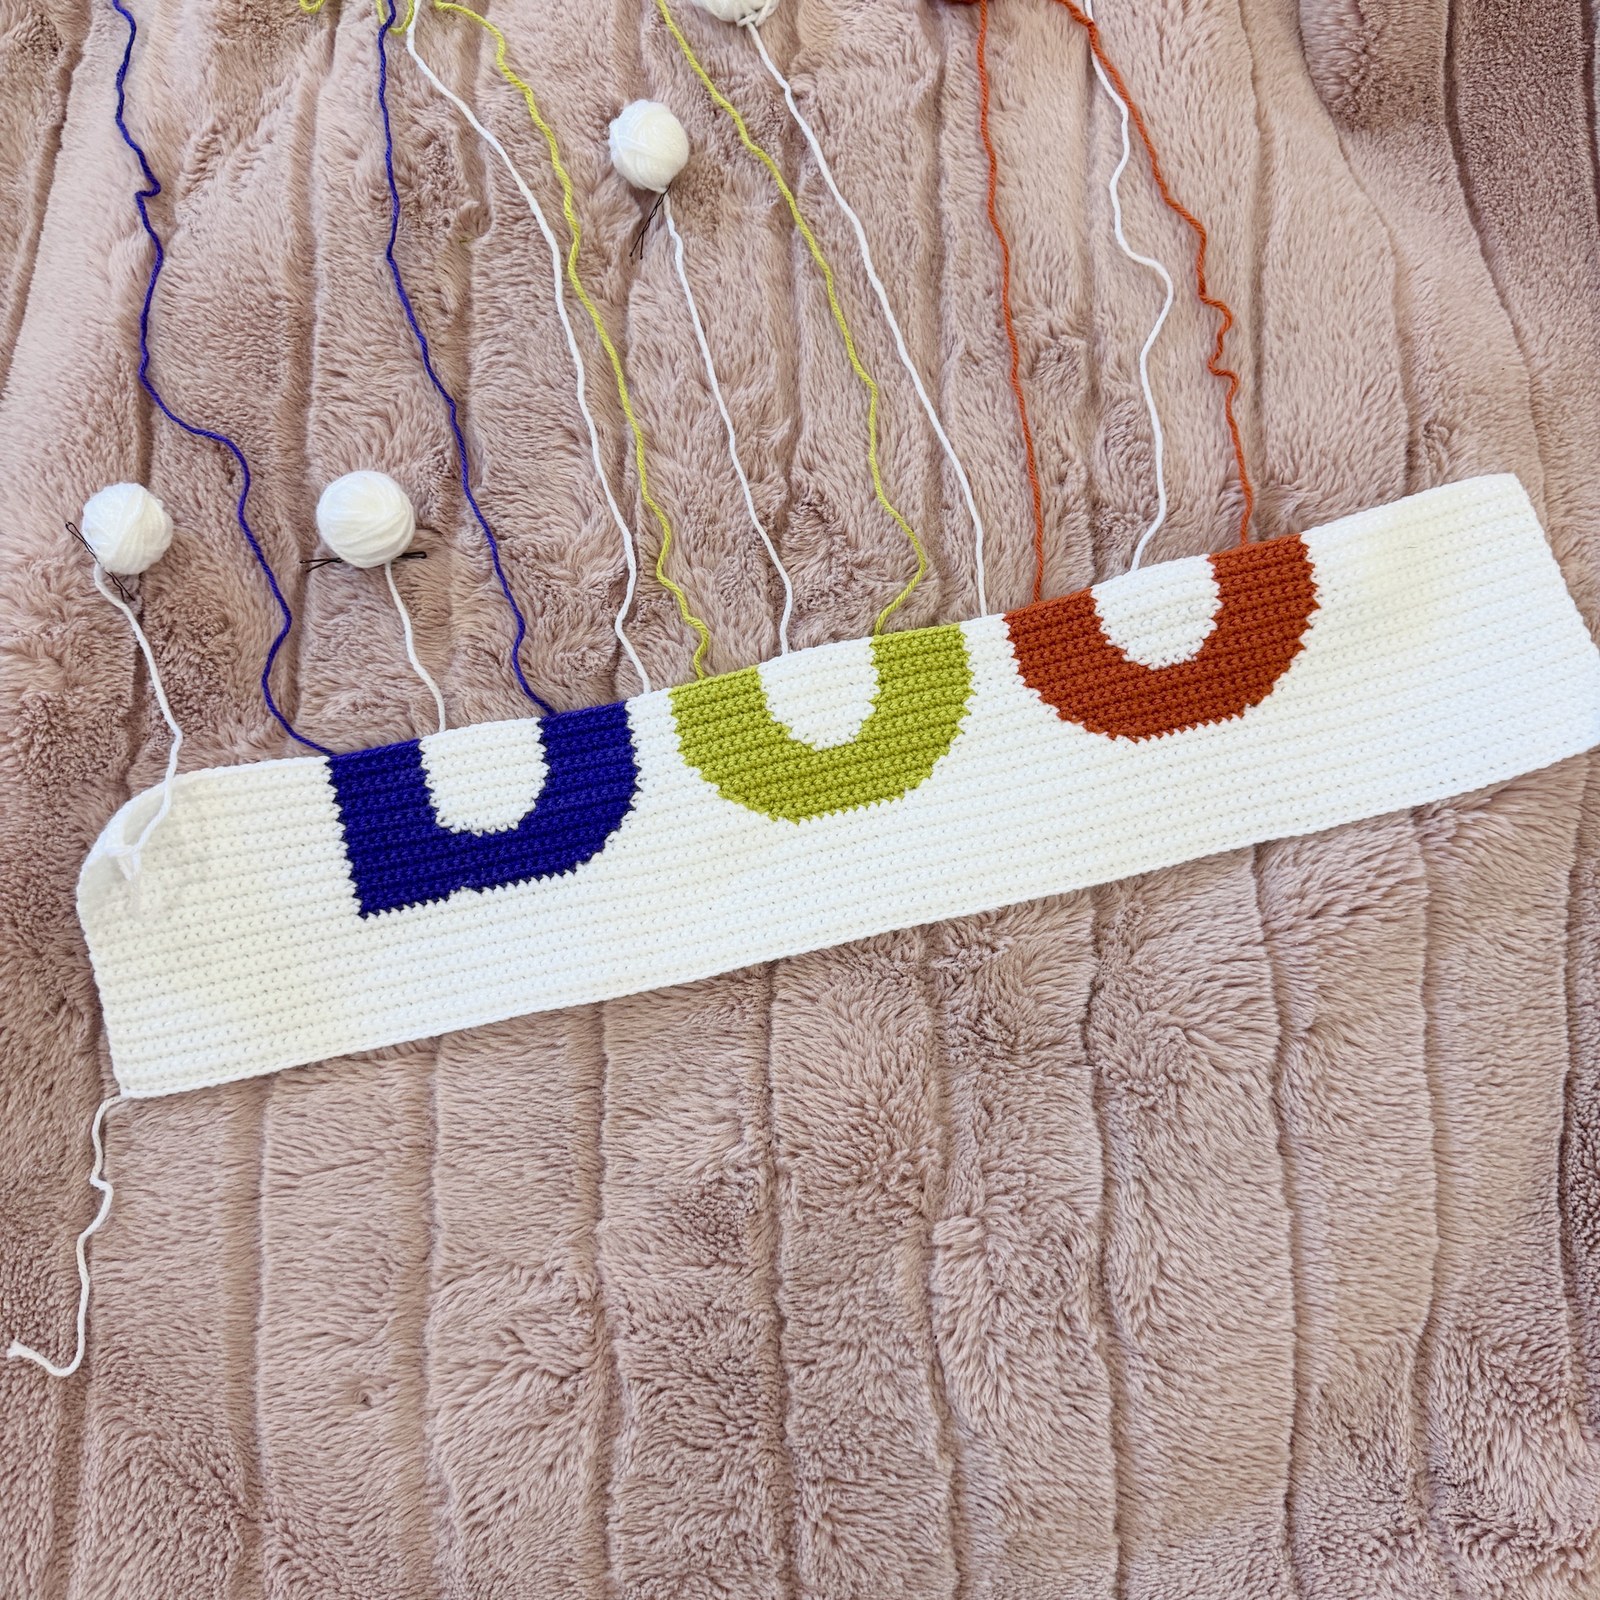
  • Intarsia Colorwork Technique: Drop the unused color on the wrong side of the work and pick up new color on the final pull-through of the previous stitch. Do not carry yarn across large blocks.
  • Bobbins: Wind small bobbins of white yarn for each separate ghost and letter block to prevent tangling.
  • Envelope Back: Two overlapping back panels allow easy removal of the pillow insert for machine washing.

Step-by-Step Instructions

Step 1Stitches: 48 sts wide x 56 rows following colorwork grid chart

Front Intarsia Colorwork Panel (Rows 1–56)

Boo Pillow
Front Panel (make 1 panel):

With 5.0mm hook and charcoal yarn, ch 49. Sc in 2nd ch and across (48 sts). Ch 1, turn.

Rows 2–10: Charcoal solid base border (48 sts).

Rows 11–42: Follow colorwork grid, switching to white for floating ghosts and bold 'BOO' block letters.

Rows 43–56: Charcoal top border (48 sts). Fasten off.

Pro Tip: Keep separate bobbins for each letter B, O, O to avoid carrying yarn across wide spans.
Step 2Stitches: Black circular satin-stitch eyes and open smiling mouths

Embroidering Sweet Kawaii Ghost Faces

Boo Pillow
Back Panel (make 1 panel):

Using black embroidery floss, stitch oval satin-stitch eyes on each white ghost.

Embroider a small open 'O' mouth for a friendly cheerful haunt.

Add two pink yarn stitches under eyes for rosy cheeks.

Pro Tip: Add pink blush embroidery beneath ghost eyes for charming Halloween contrast.
Step 3Stitches: Upper panel (48 sts x 36 rows), Lower panel (48 sts x 30 rows)

Crocheting Overlapping Envelope Back Panels

Boo Pillow
Back Panel (make 1 panel):

Lower Panel: In charcoal, ch 49. Sc in 2nd ch and across (48 sts) for 30 rows. Fasten off.

Upper Panel: In charcoal, ch 49. Sc across (48 sts) for 36 rows.

Work 1 row of clean sl st across the hem edge of both panels.

Pro Tip: The 10-row overlap keeps the pillow insert completely concealed without zippers.
Step 4Stitches: Square alignment verification with locking stitch markers

Pinning Front & Overlapping Back Panels

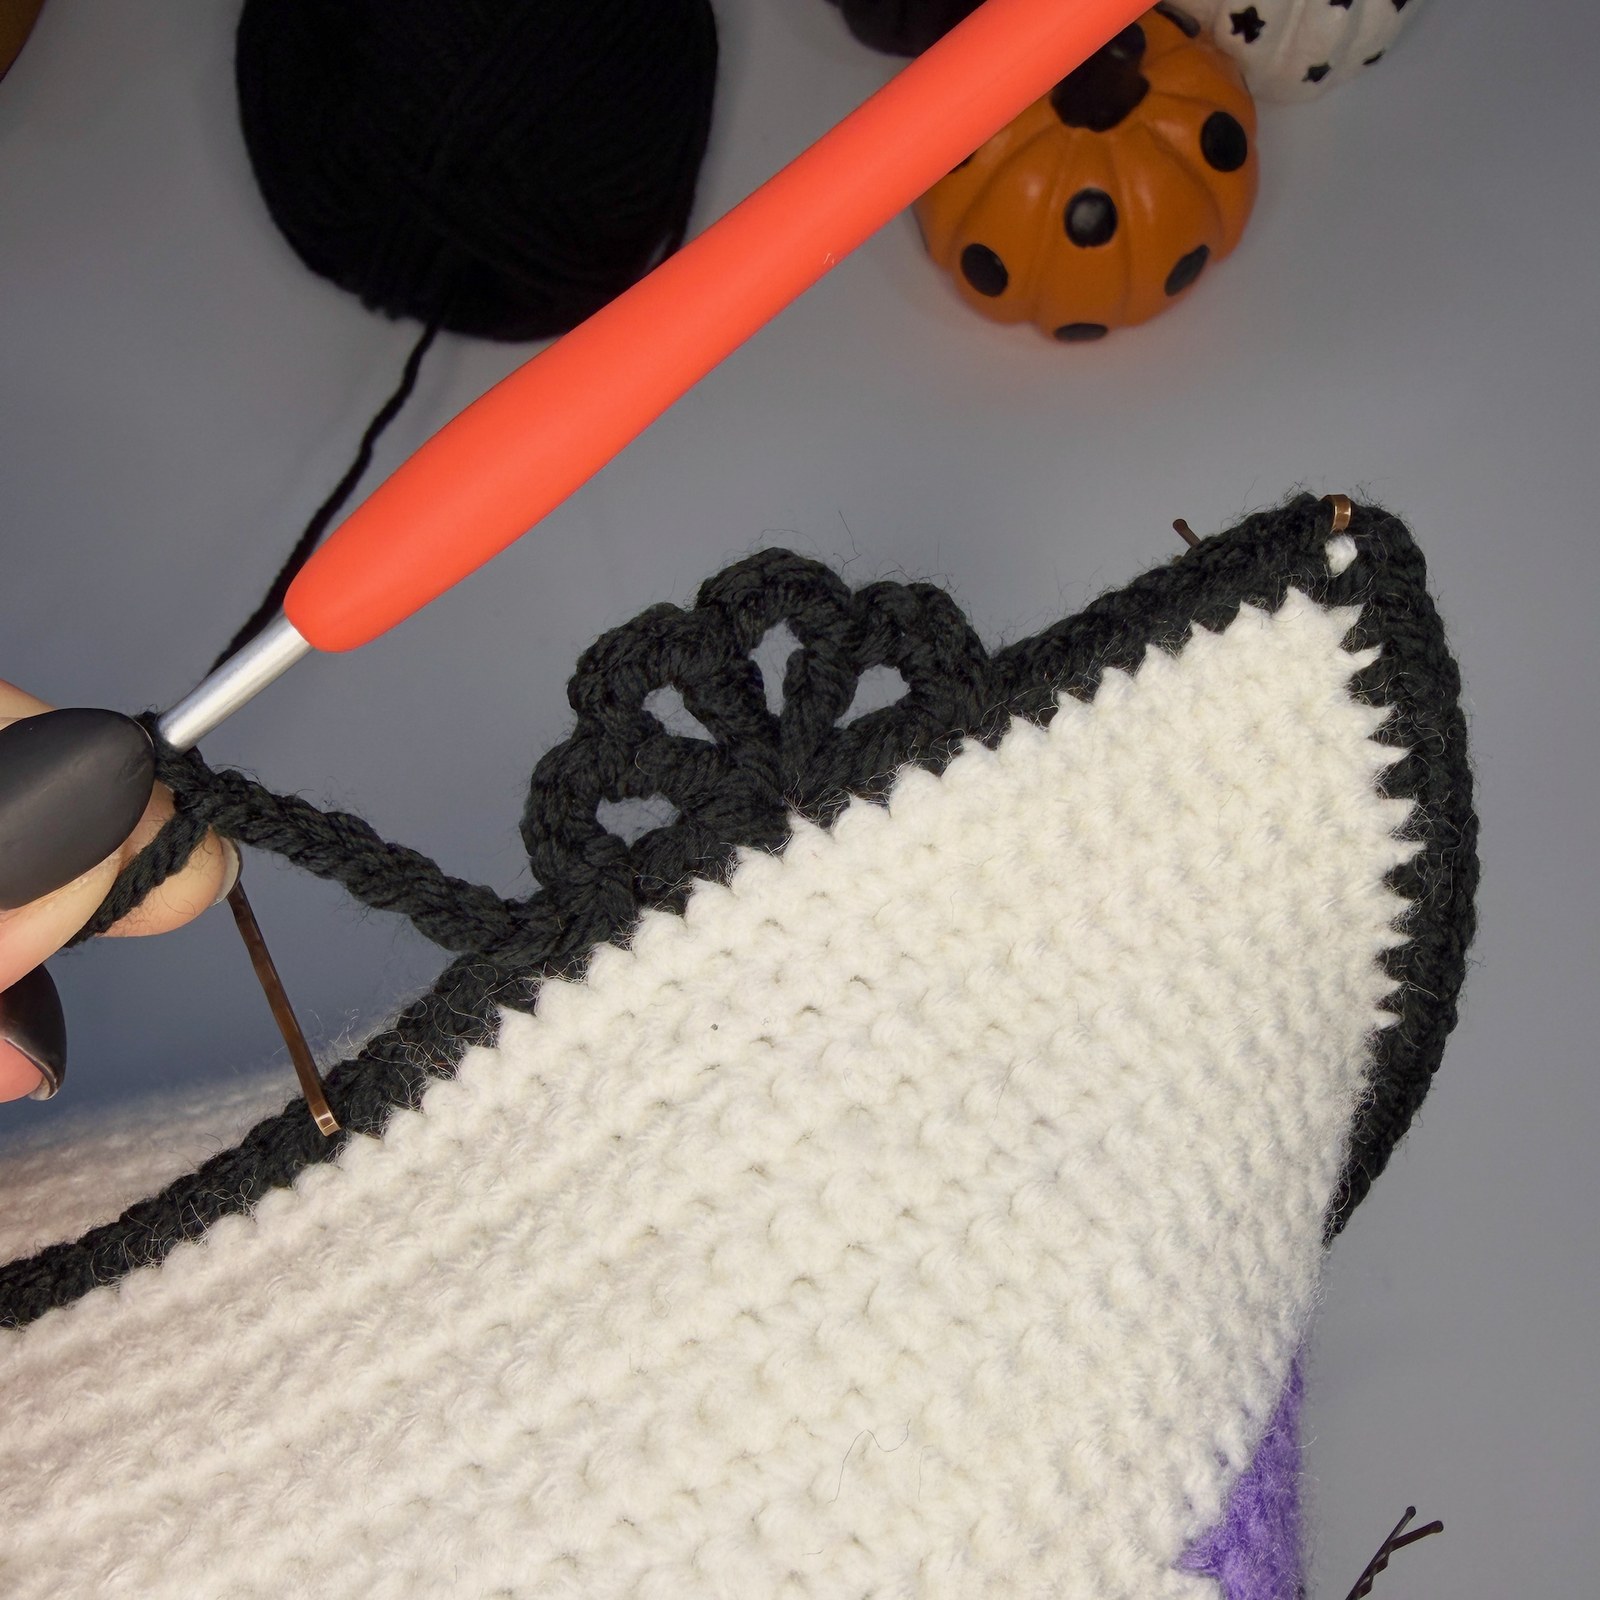
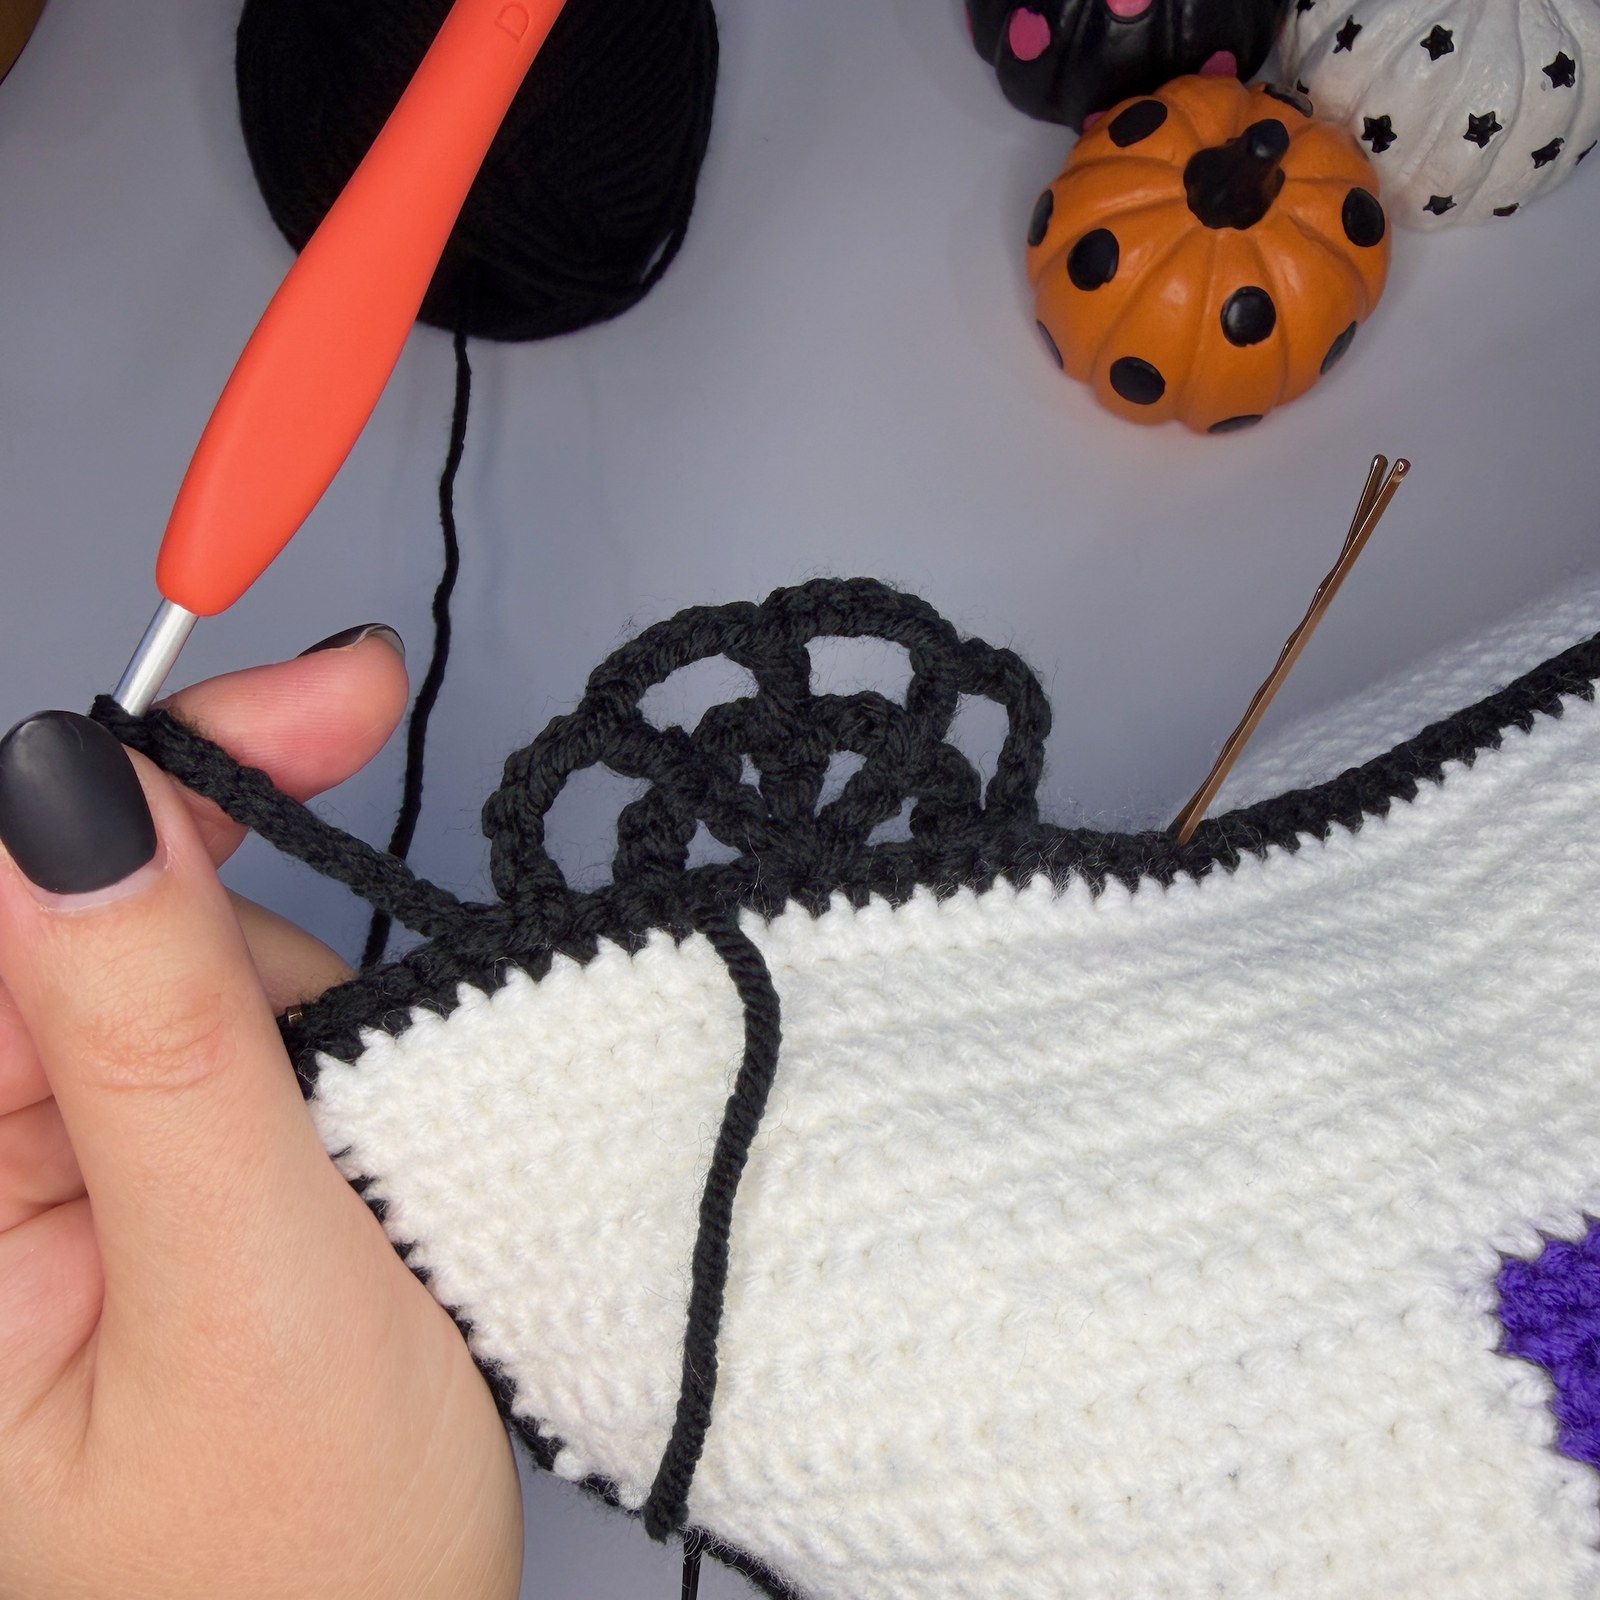
Spiderweb Border
Assembly:

Place front intarsia panel flat on table right side facing up.

Lay upper back panel on top, aligning top and side edges.

Lay lower back panel on top, aligning bottom and side edges so it overlaps the upper panel by 3 inches.

Pin all 4 perimeter edges thoroughly.

Pro Tip: Place upper back panel first, then overlap lower panel by 3 inches at center.
Step 5Stitches: Single crochet border around all 4 sides with 3 sc in each corner

Perimeter Single Crochet Seaming & Inserting Form

Spiderweb Border
Assembly:

Join charcoal yarn at any corner with sl st, ch 1.

Single crochet through all layers around the entire square perimeter, working 3 sc into each corner.

Fasten off and weave in all yarn ends.

Insert standard 14x14 inch pillow form through the back envelope slit and fluff into corners.

Pro Tip: Work 3 sc into each of the 4 outer corners for crisp square cushion edges.
Printable Masterclass

Download the Ad-Free Printable PDF

Get high-resolution printable stitch charts, offline instructions, and zero-ad crafting. Use code CROCHET20 for 20% OFF.

Get PDF ($3.99)

Frequently Asked Questions

Frequently Asked Questions

Clear answers to common gauge, yarn weight, and technique inquiries

Wind separate small yarn cakes or bobbins (approx. 15g each) for each color block. Clip unused bobbins to your work with plastic clothes pins or yarn clips to prevent twist.

Recommended For You

Handpicked free crochet tutorials and verified printable PDF blueprints based on your interests.

Explore More Home Decor